Fall Porch DIY Decor – How To Make Planter Box Pumpkin Obelisk Towers
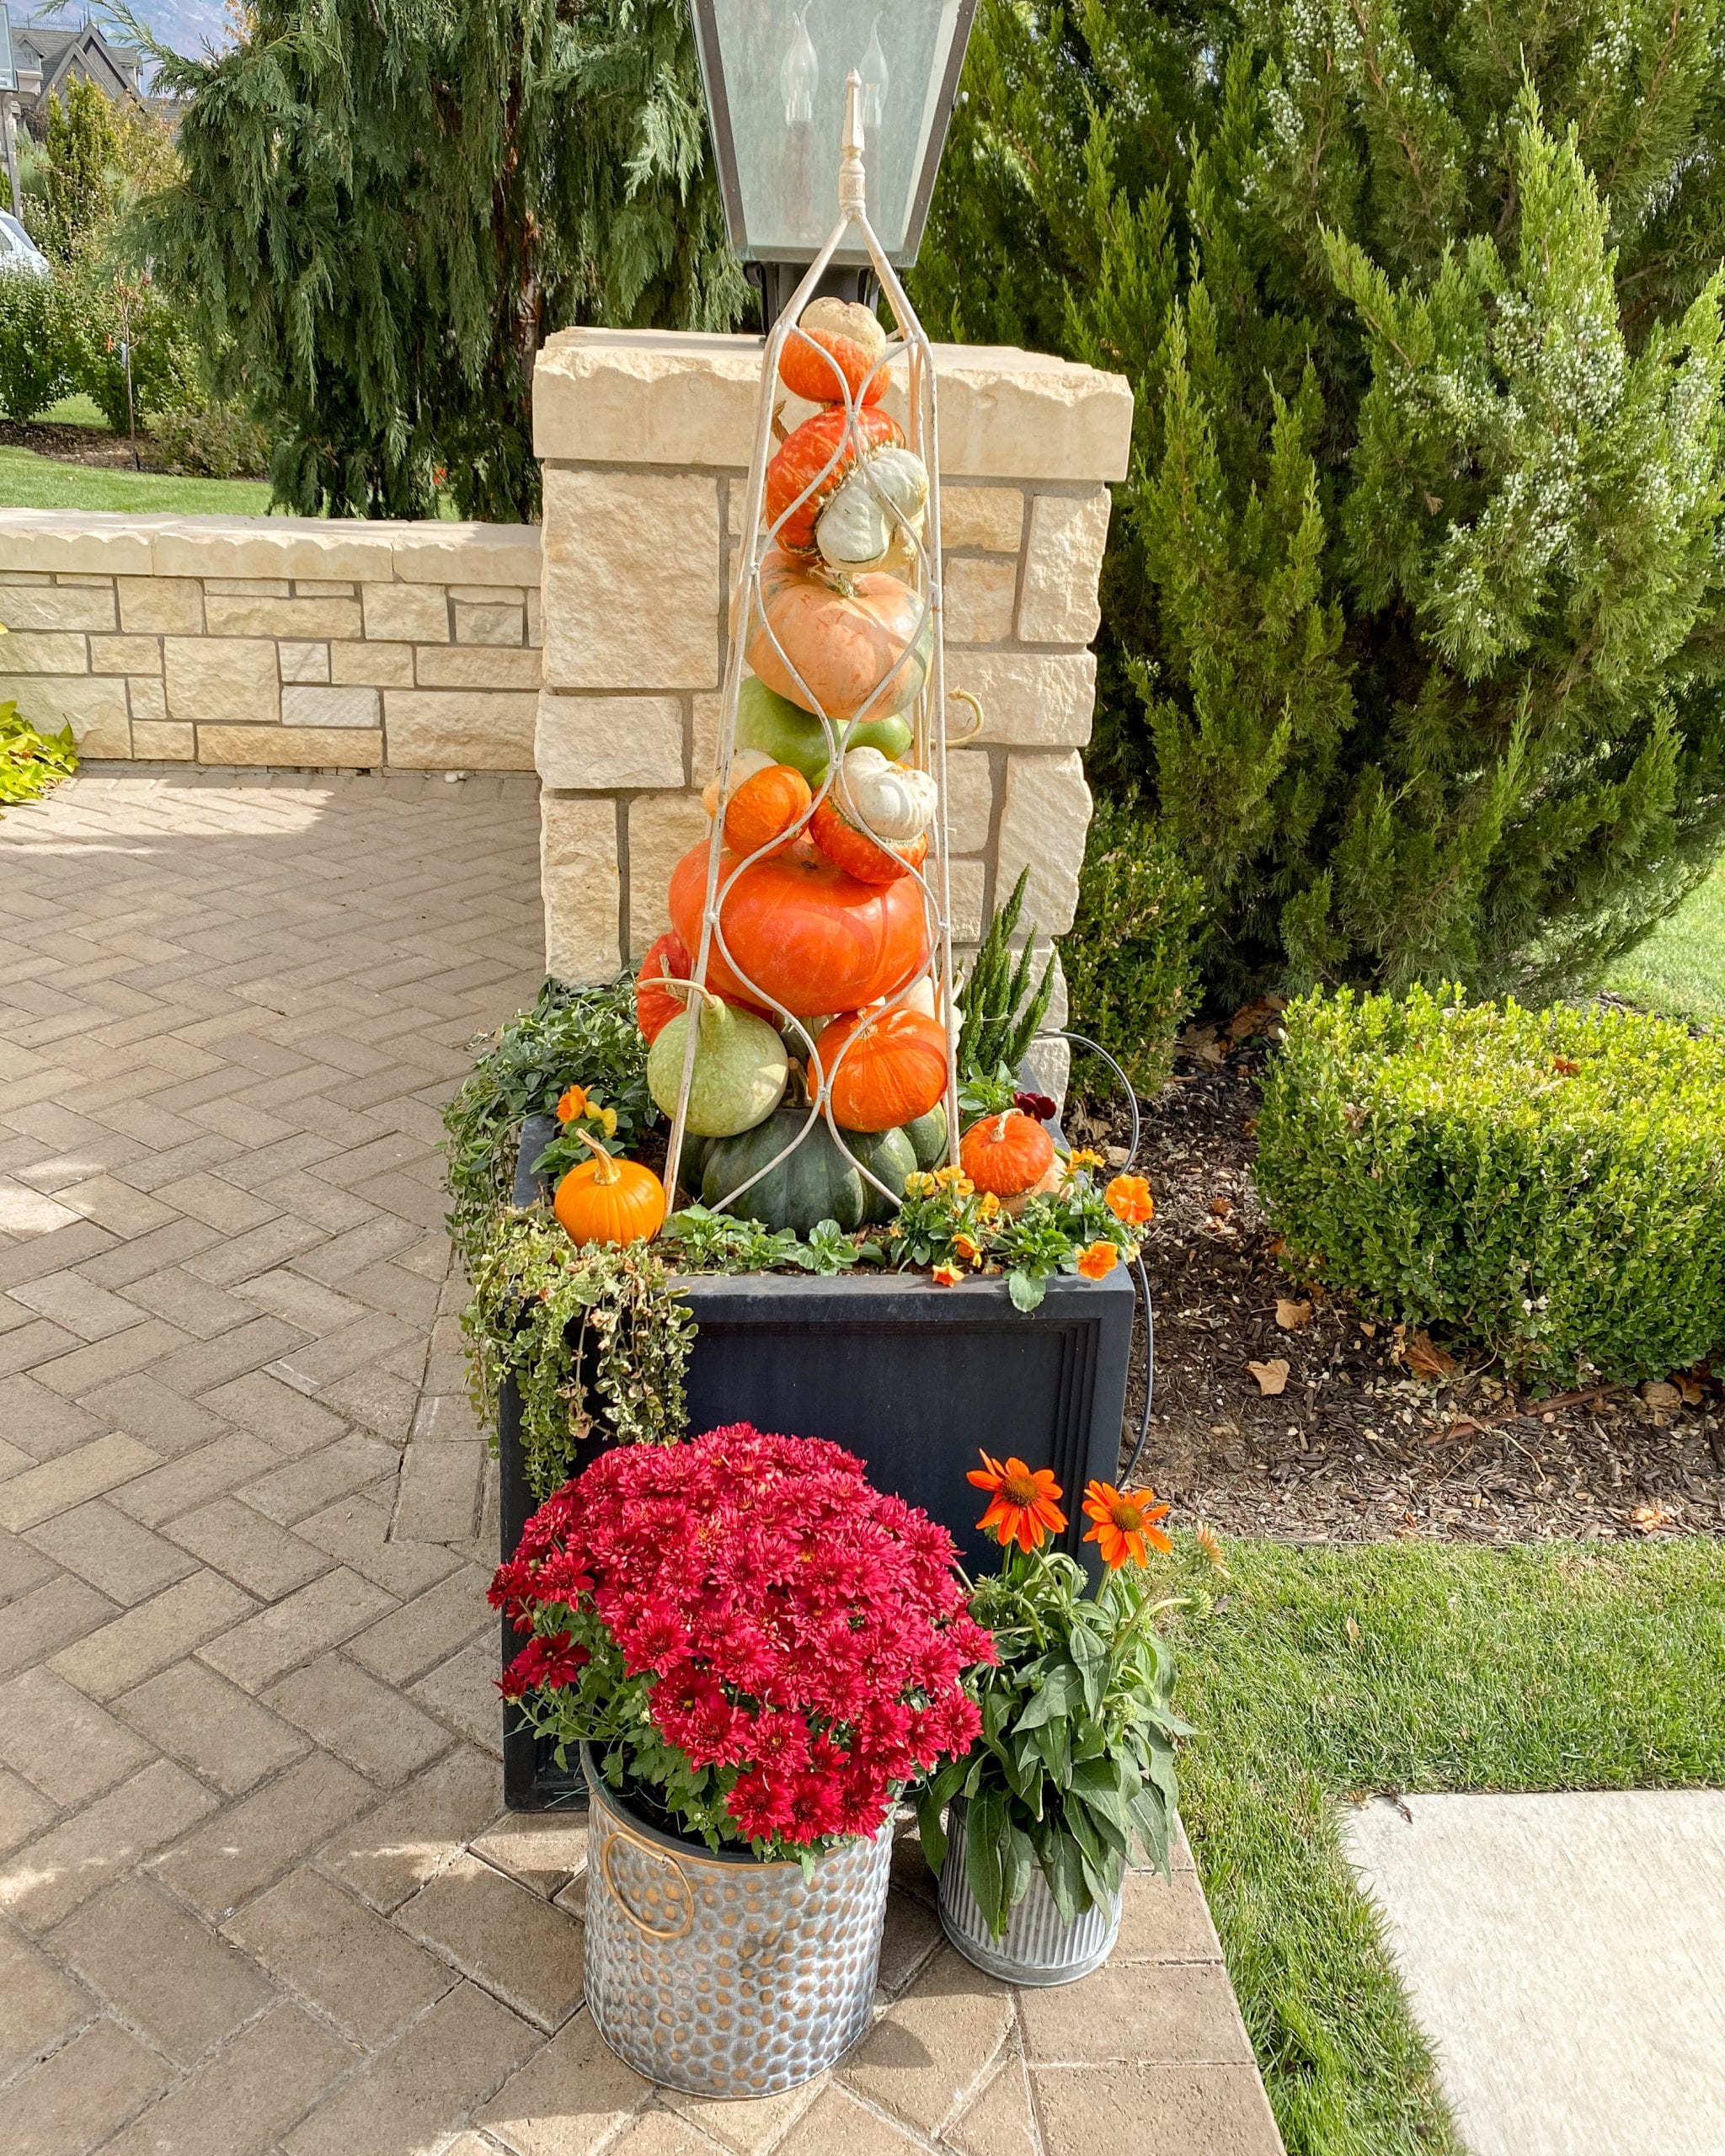
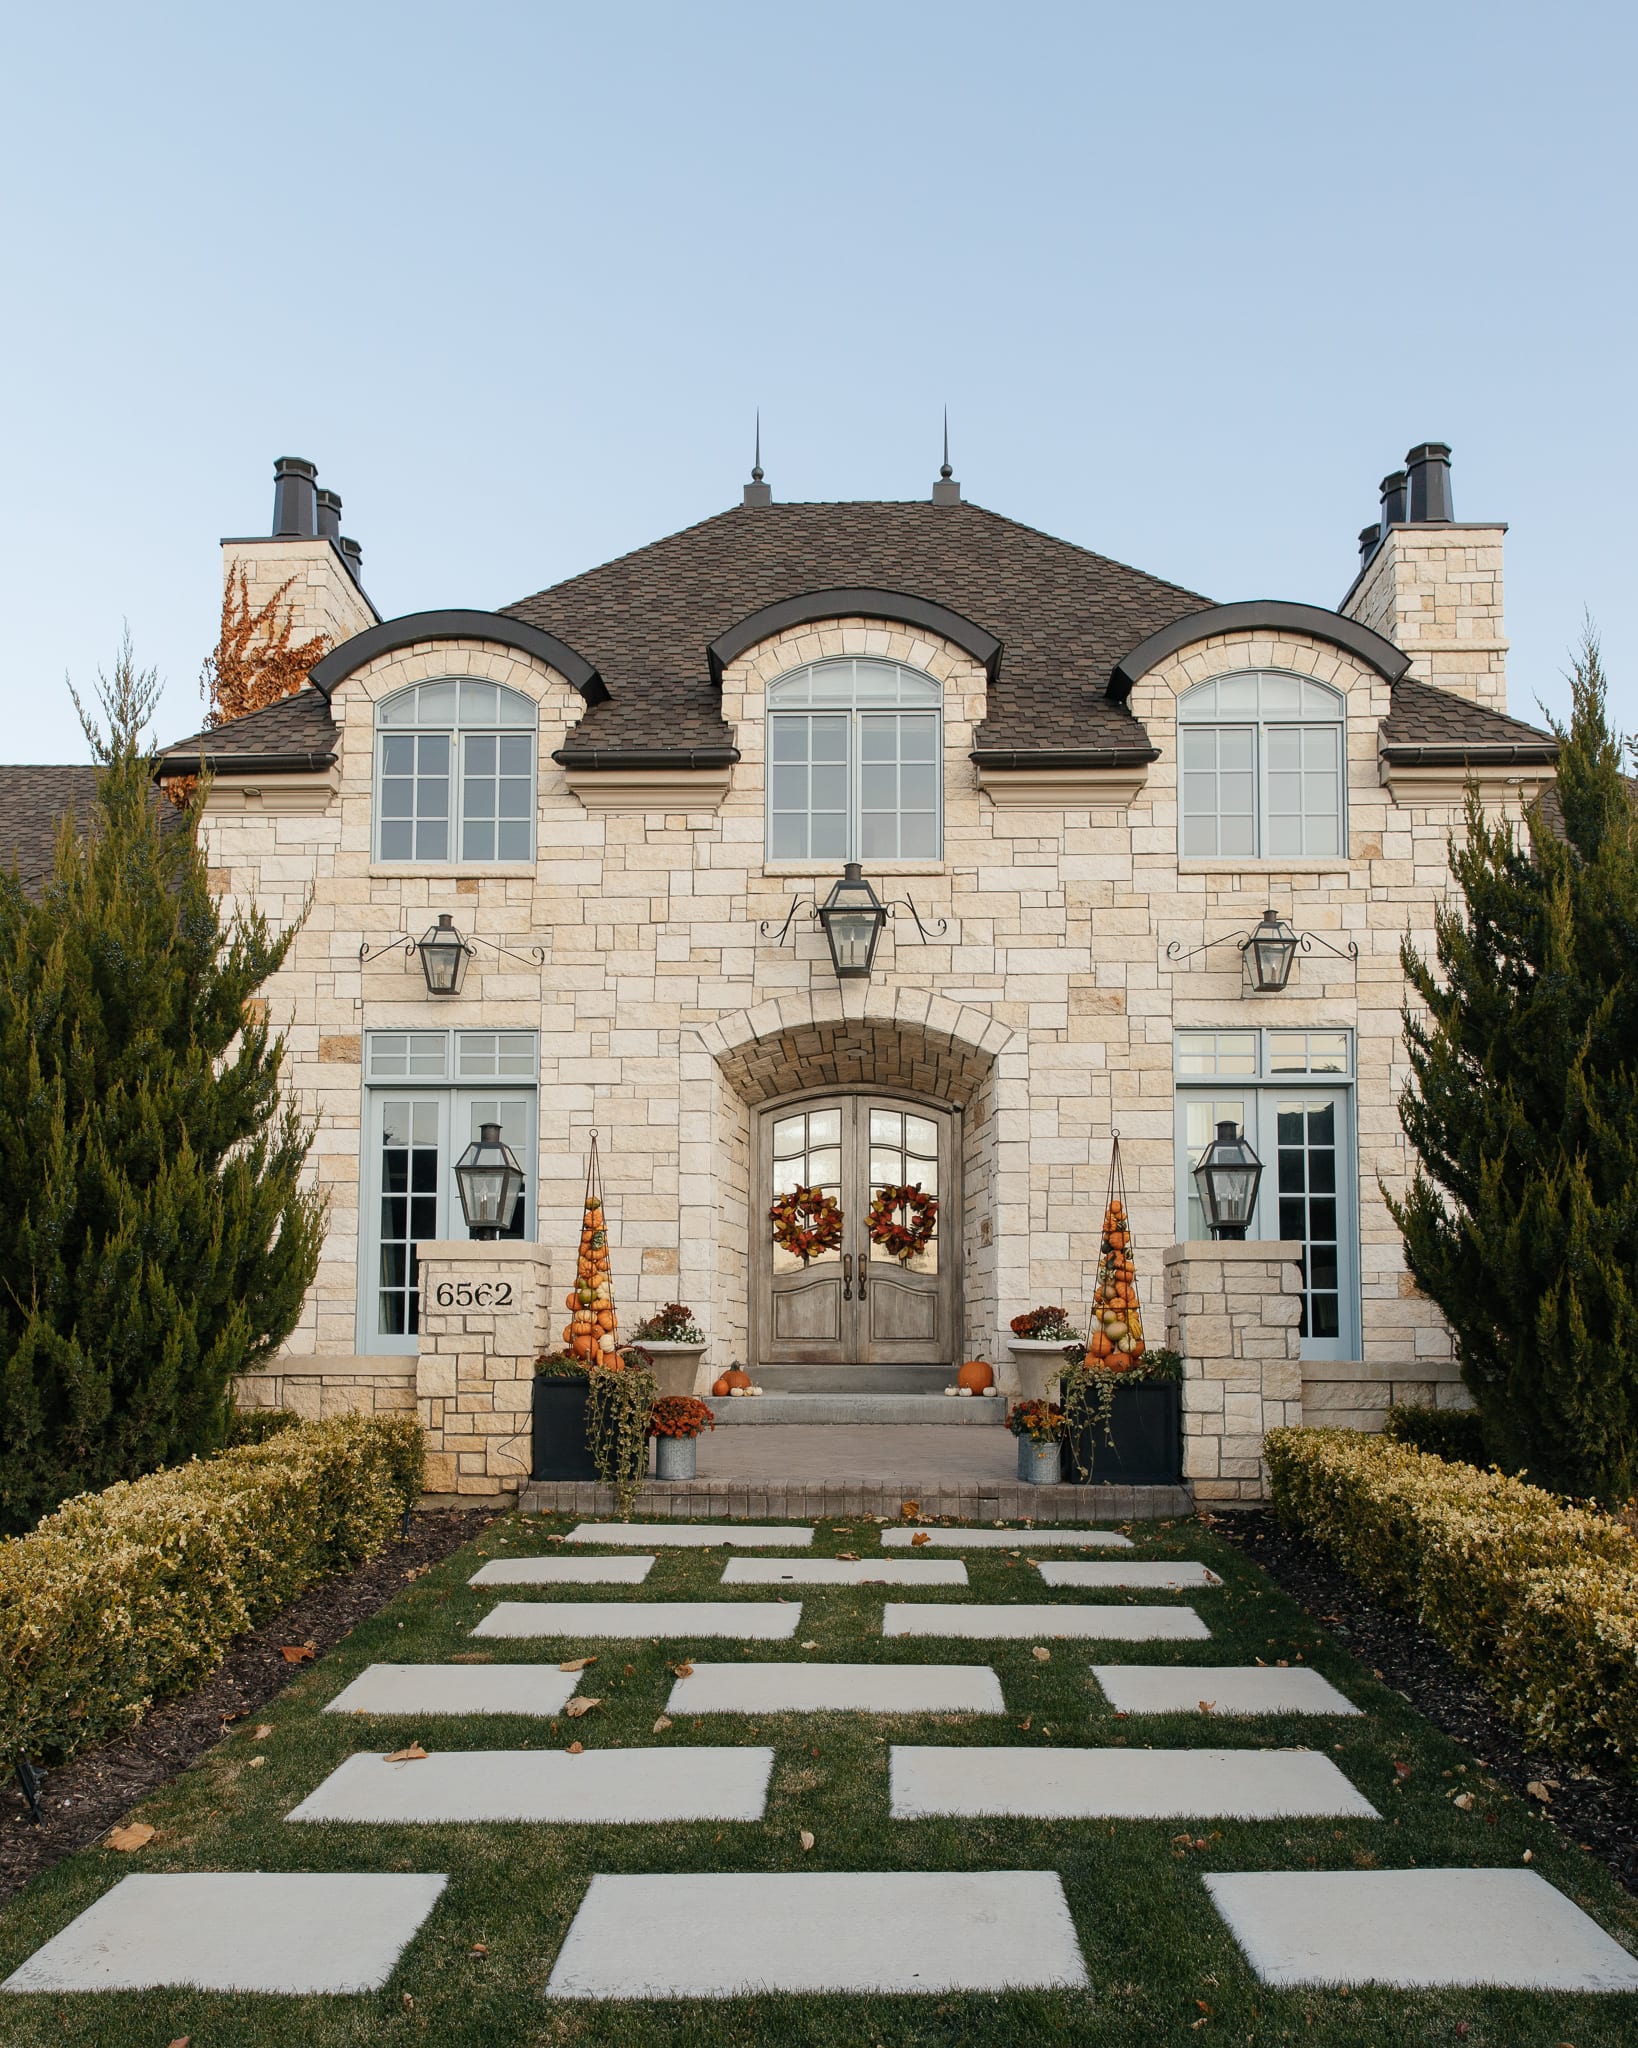
I love decorating for fall and today I’m sharing my Fall Porch Decor – How to Make Planter Box Pumpkin Obelisk Towers. These little pumpkins towers make a huge statement and can be a little difficult to make, but I’m sharing the steps here to save you the trial and error when doing it for the first time.
Tools and Supplies
Here are all the things you’ll need to create these Pumpkin Obelisk Towers for you planter boxes. I’ve linked as many of these items I could find below at the bottom of the post. If you want your obelisks white or ivory you can spray paint them as I couldn’t find many that were an exact match to mine. (See sources below)
Planter Box and Gardening Soil
Obelisks (mine are from Sun River Gardens in Orem, Utah)
Rod Iron Pumpkins
Variety of Metal Containers
Hearty Fall Plants for the Planter (mums, pansies, green leafy perennials)
Variety of Pumpkins and Gourds of Varying Sizes
Garden Snips
Small Hand Gardening Shovel
Wire
Wire Cutters
Stakes
Hammer
Gardening Gloves

Steps for How to make the Pumpkin Obelisk Towers for Fall Porch DIY Decor
Turn your obelisk upside down and lay out your pumpkins close by. Lean the obelisk up against something or if you have an extra person have them hold it upright.
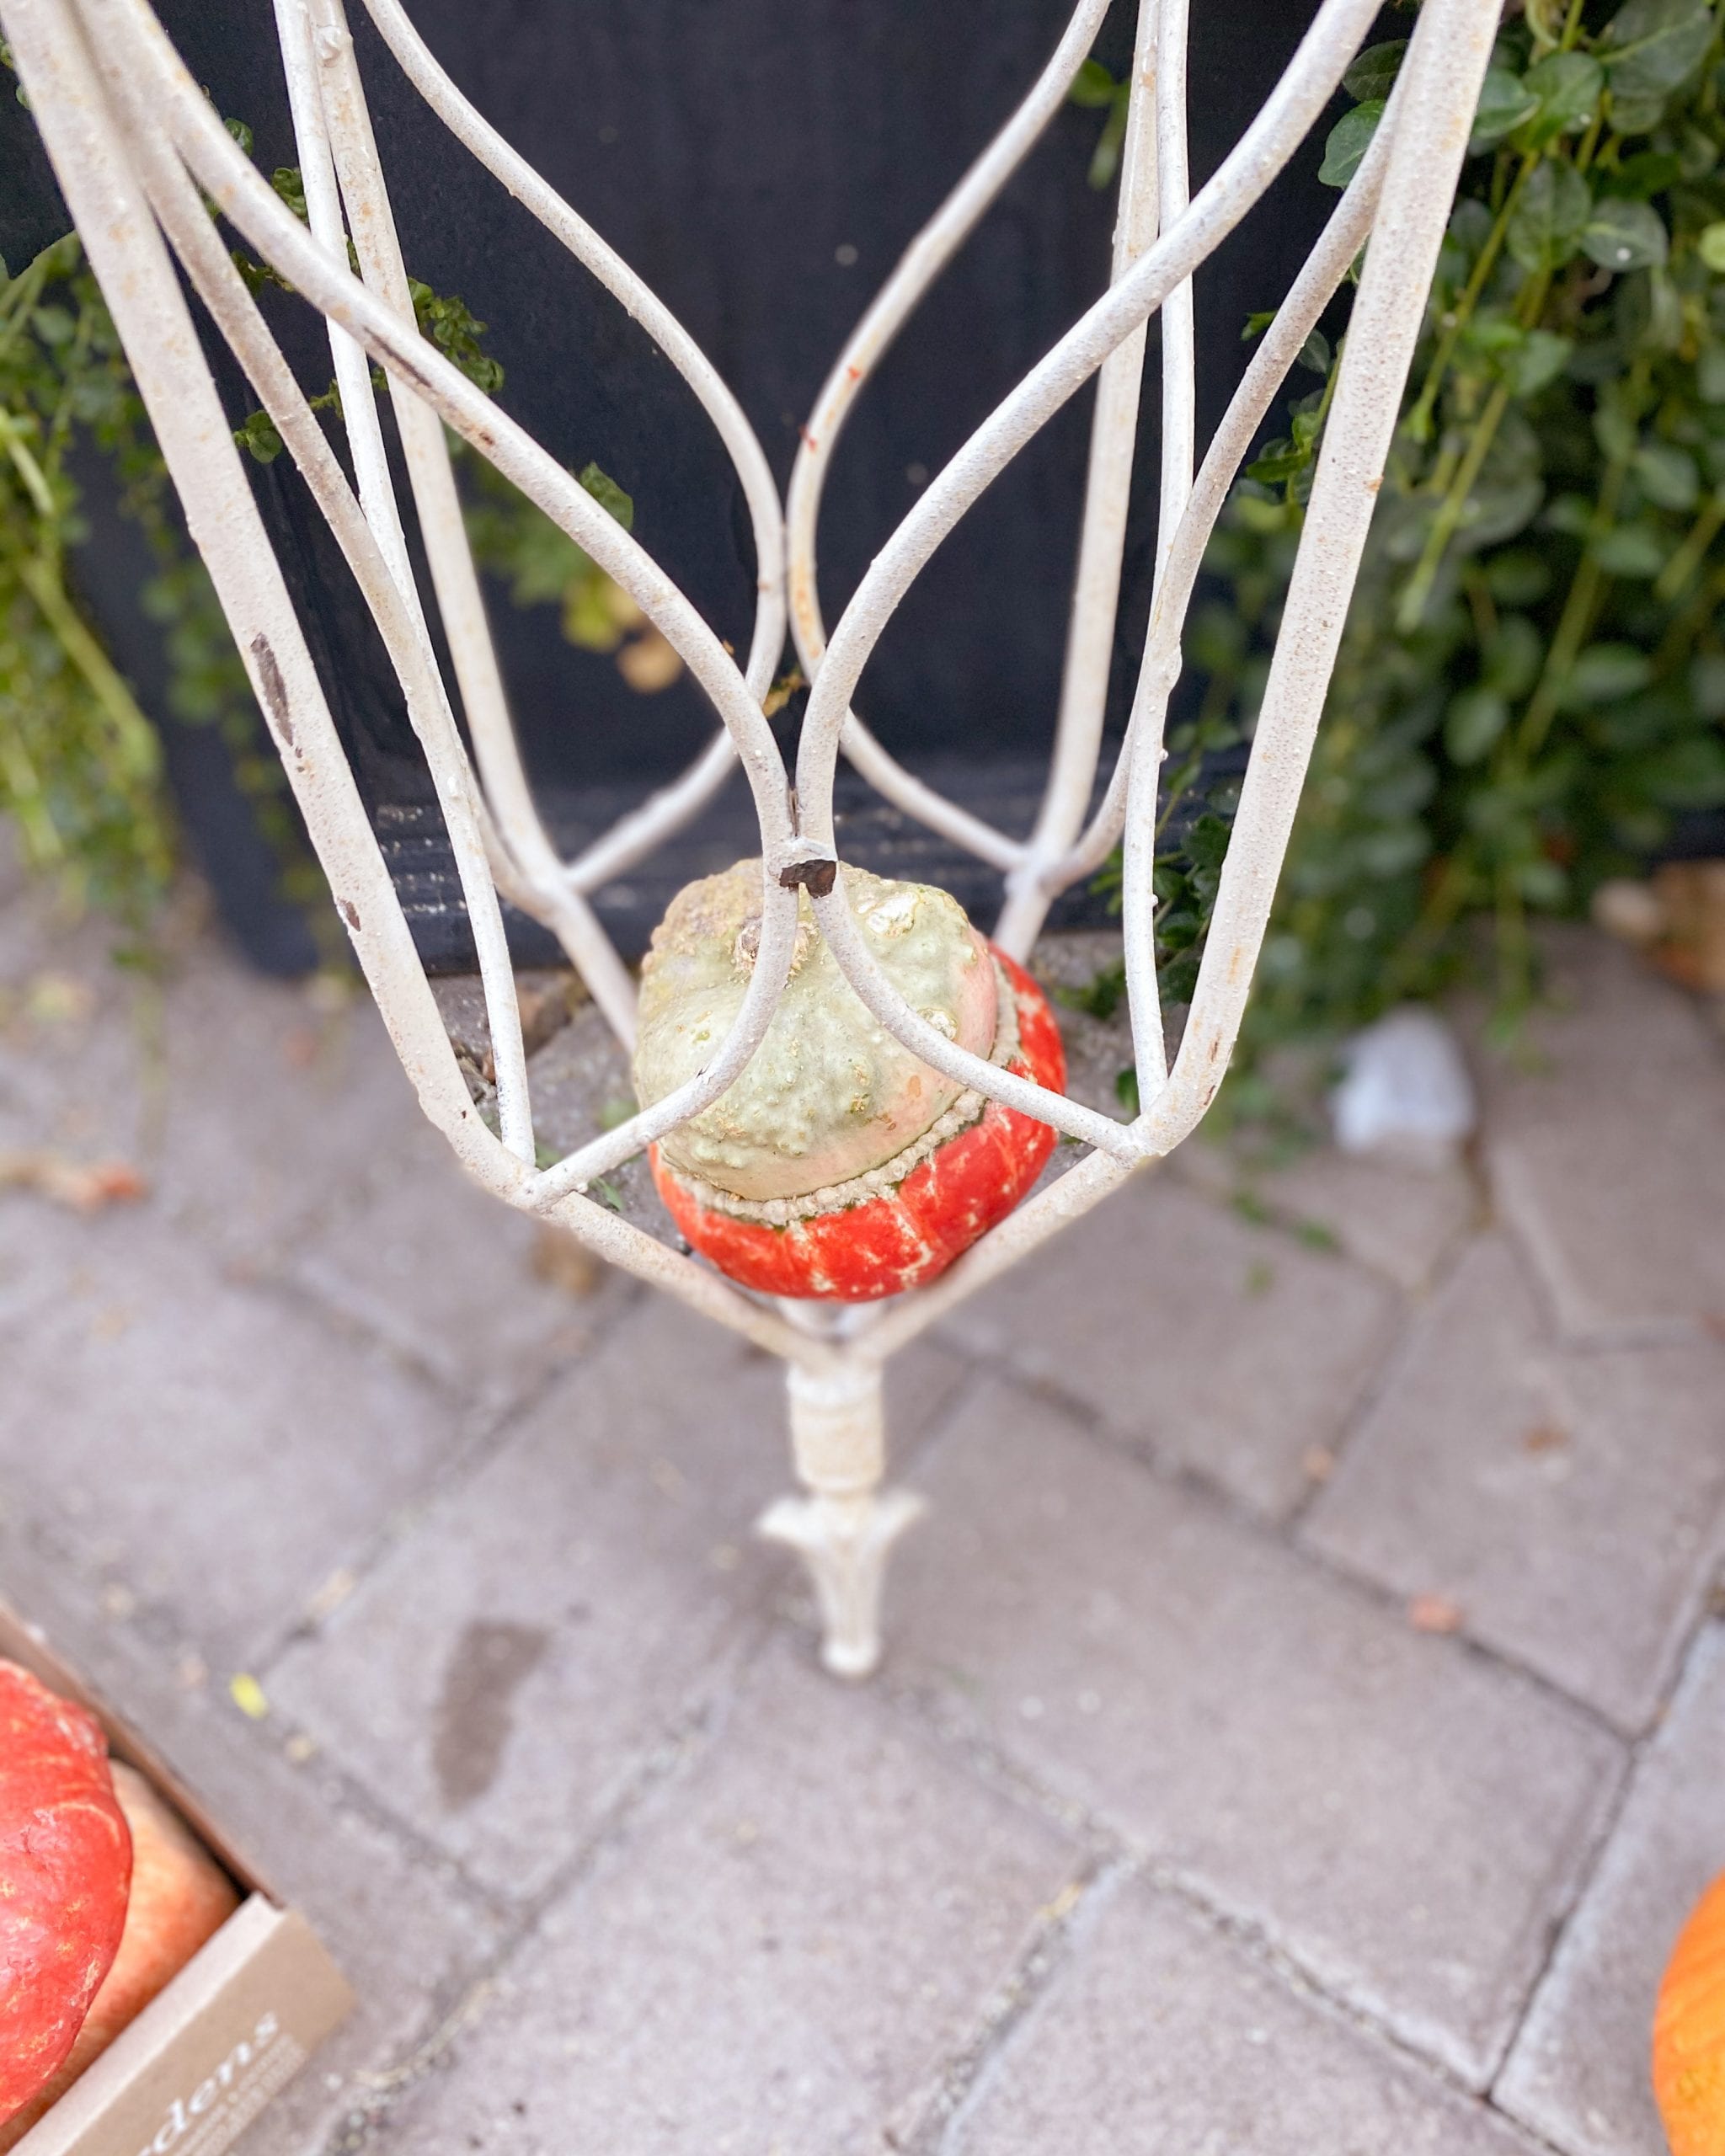
Start by placing the smallest pumpkins or gourds in the bottom which when flipped over will become the top.
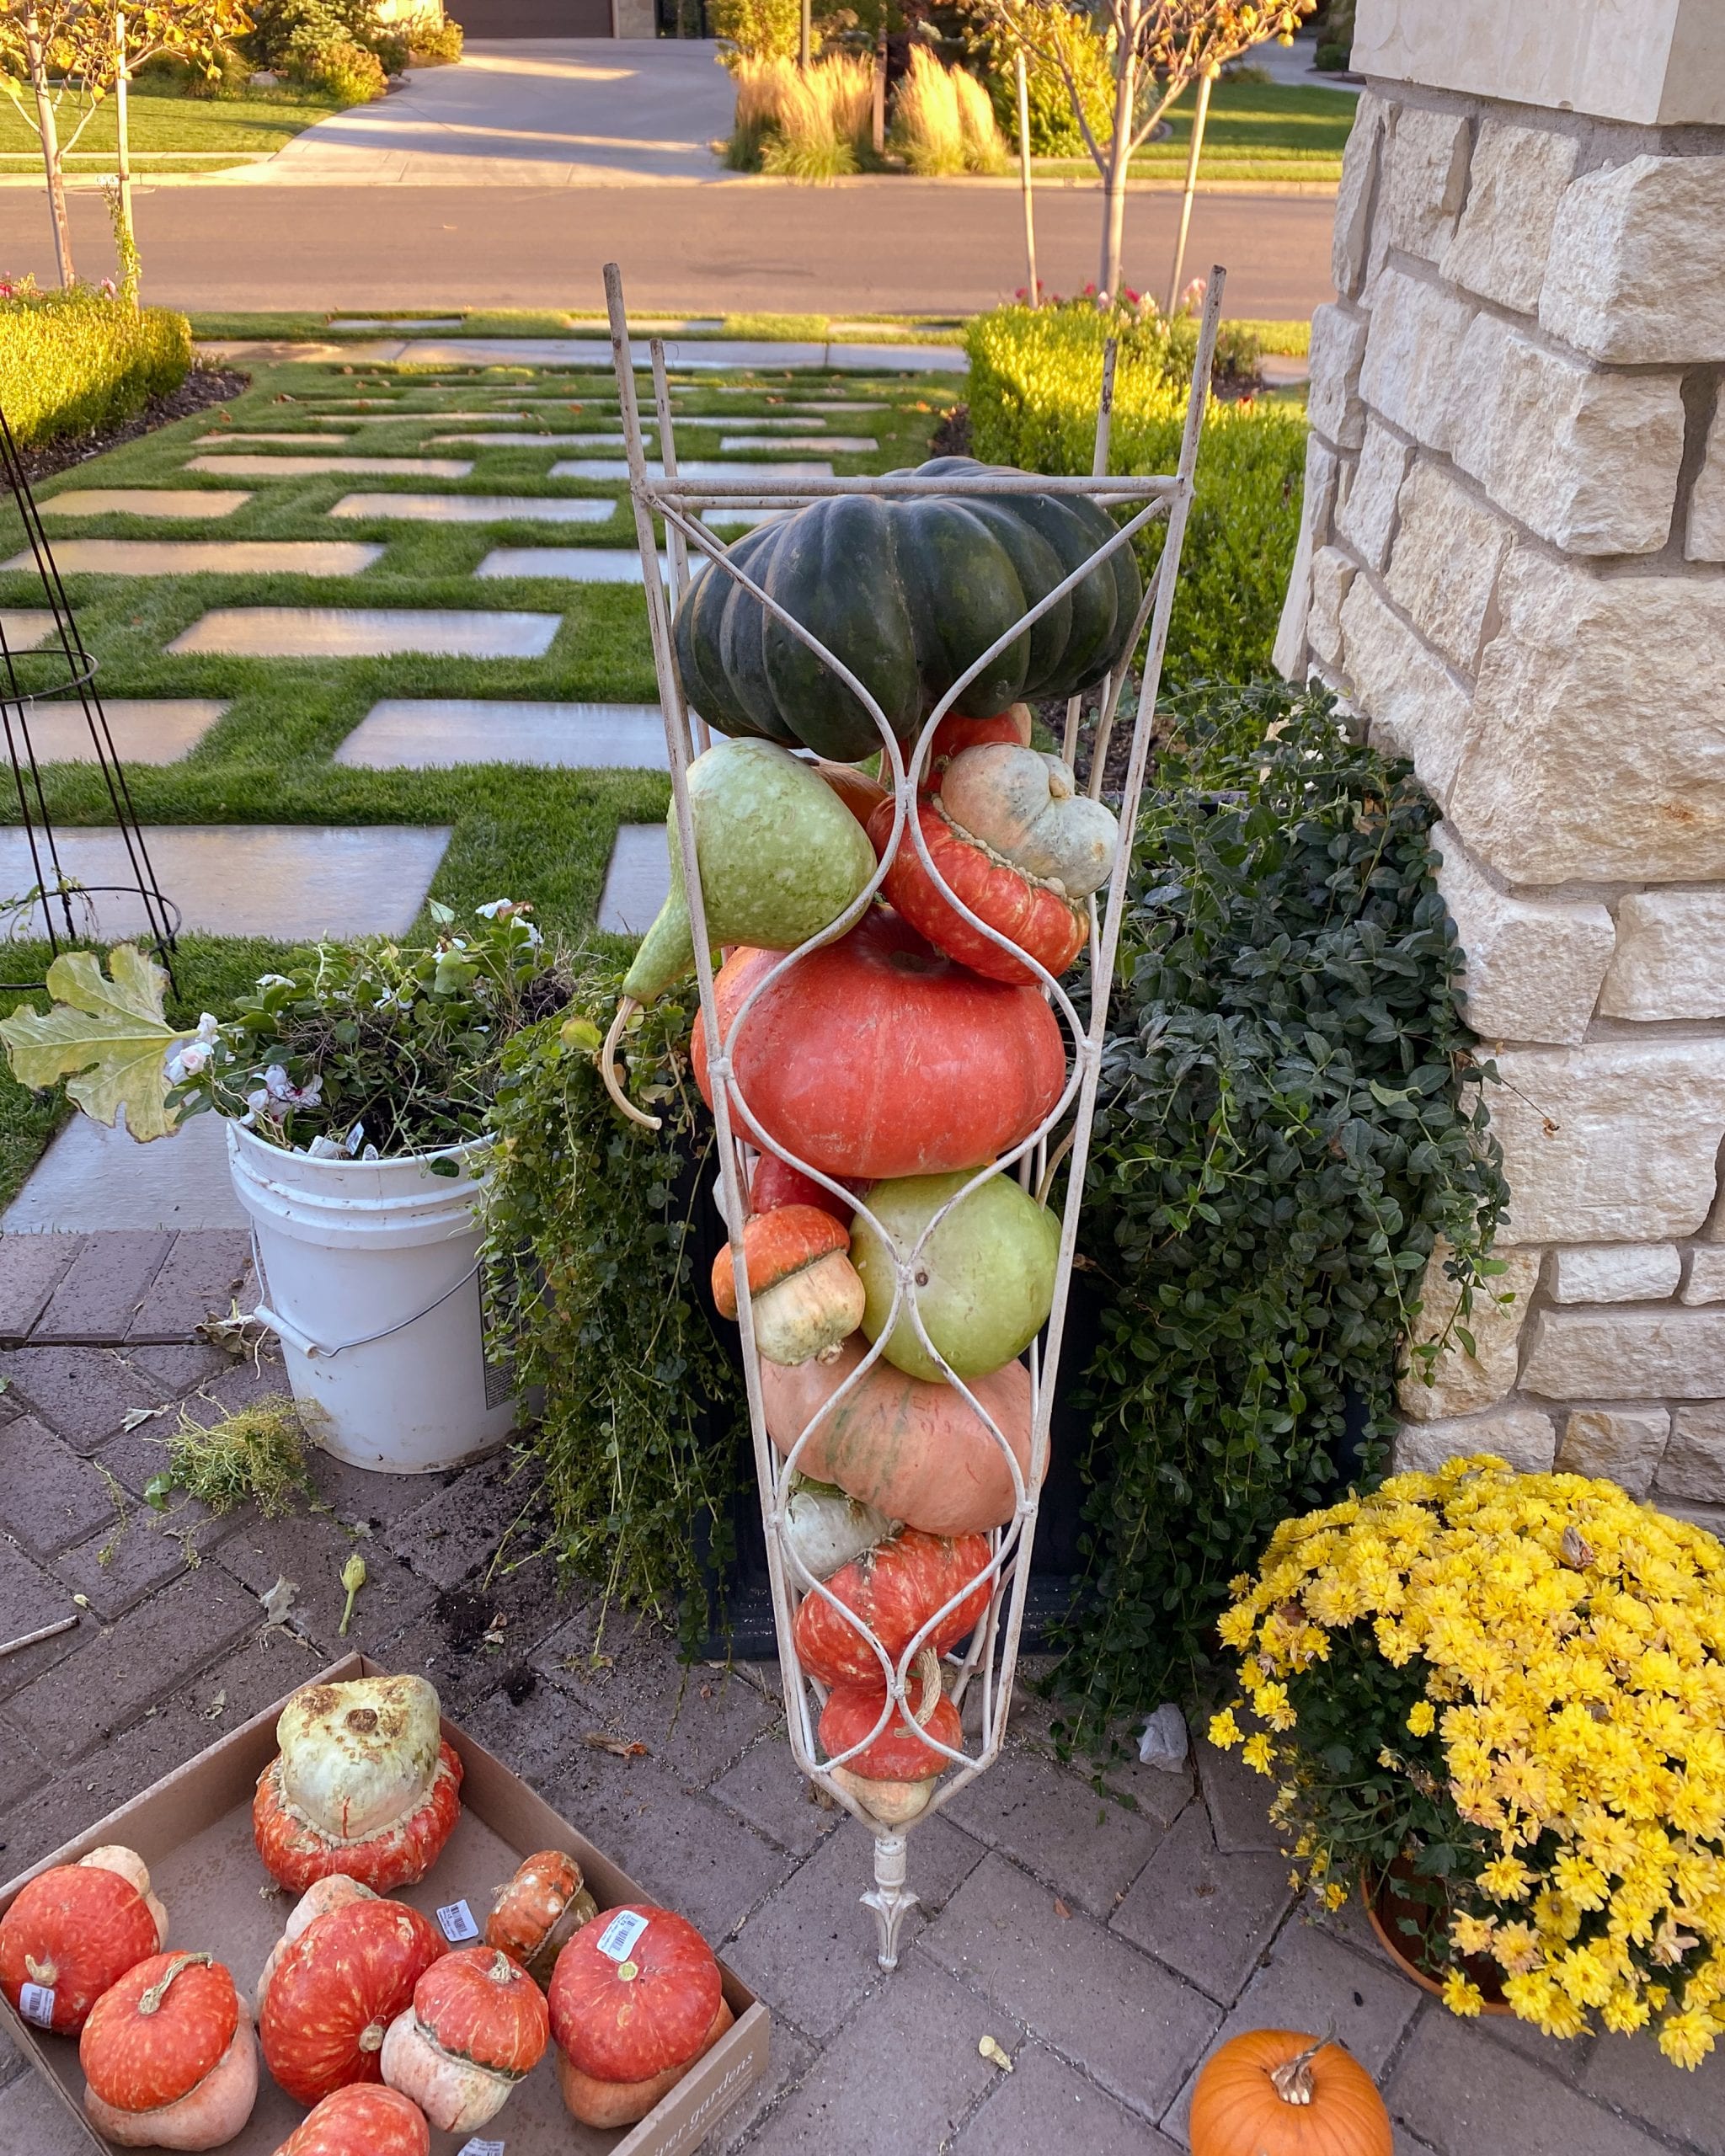
Keep adding the pumpkins and gourds smallest to largest. Keep in mind what it will look like when you flip it over. It’s okay to lay them sideways and you will have to try different sizes to fill up the space. It’s a little bit like a puzzle. Don’t be surprised when you turn it over, some will fall out. You can add wire around the obelisk to help keep them in, but I didn’t have to on this particular obelisk. I’ll share some photos of other ones I’ve done before that I’ve had to wire. I will go into detail on that later in the post.
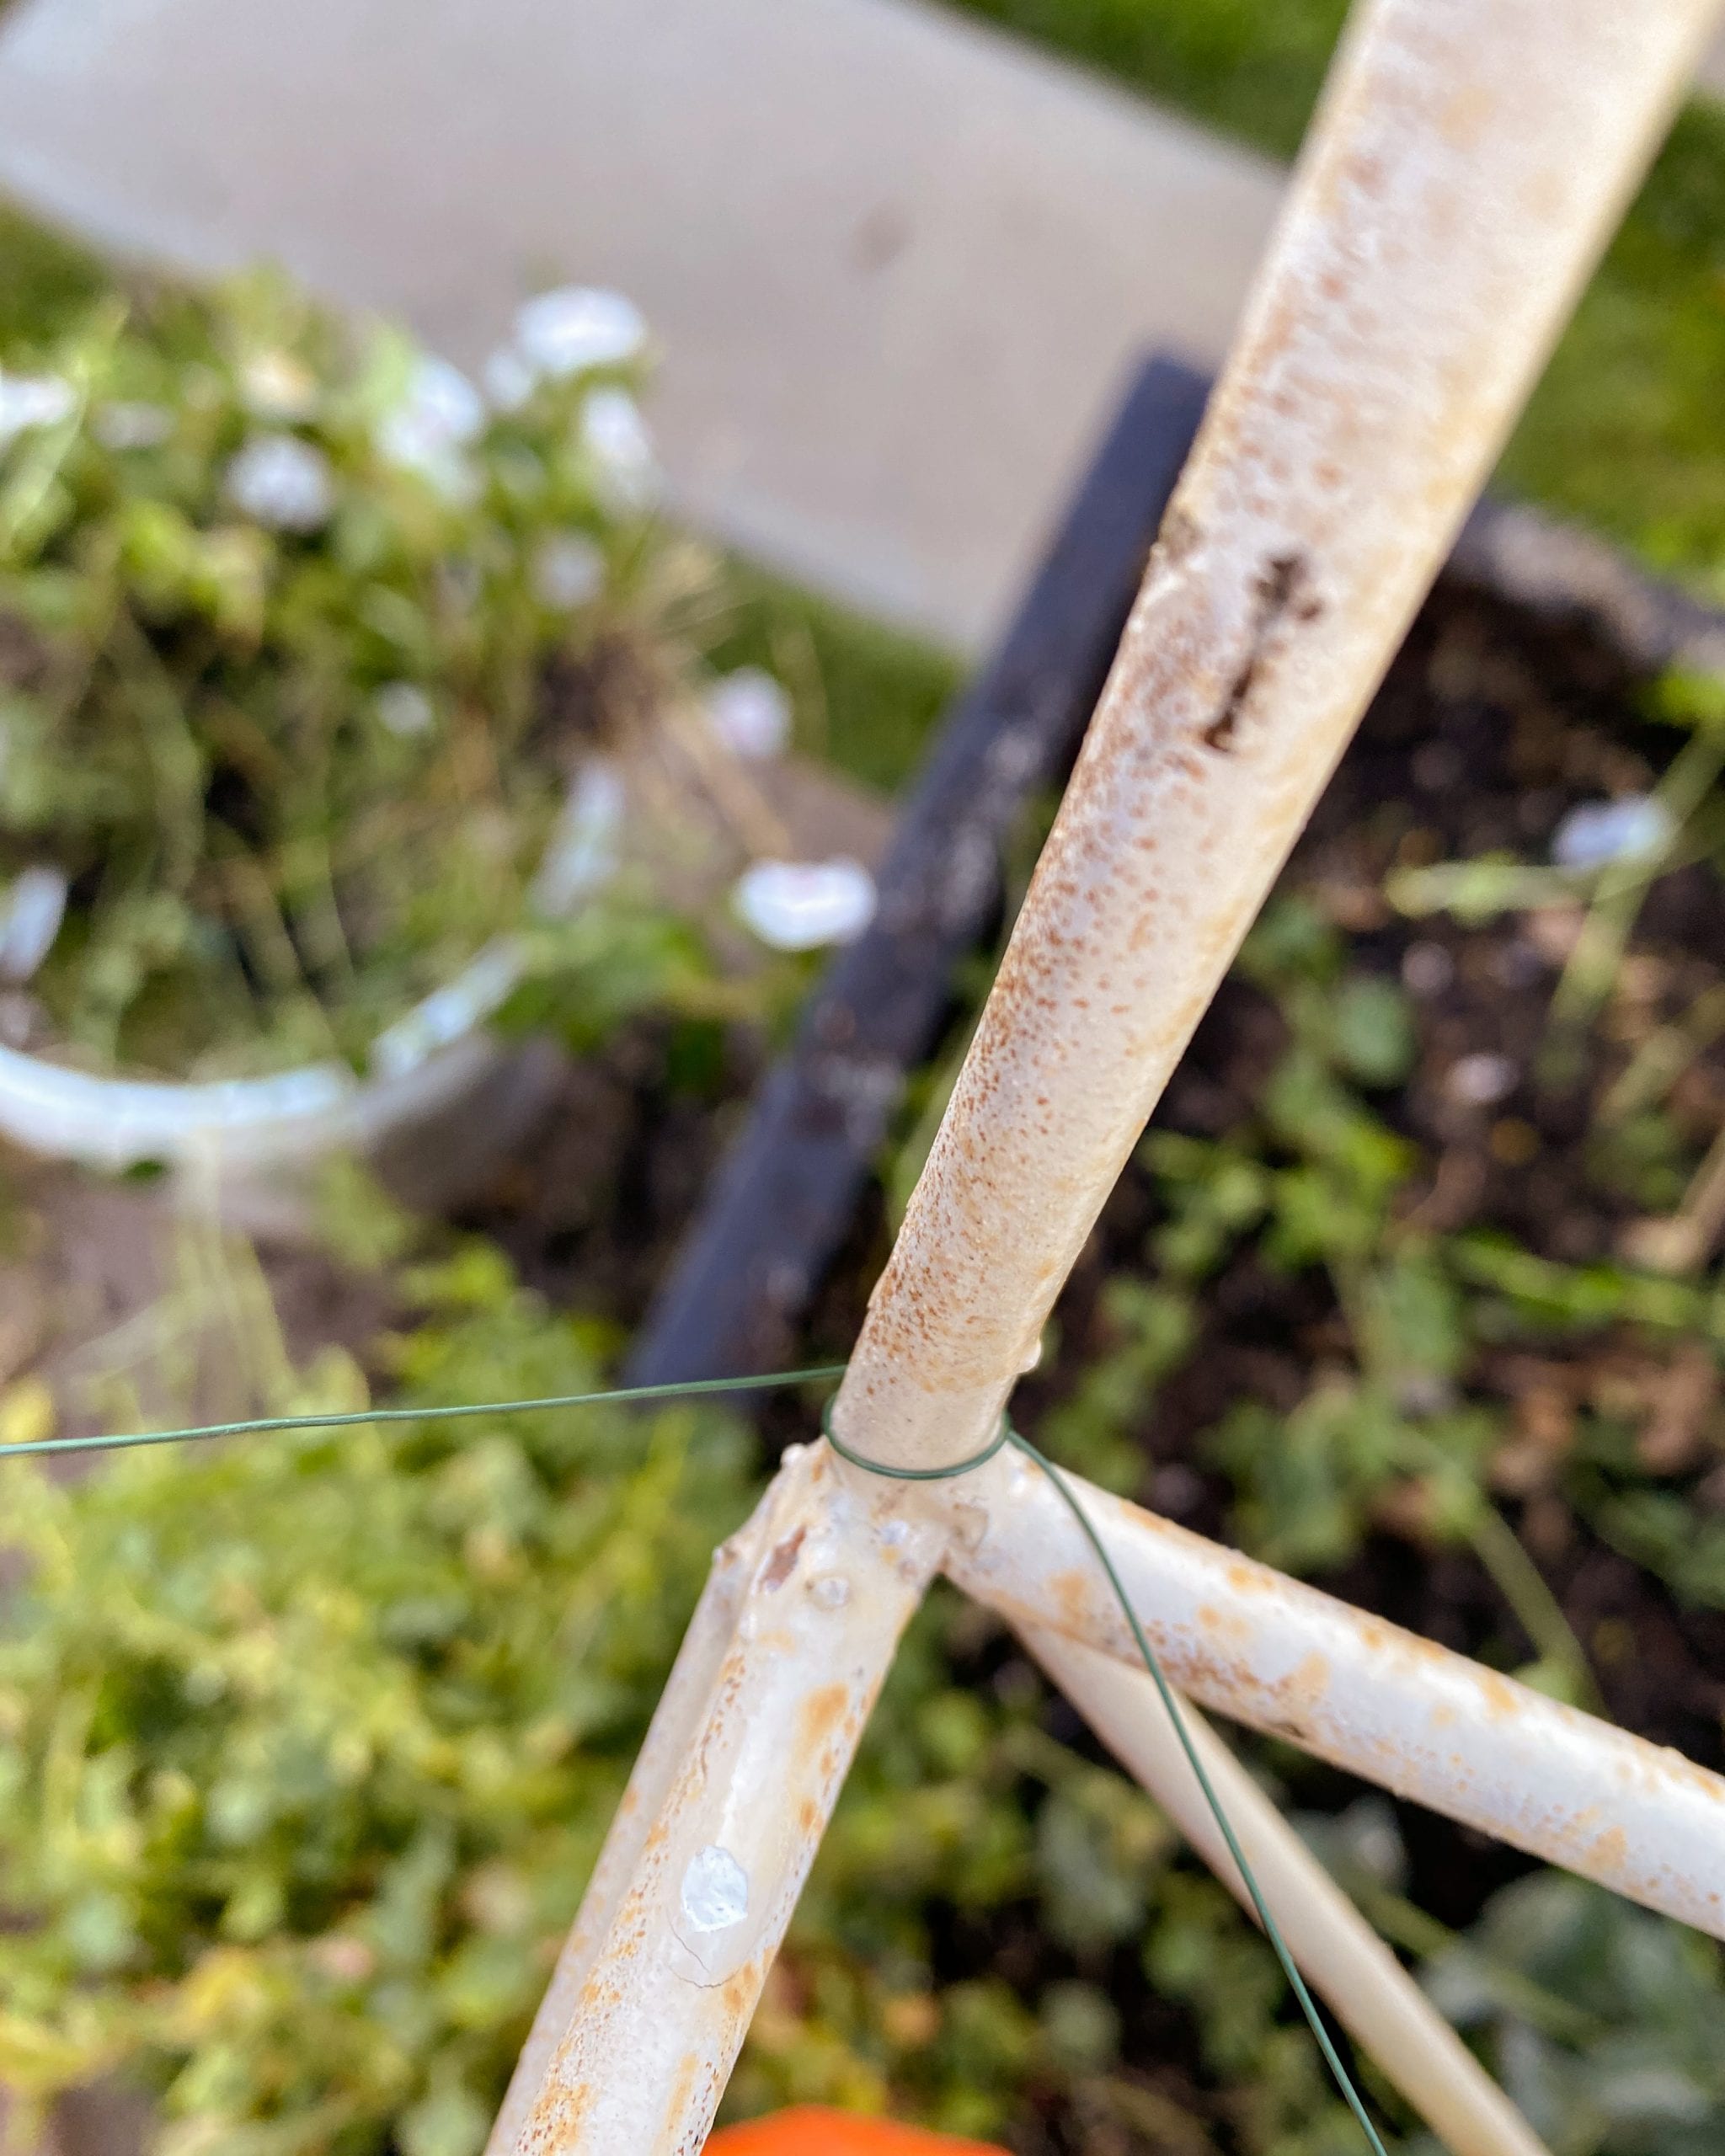
When you’ve finished filling the obelisk, wire up the bottom. Wrap the wire (or you can use some heavy duty twine) around one of the legs multiple times and then take the wire diagonally to the opposite side, do this back and forth 3-4 times on both sides.
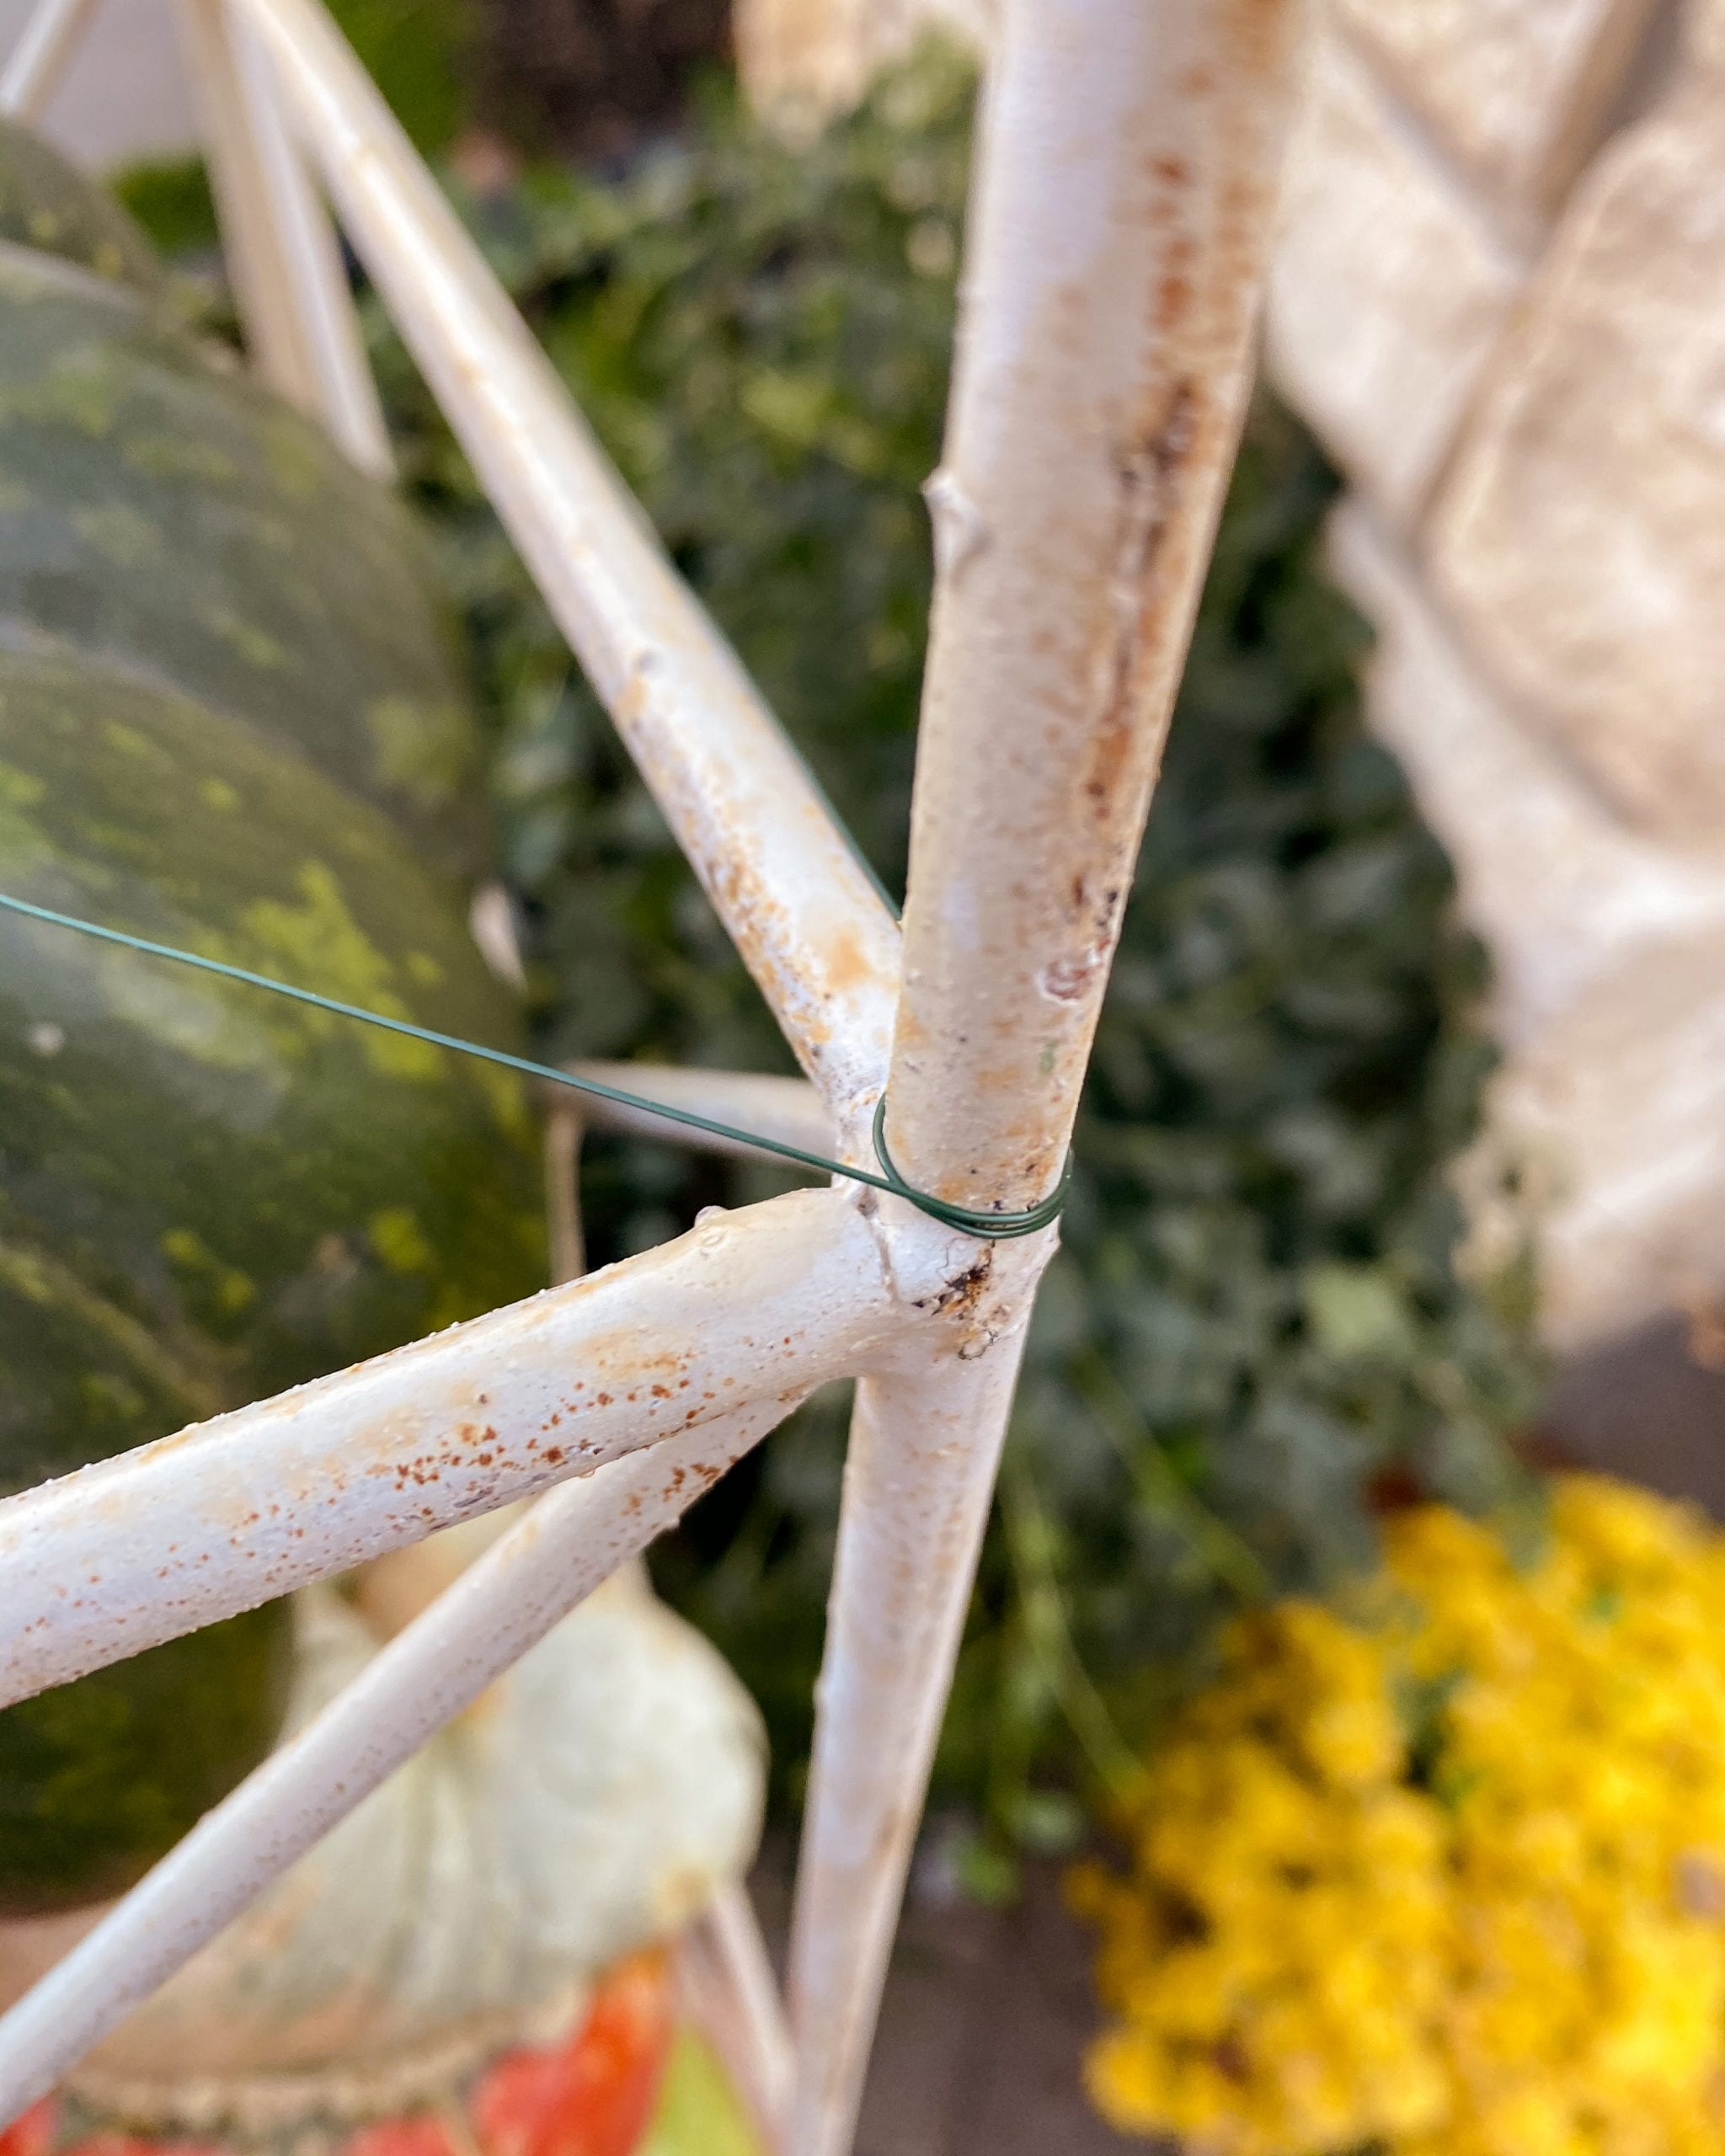
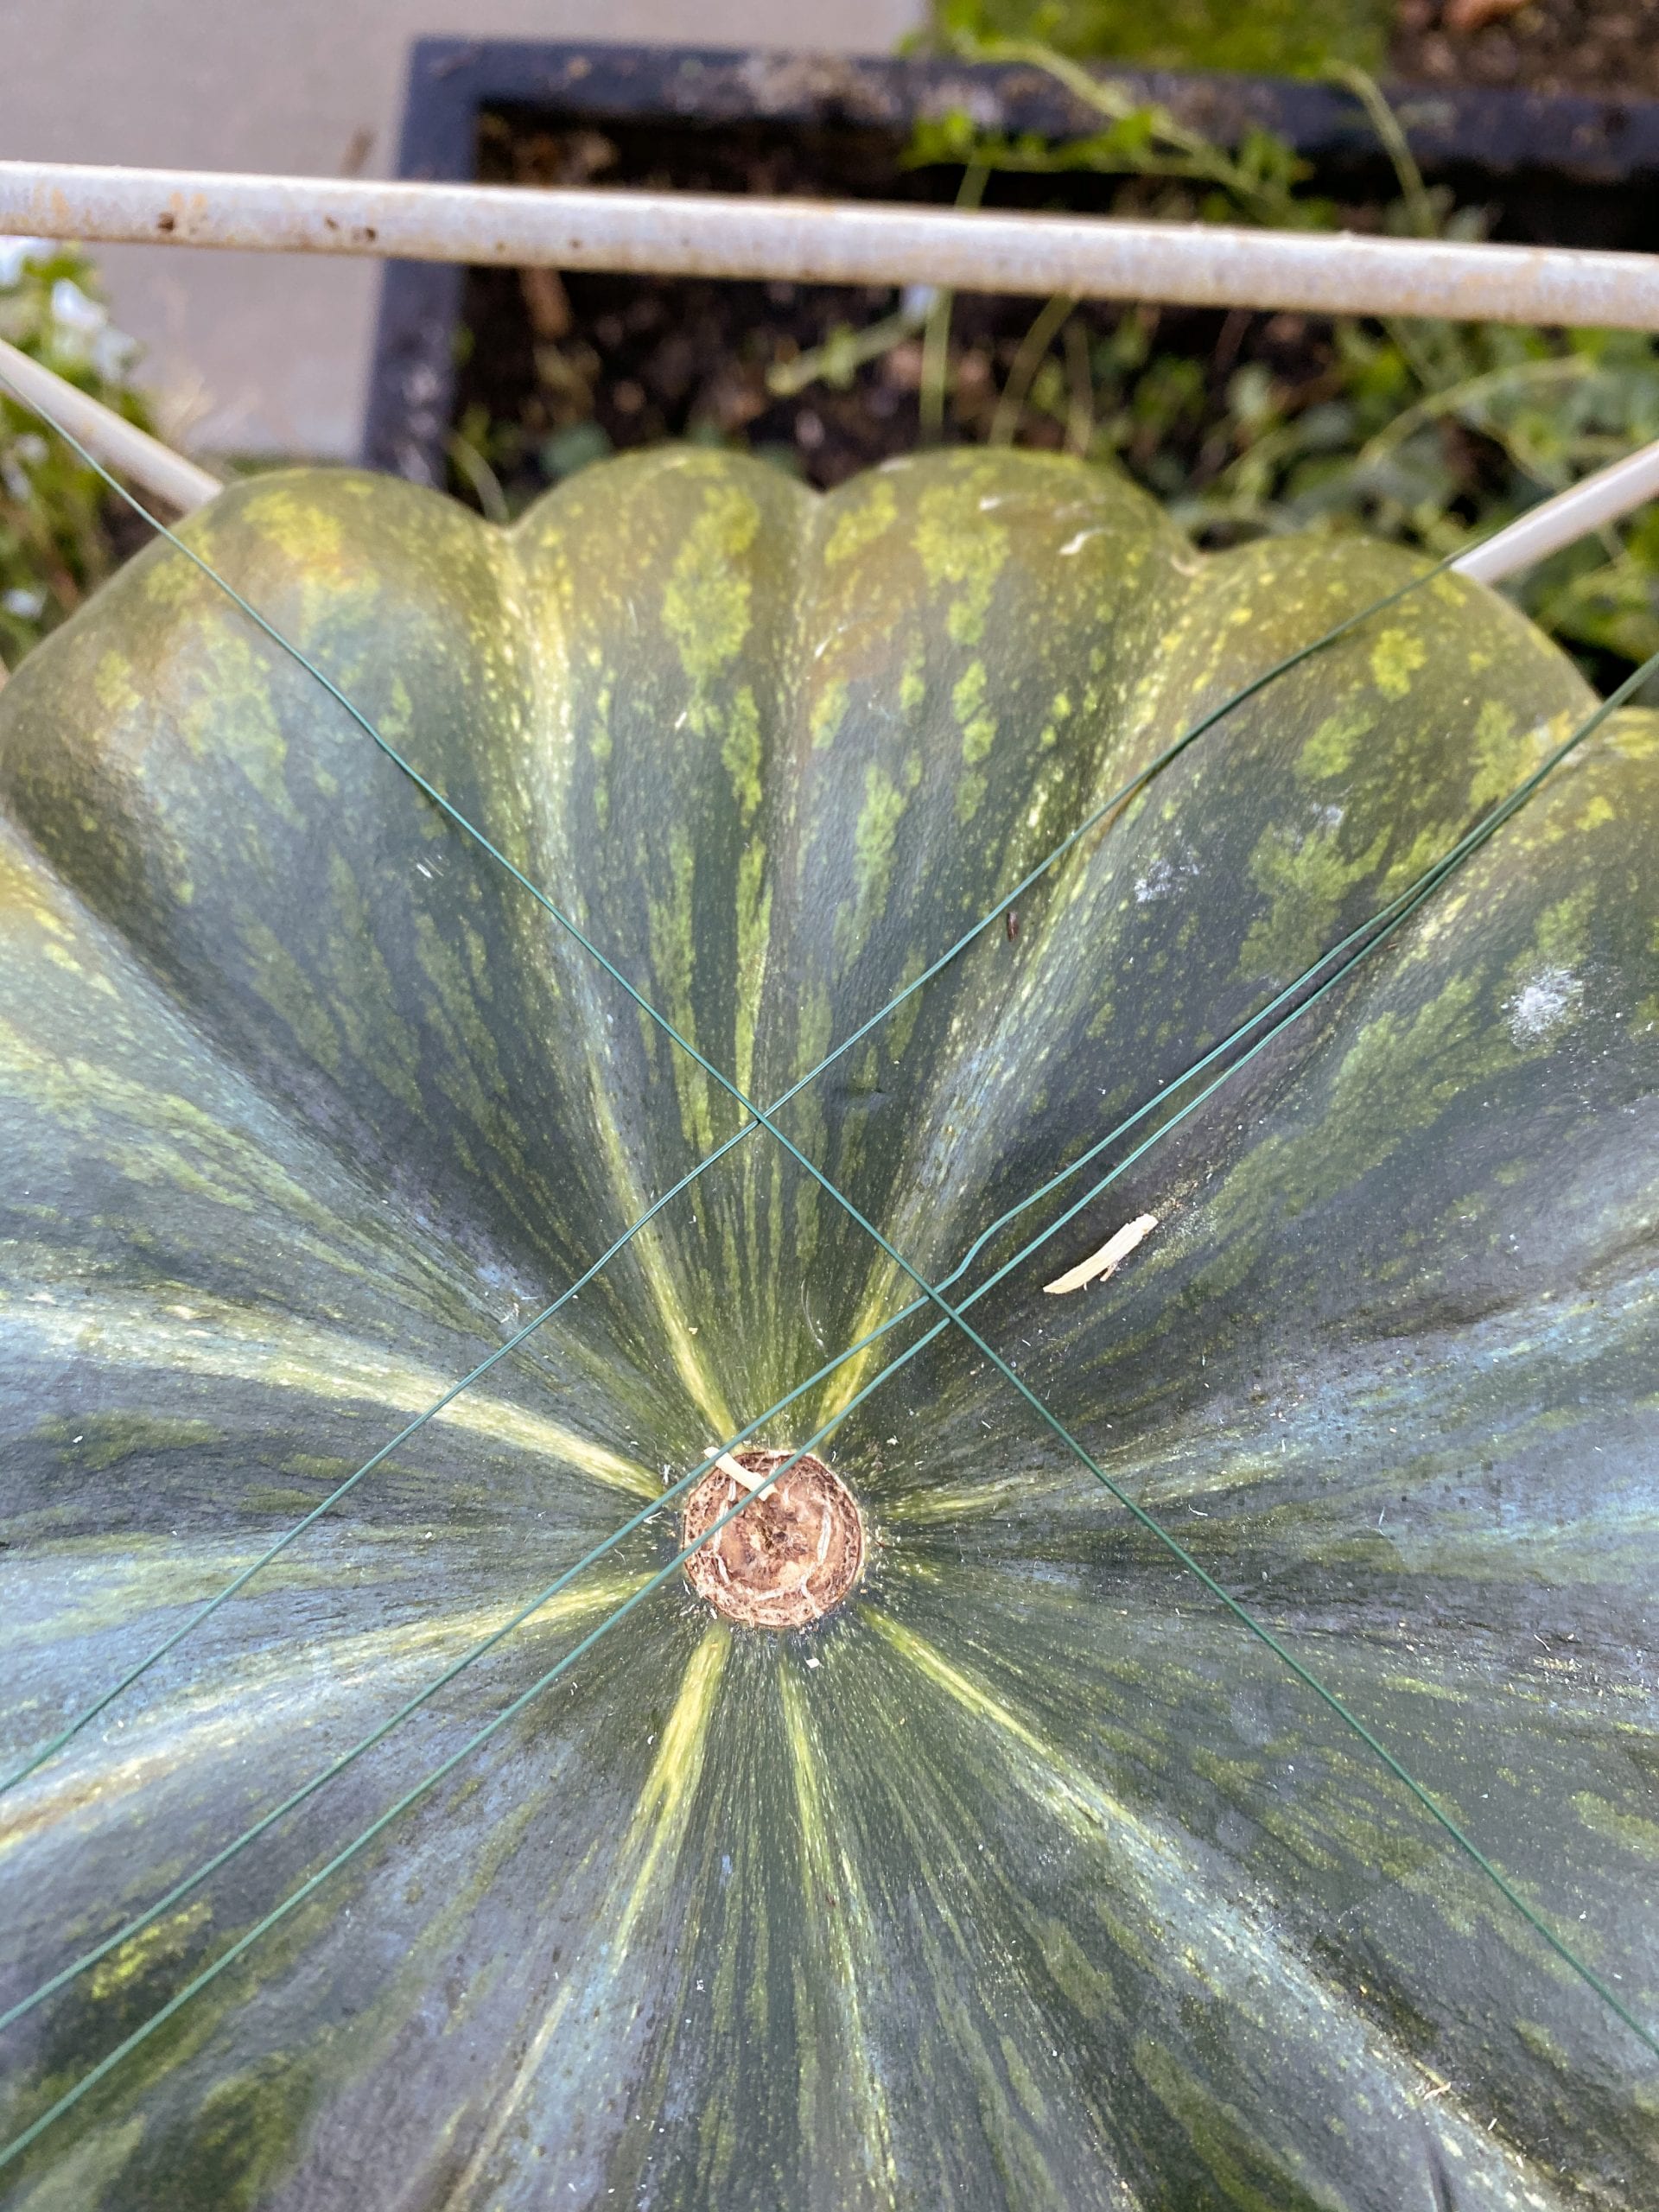
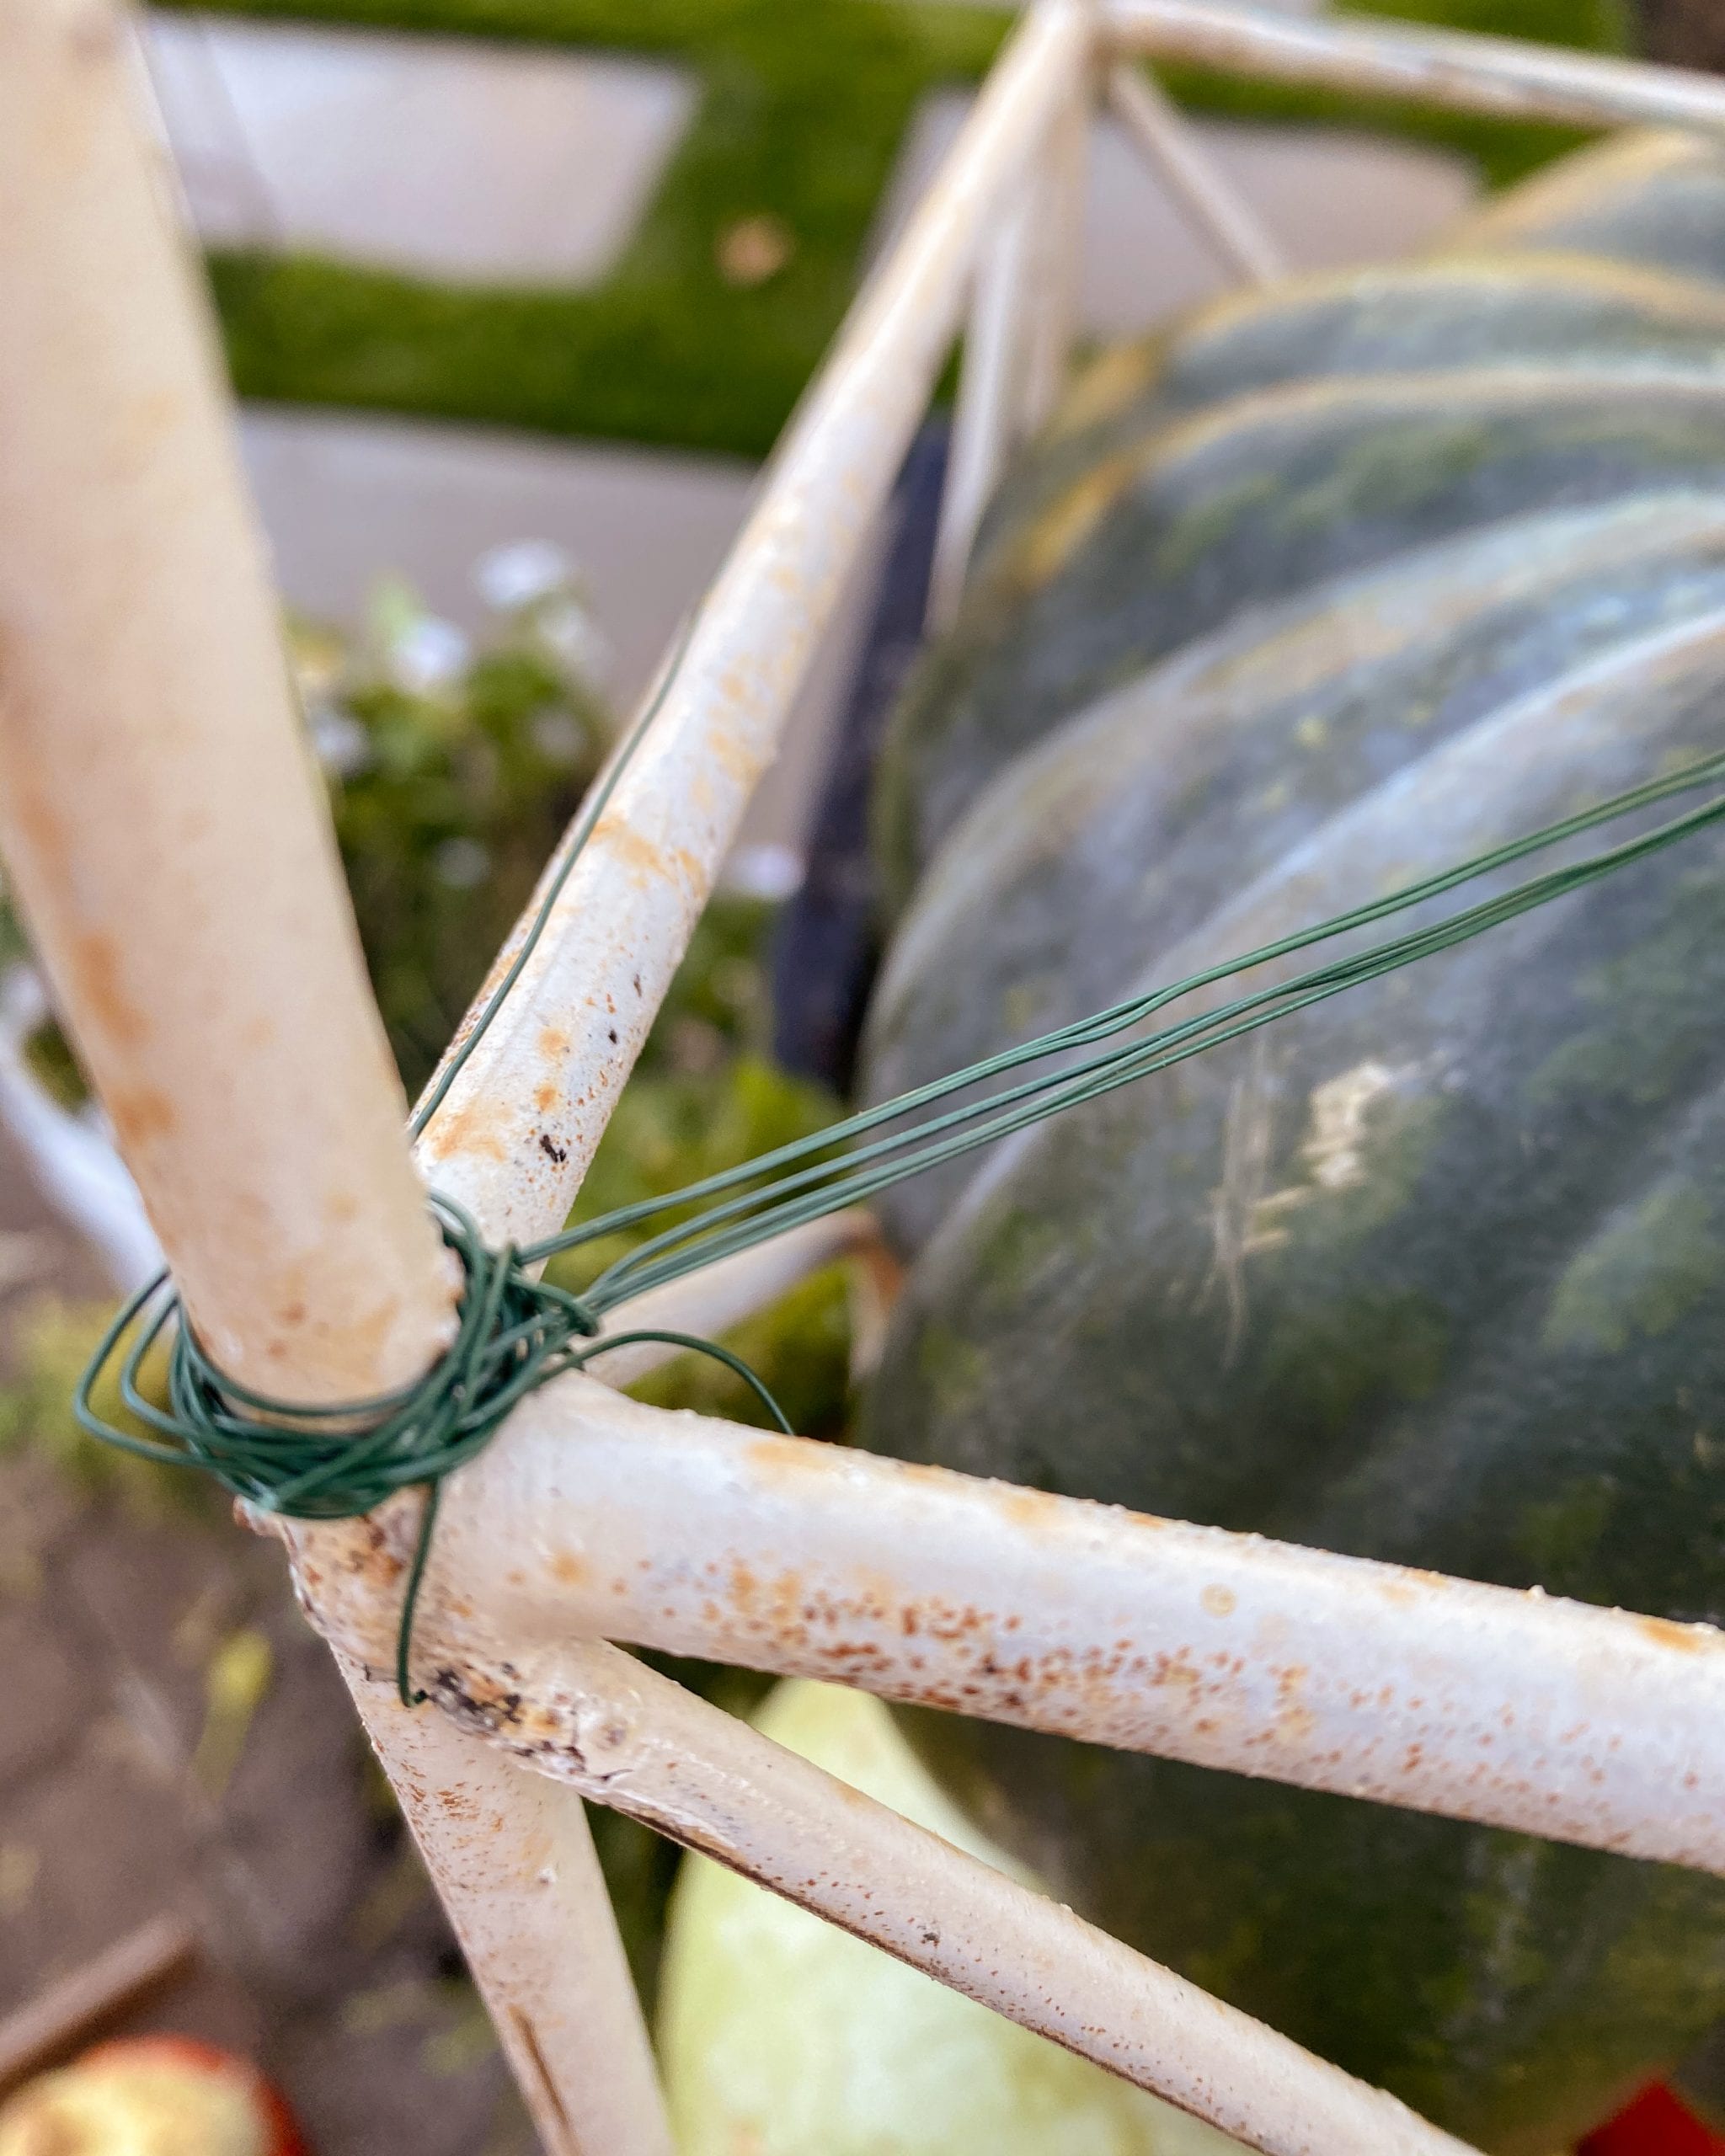
When you’re all done filling the obelisks, carefully flip it over and place it in your planter.
Before I did this, I removed all the summer flowers and left the perennial plants in the planter. This is where some of the pumpkins and gourds may fall out the side. You can tuck them back and make adjustments. I had to add in a few more small pumpkins to fill it up. This is where your patience may be tried so just keep adding and adjusting until it looks filled up. It does not have to be perfect!
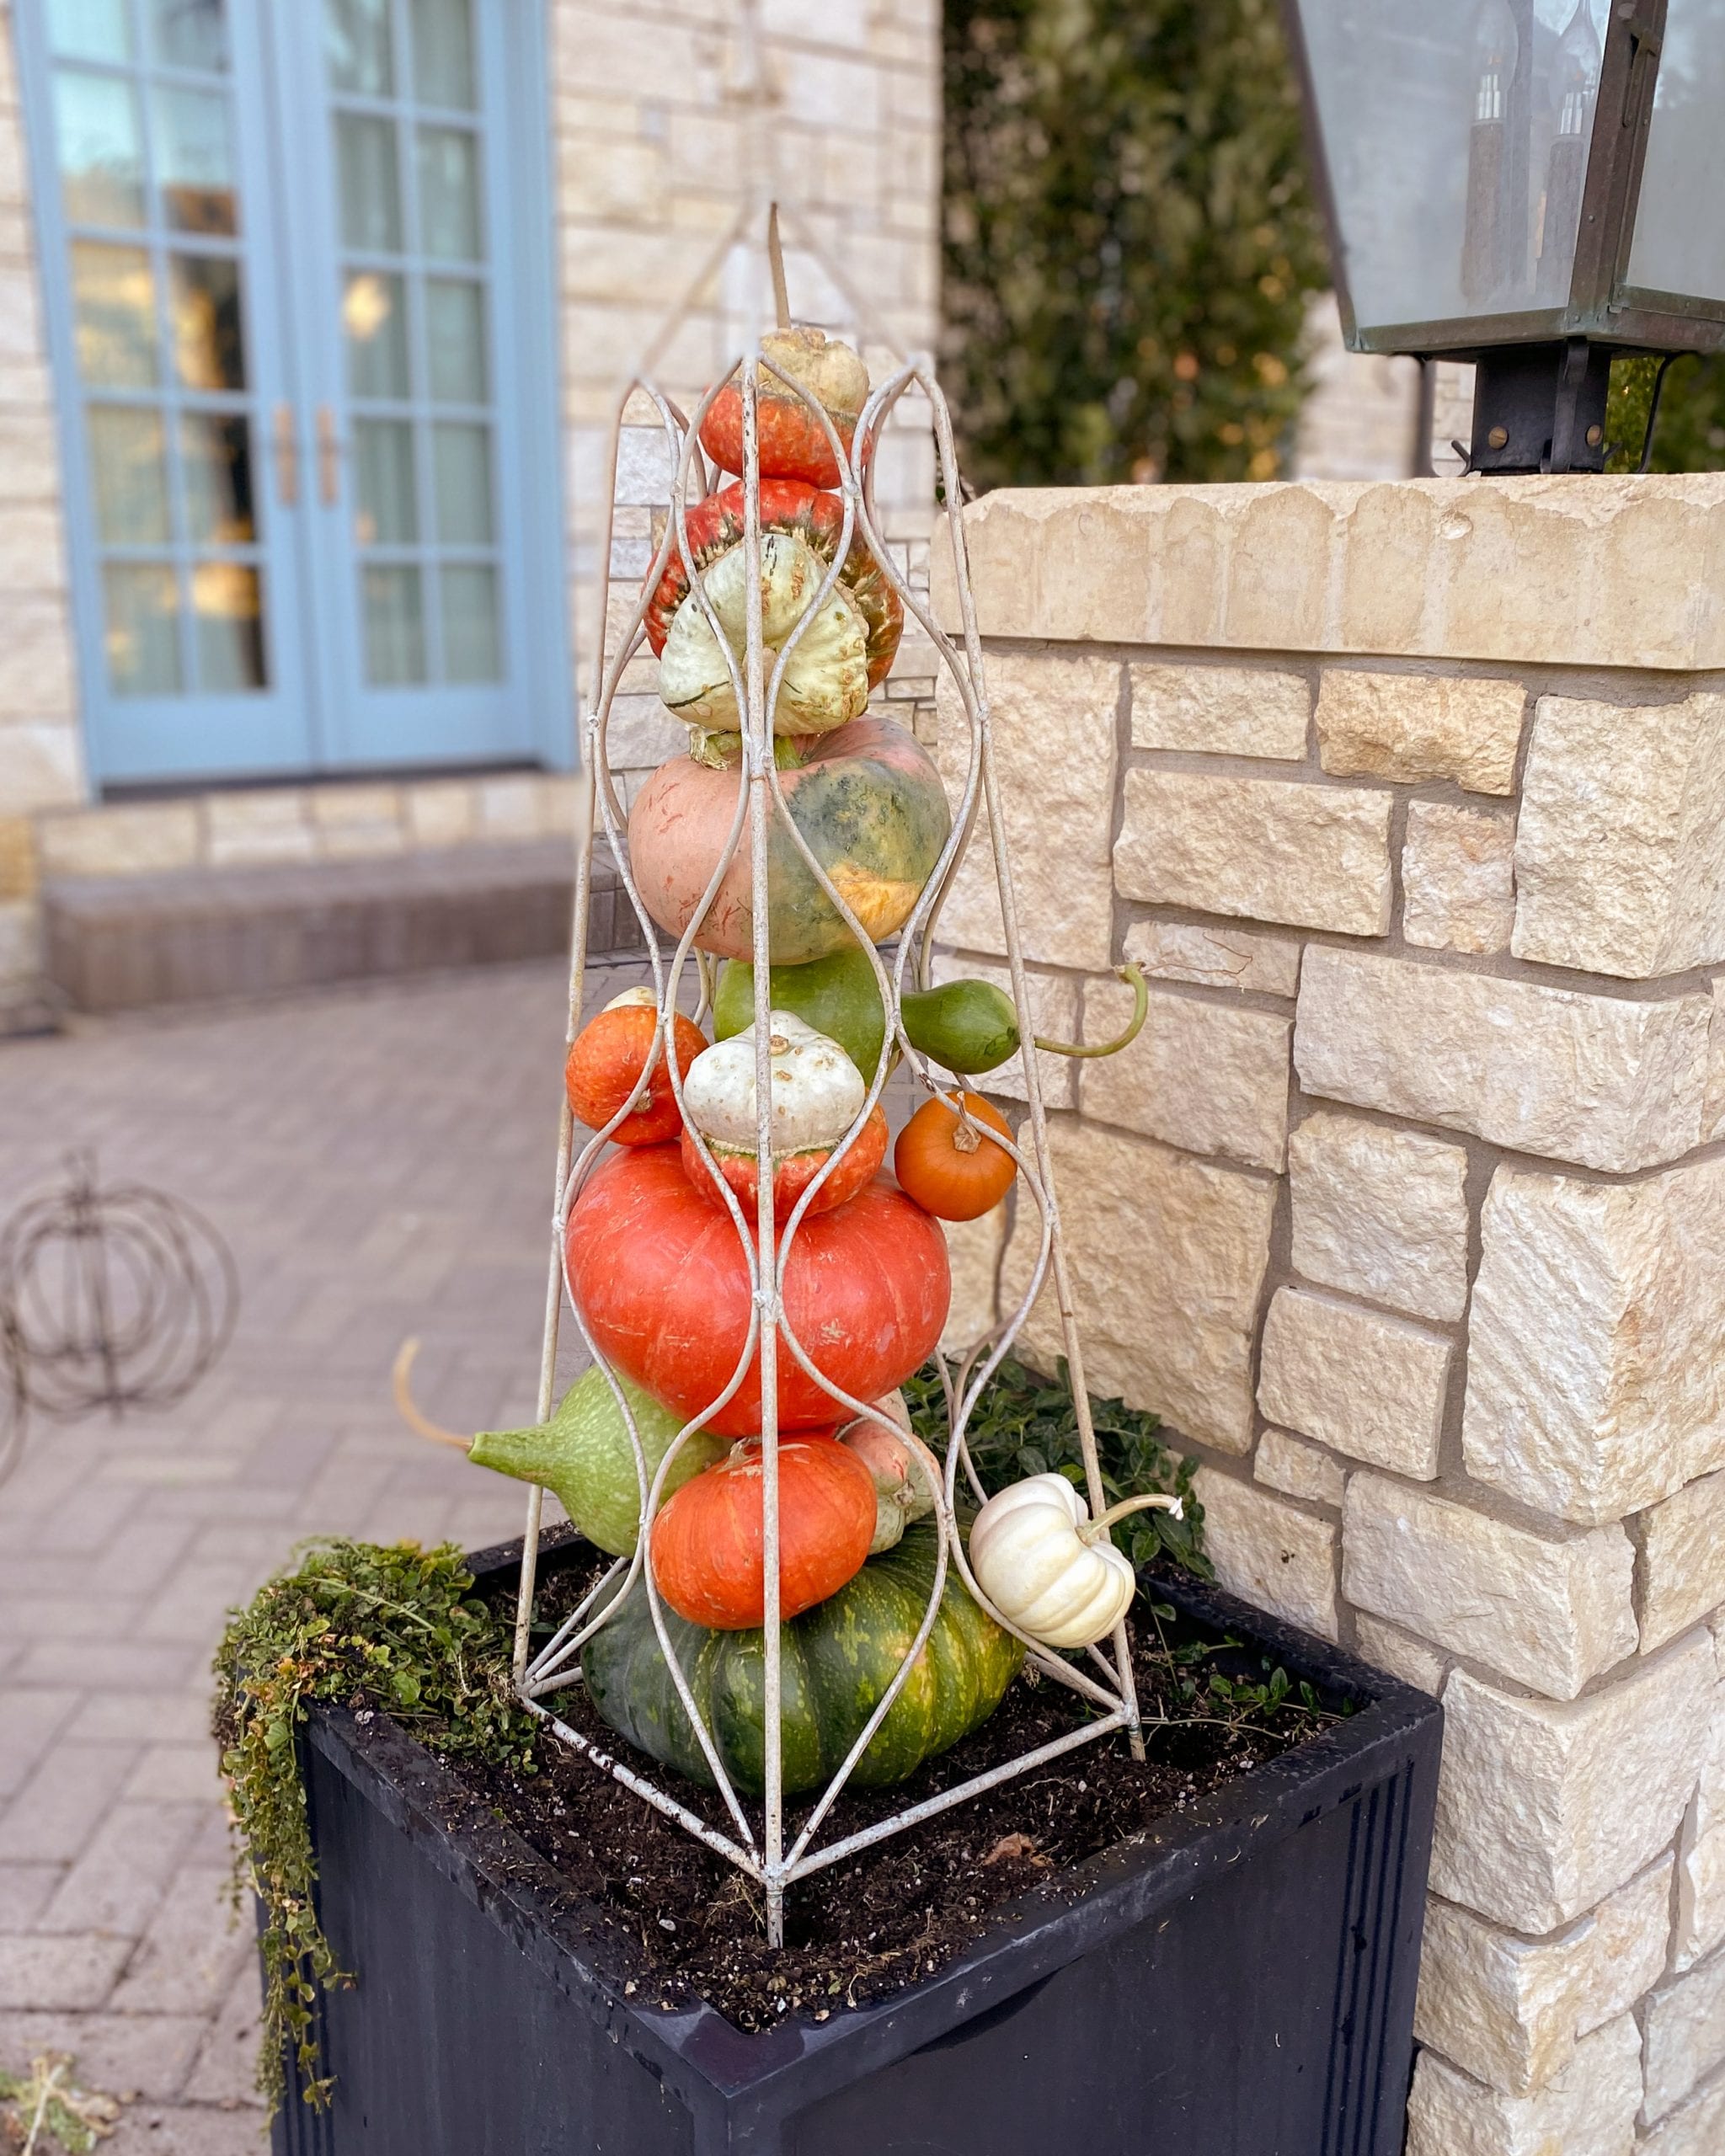
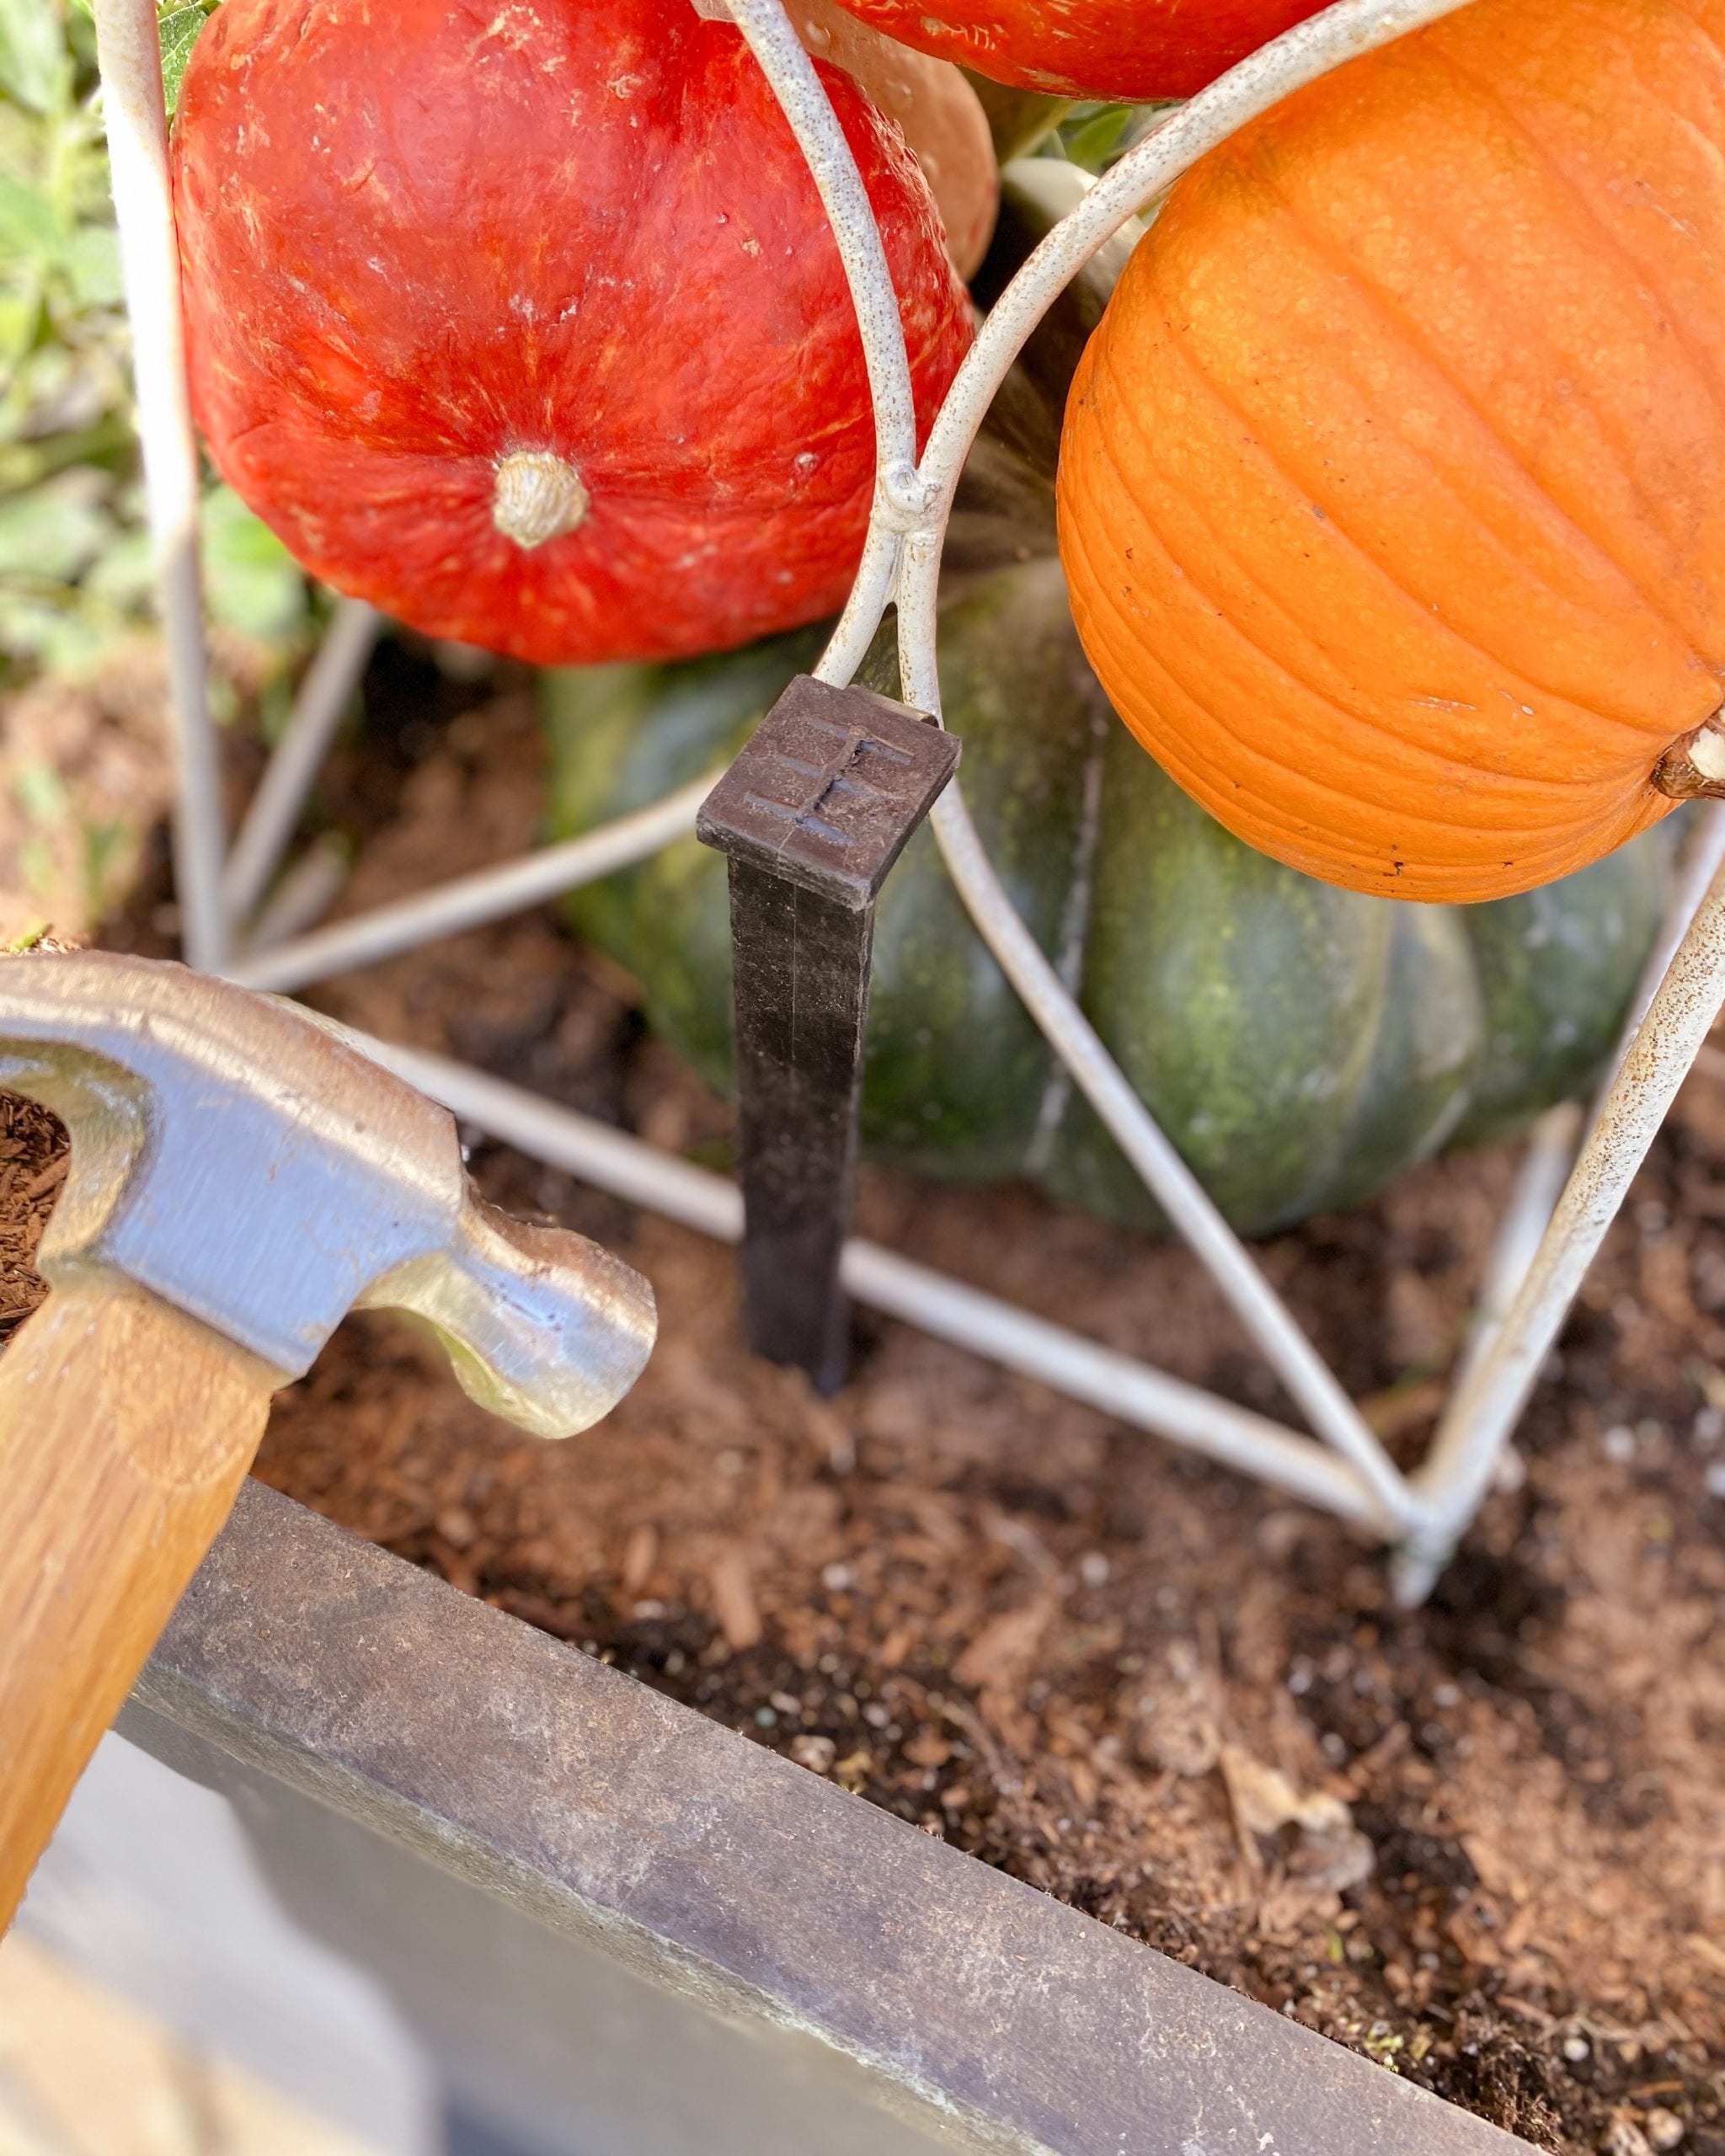
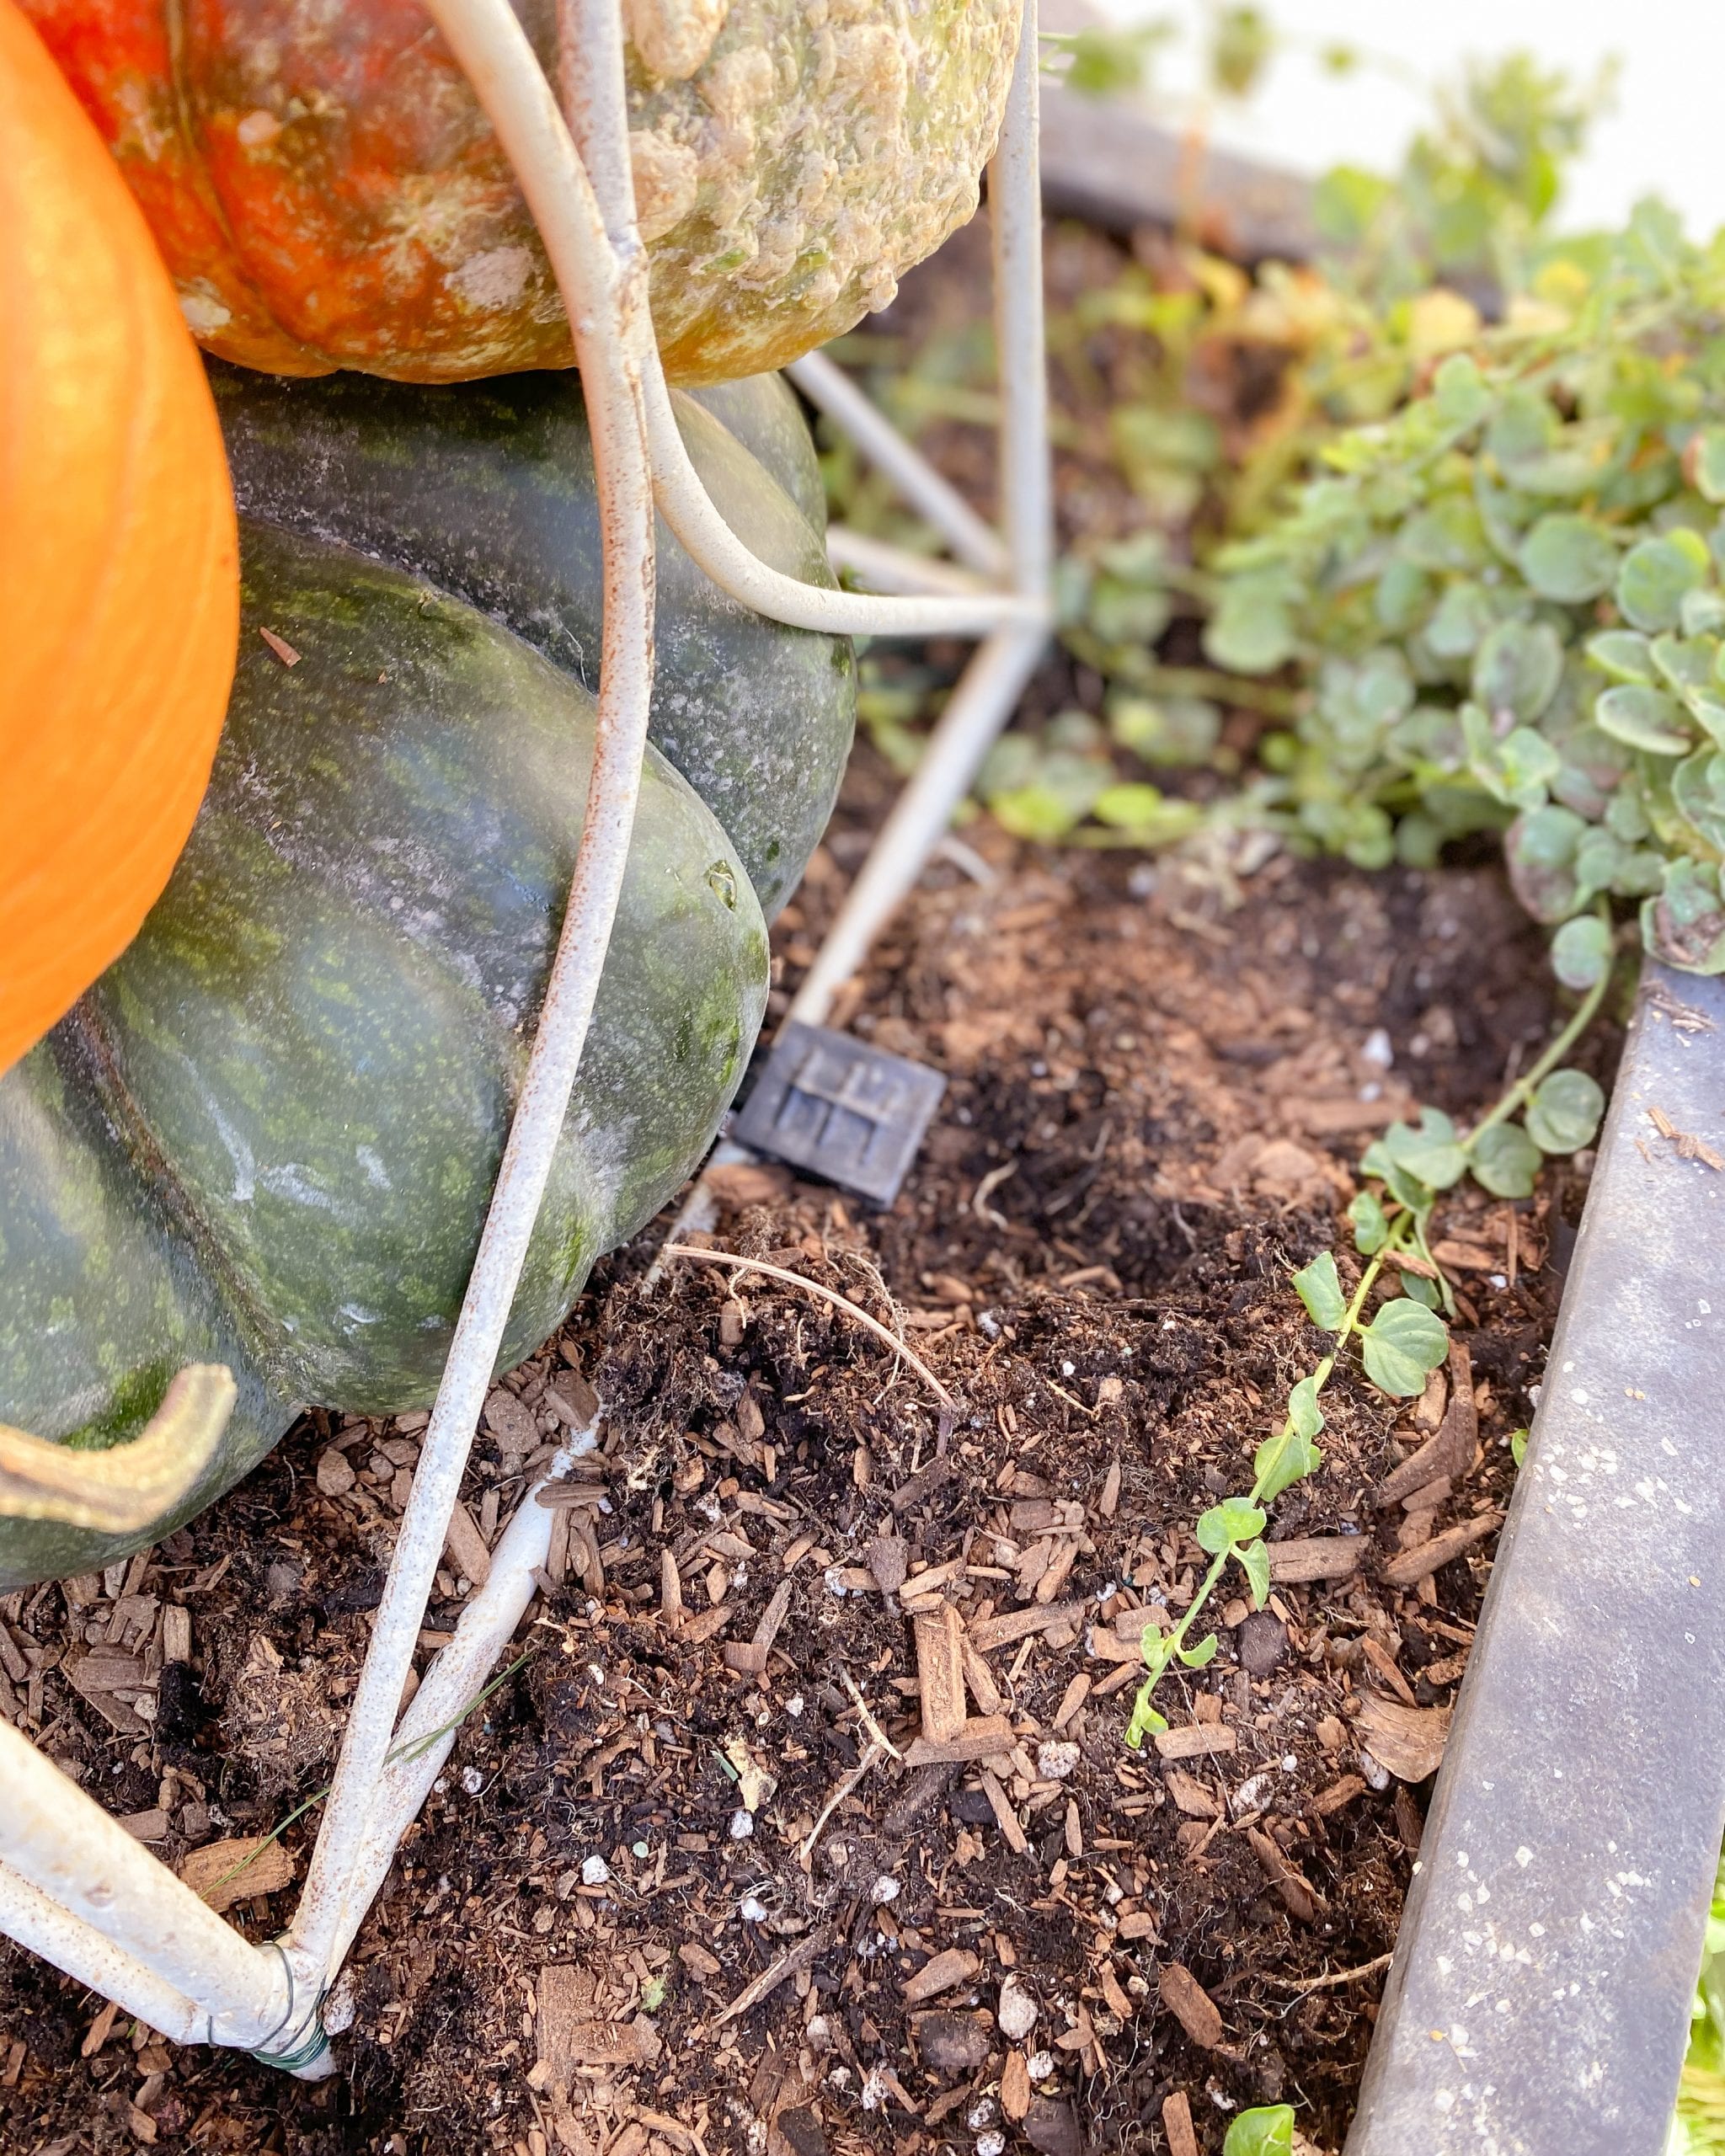
Once you have the obelisk in the pot, use some large stakes to hold it in place. I used four, one on each side of the obelisk. They have little hooks on the underside that go right over the bar to hold it down.
Add the Plants to the Planter Box
Next, add in your fall plants. I used some fall colored pansies and perennial type greenery that was already in the planer from the summer flowers.
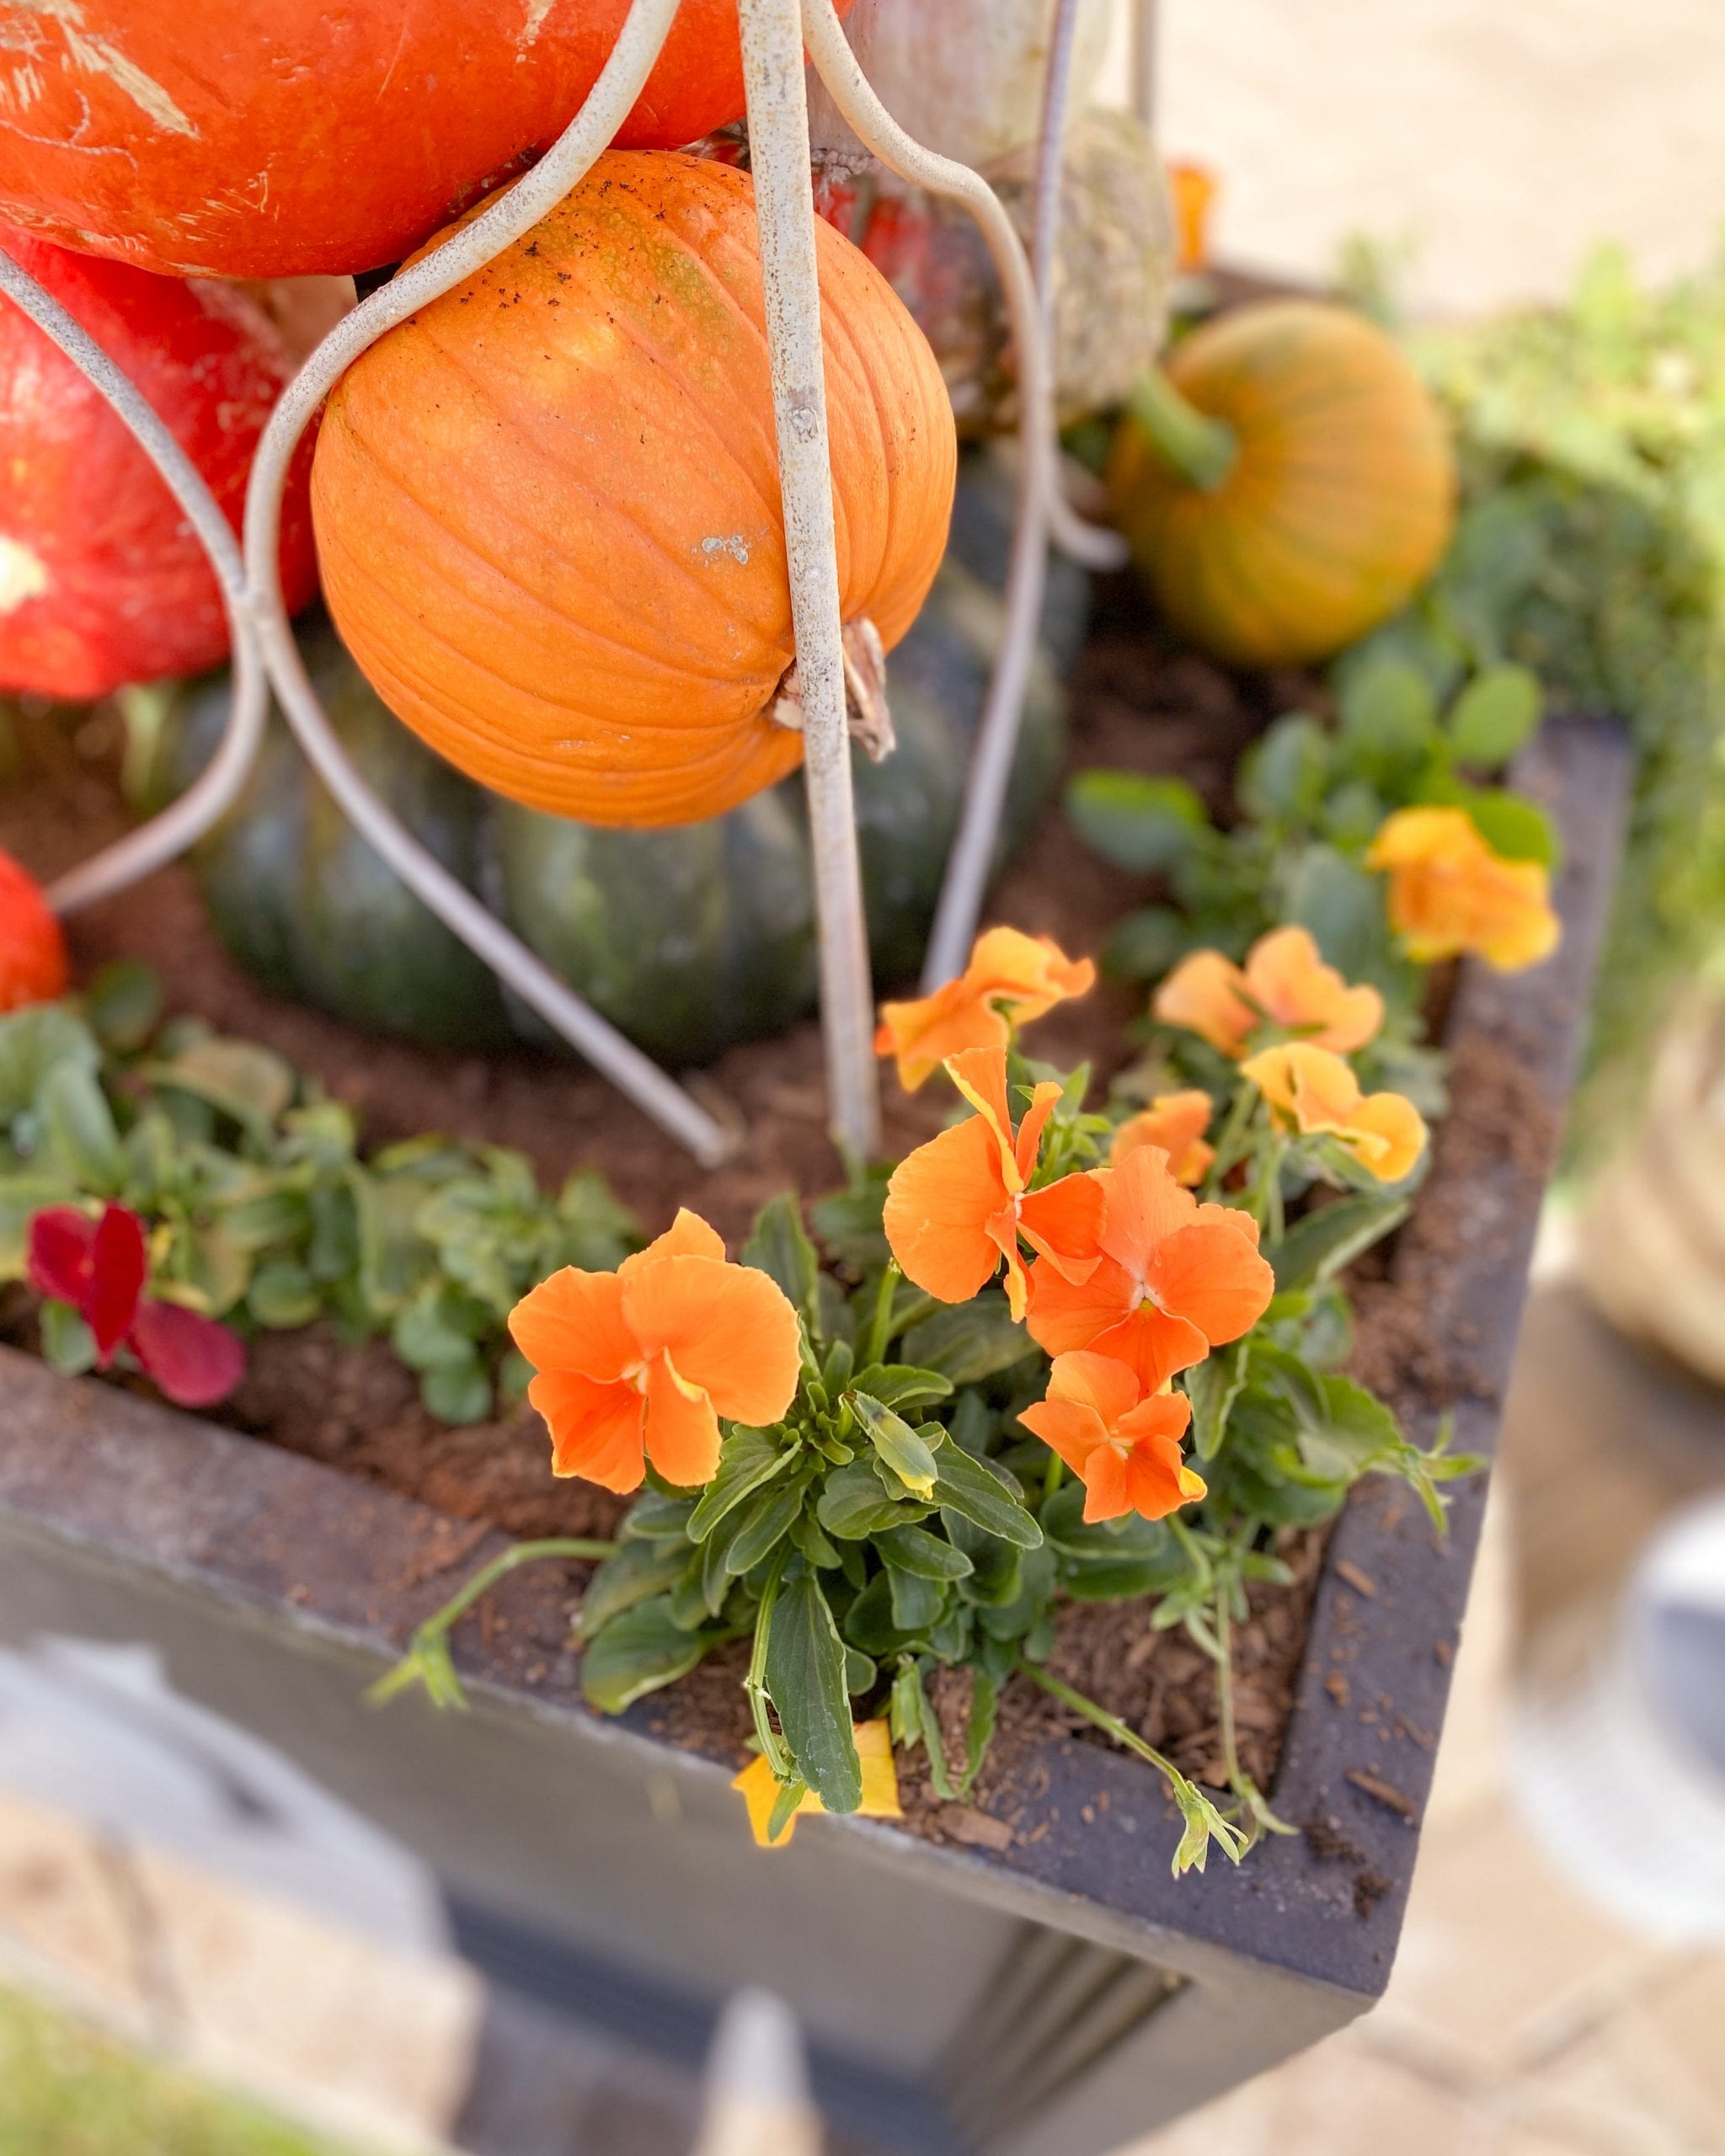
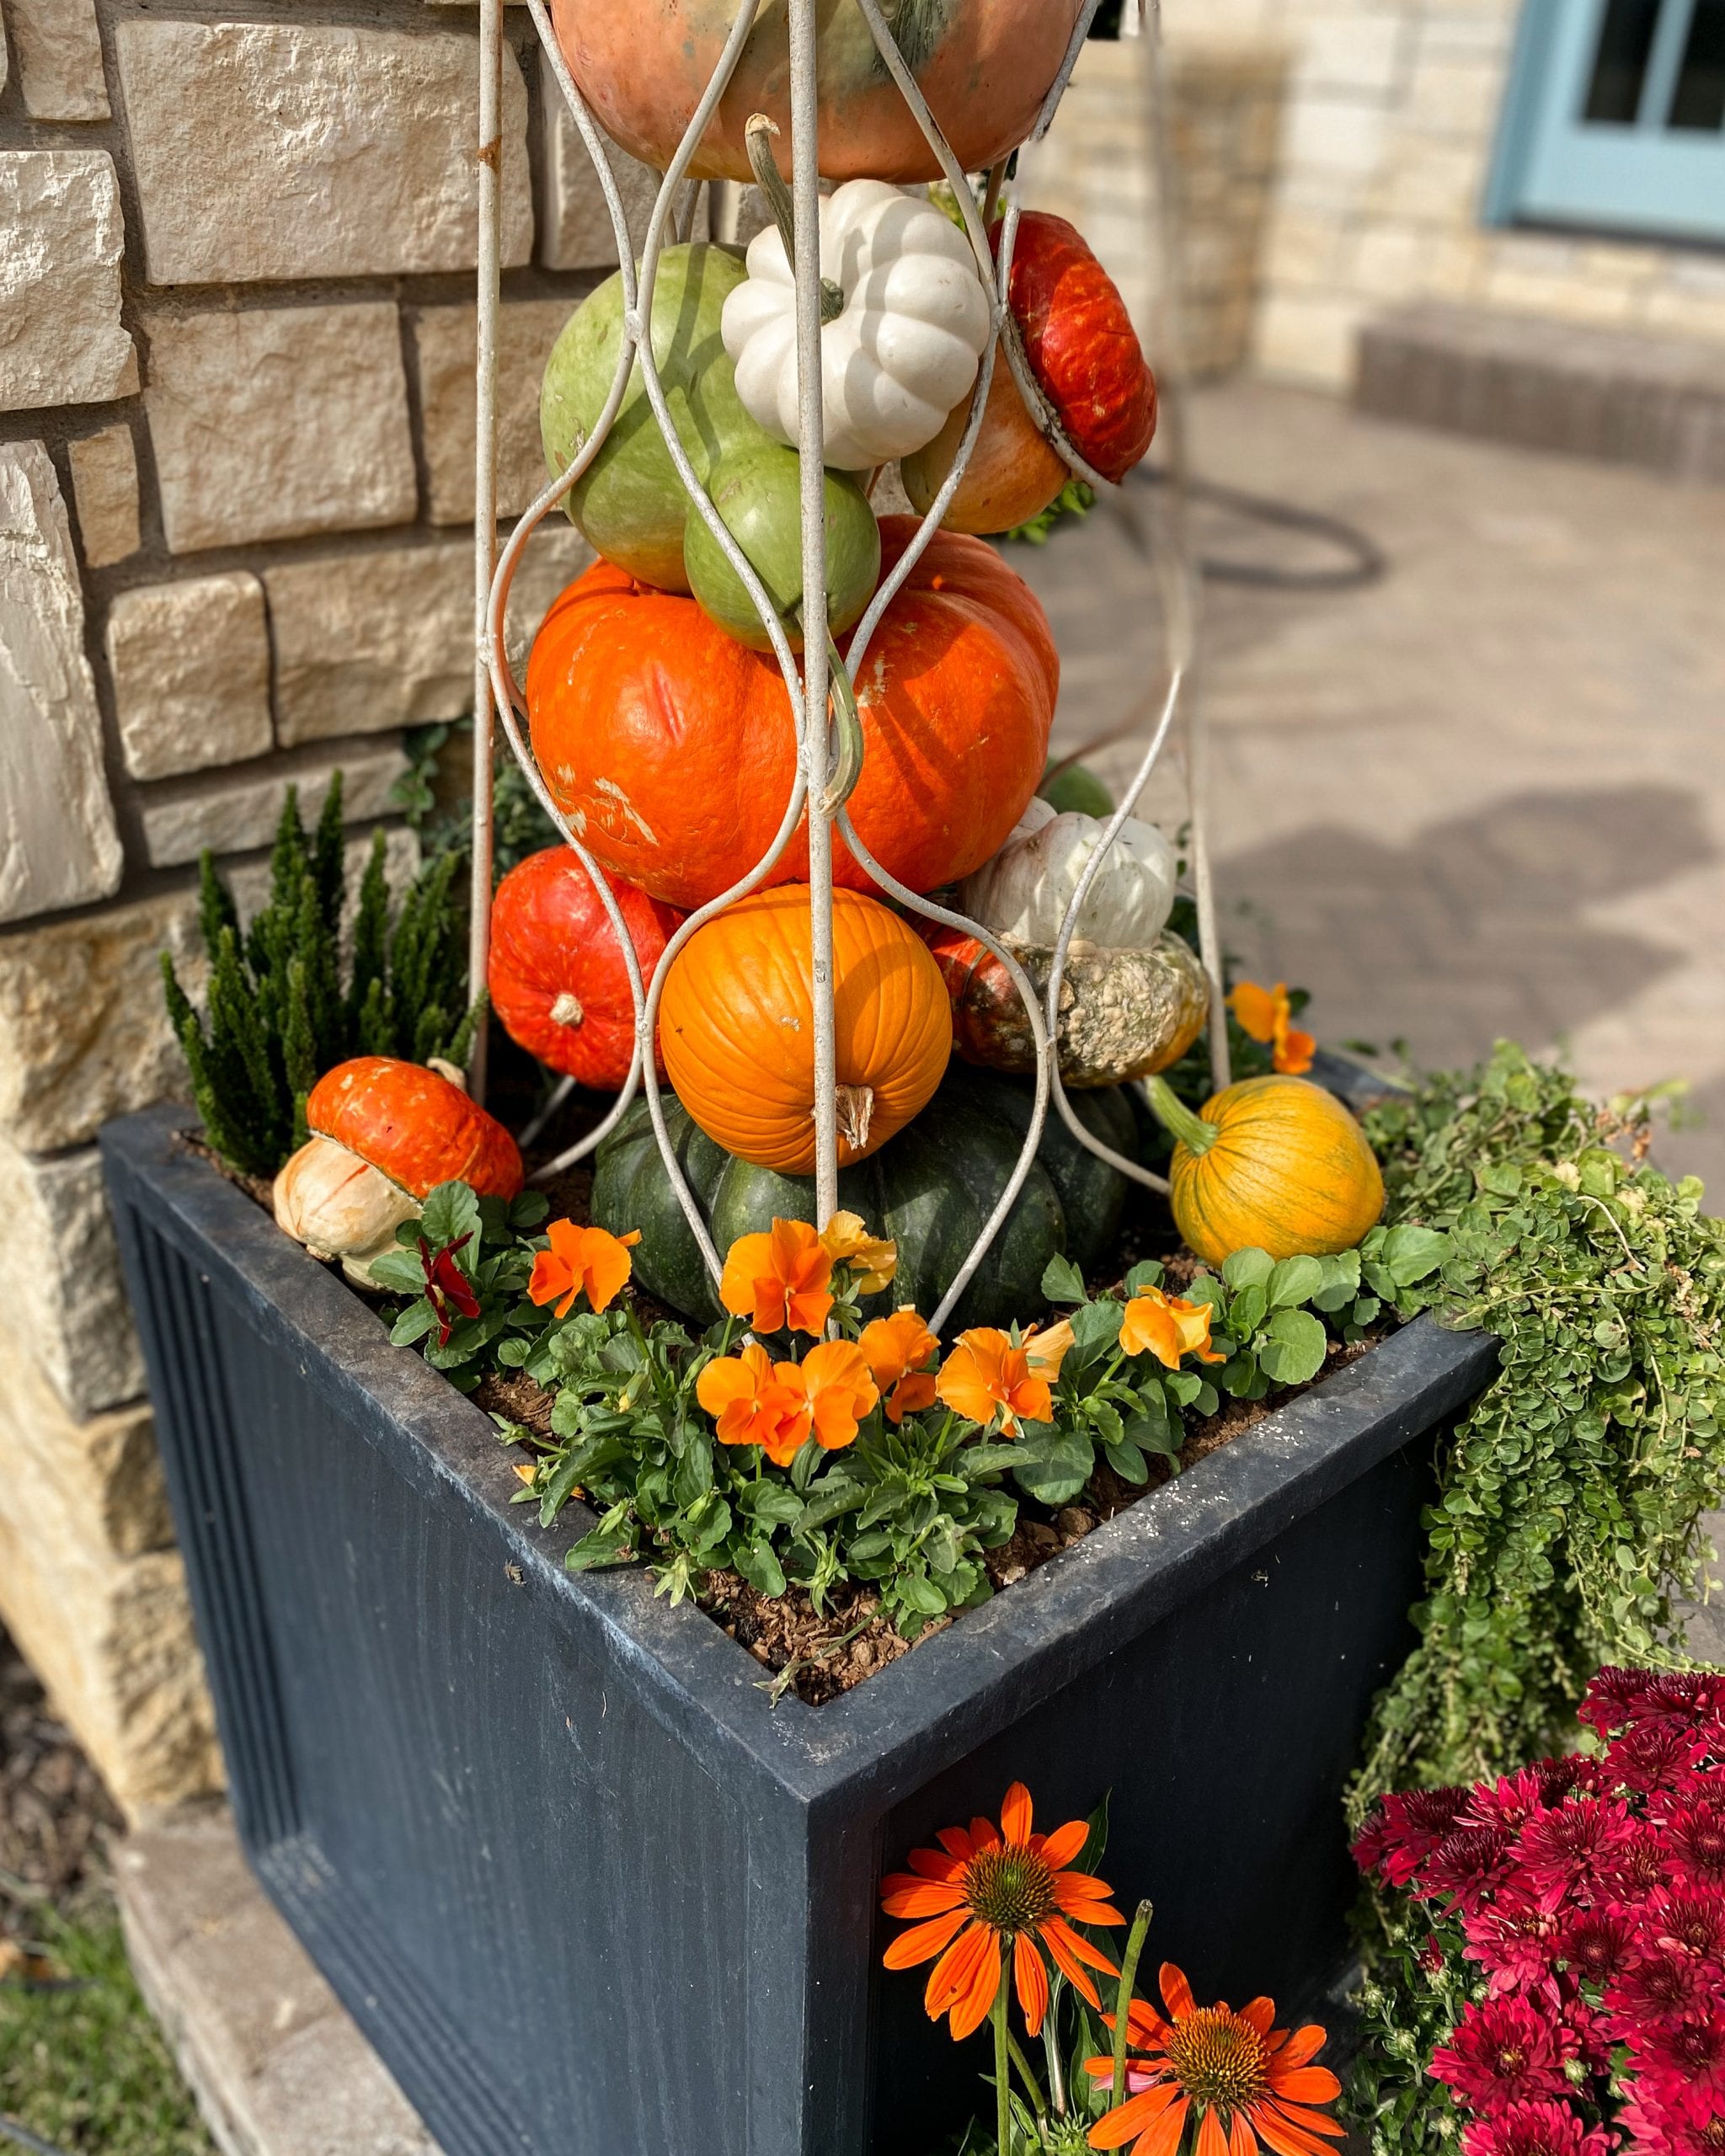
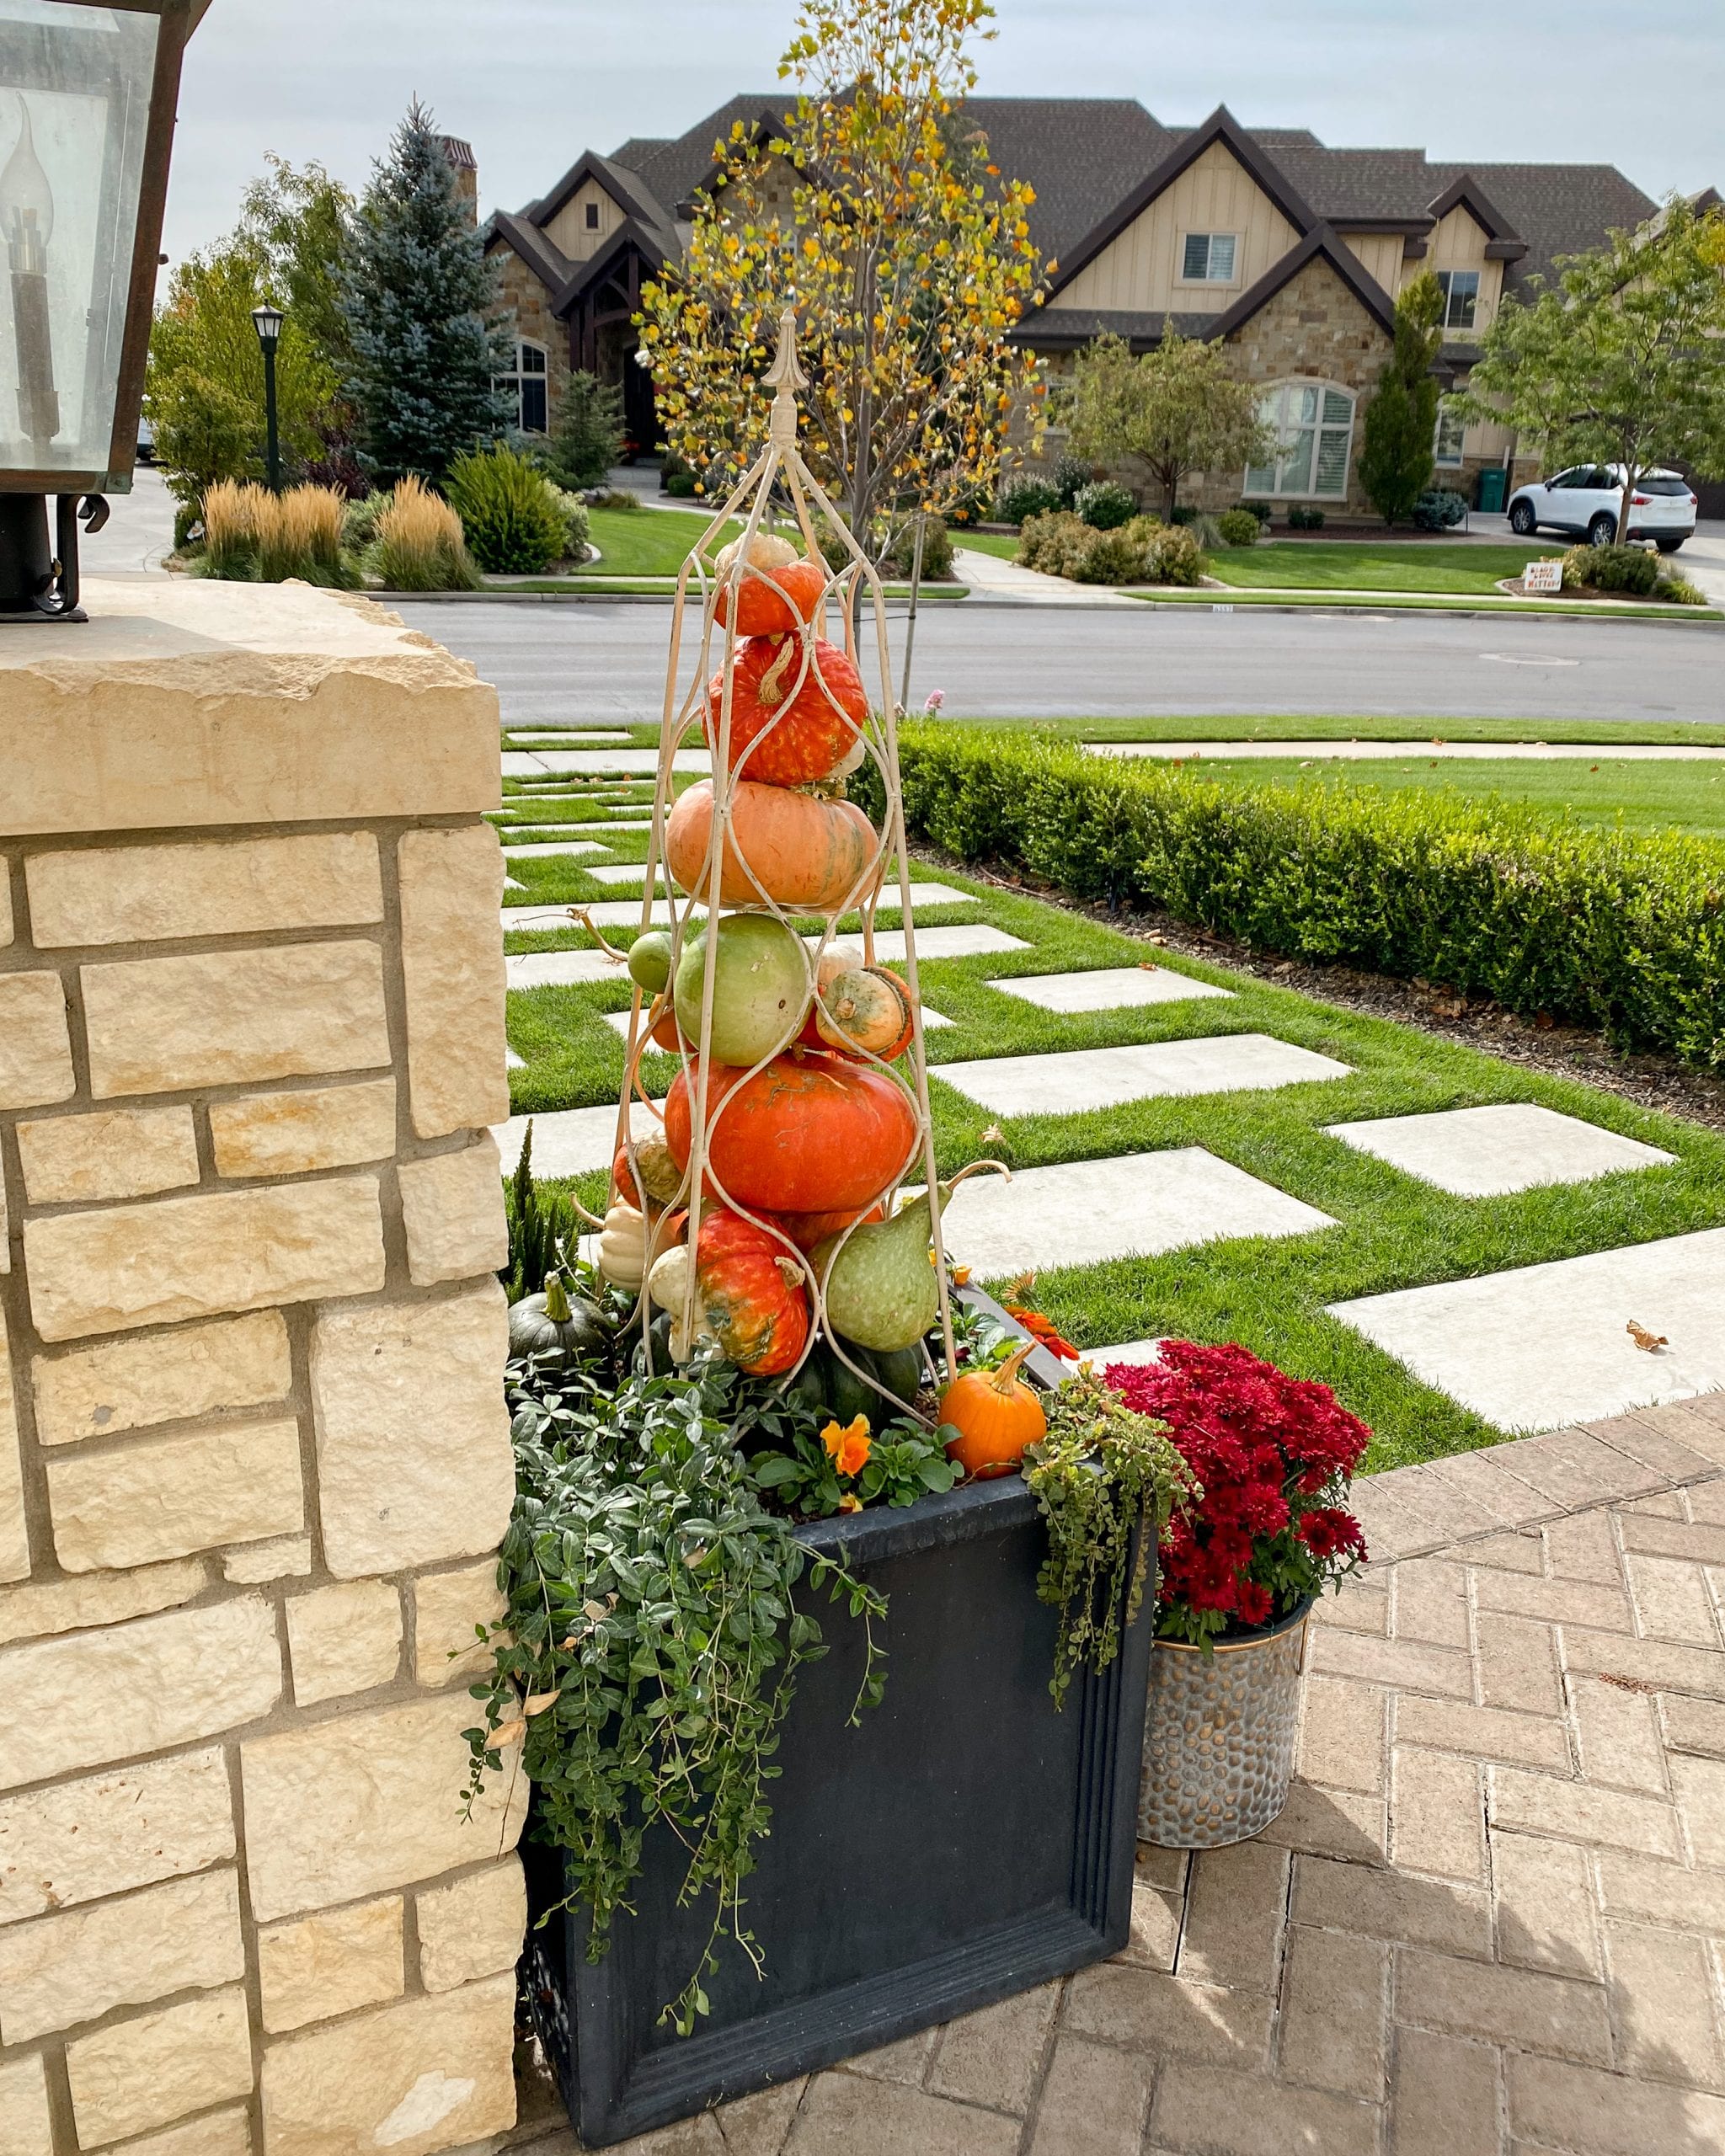
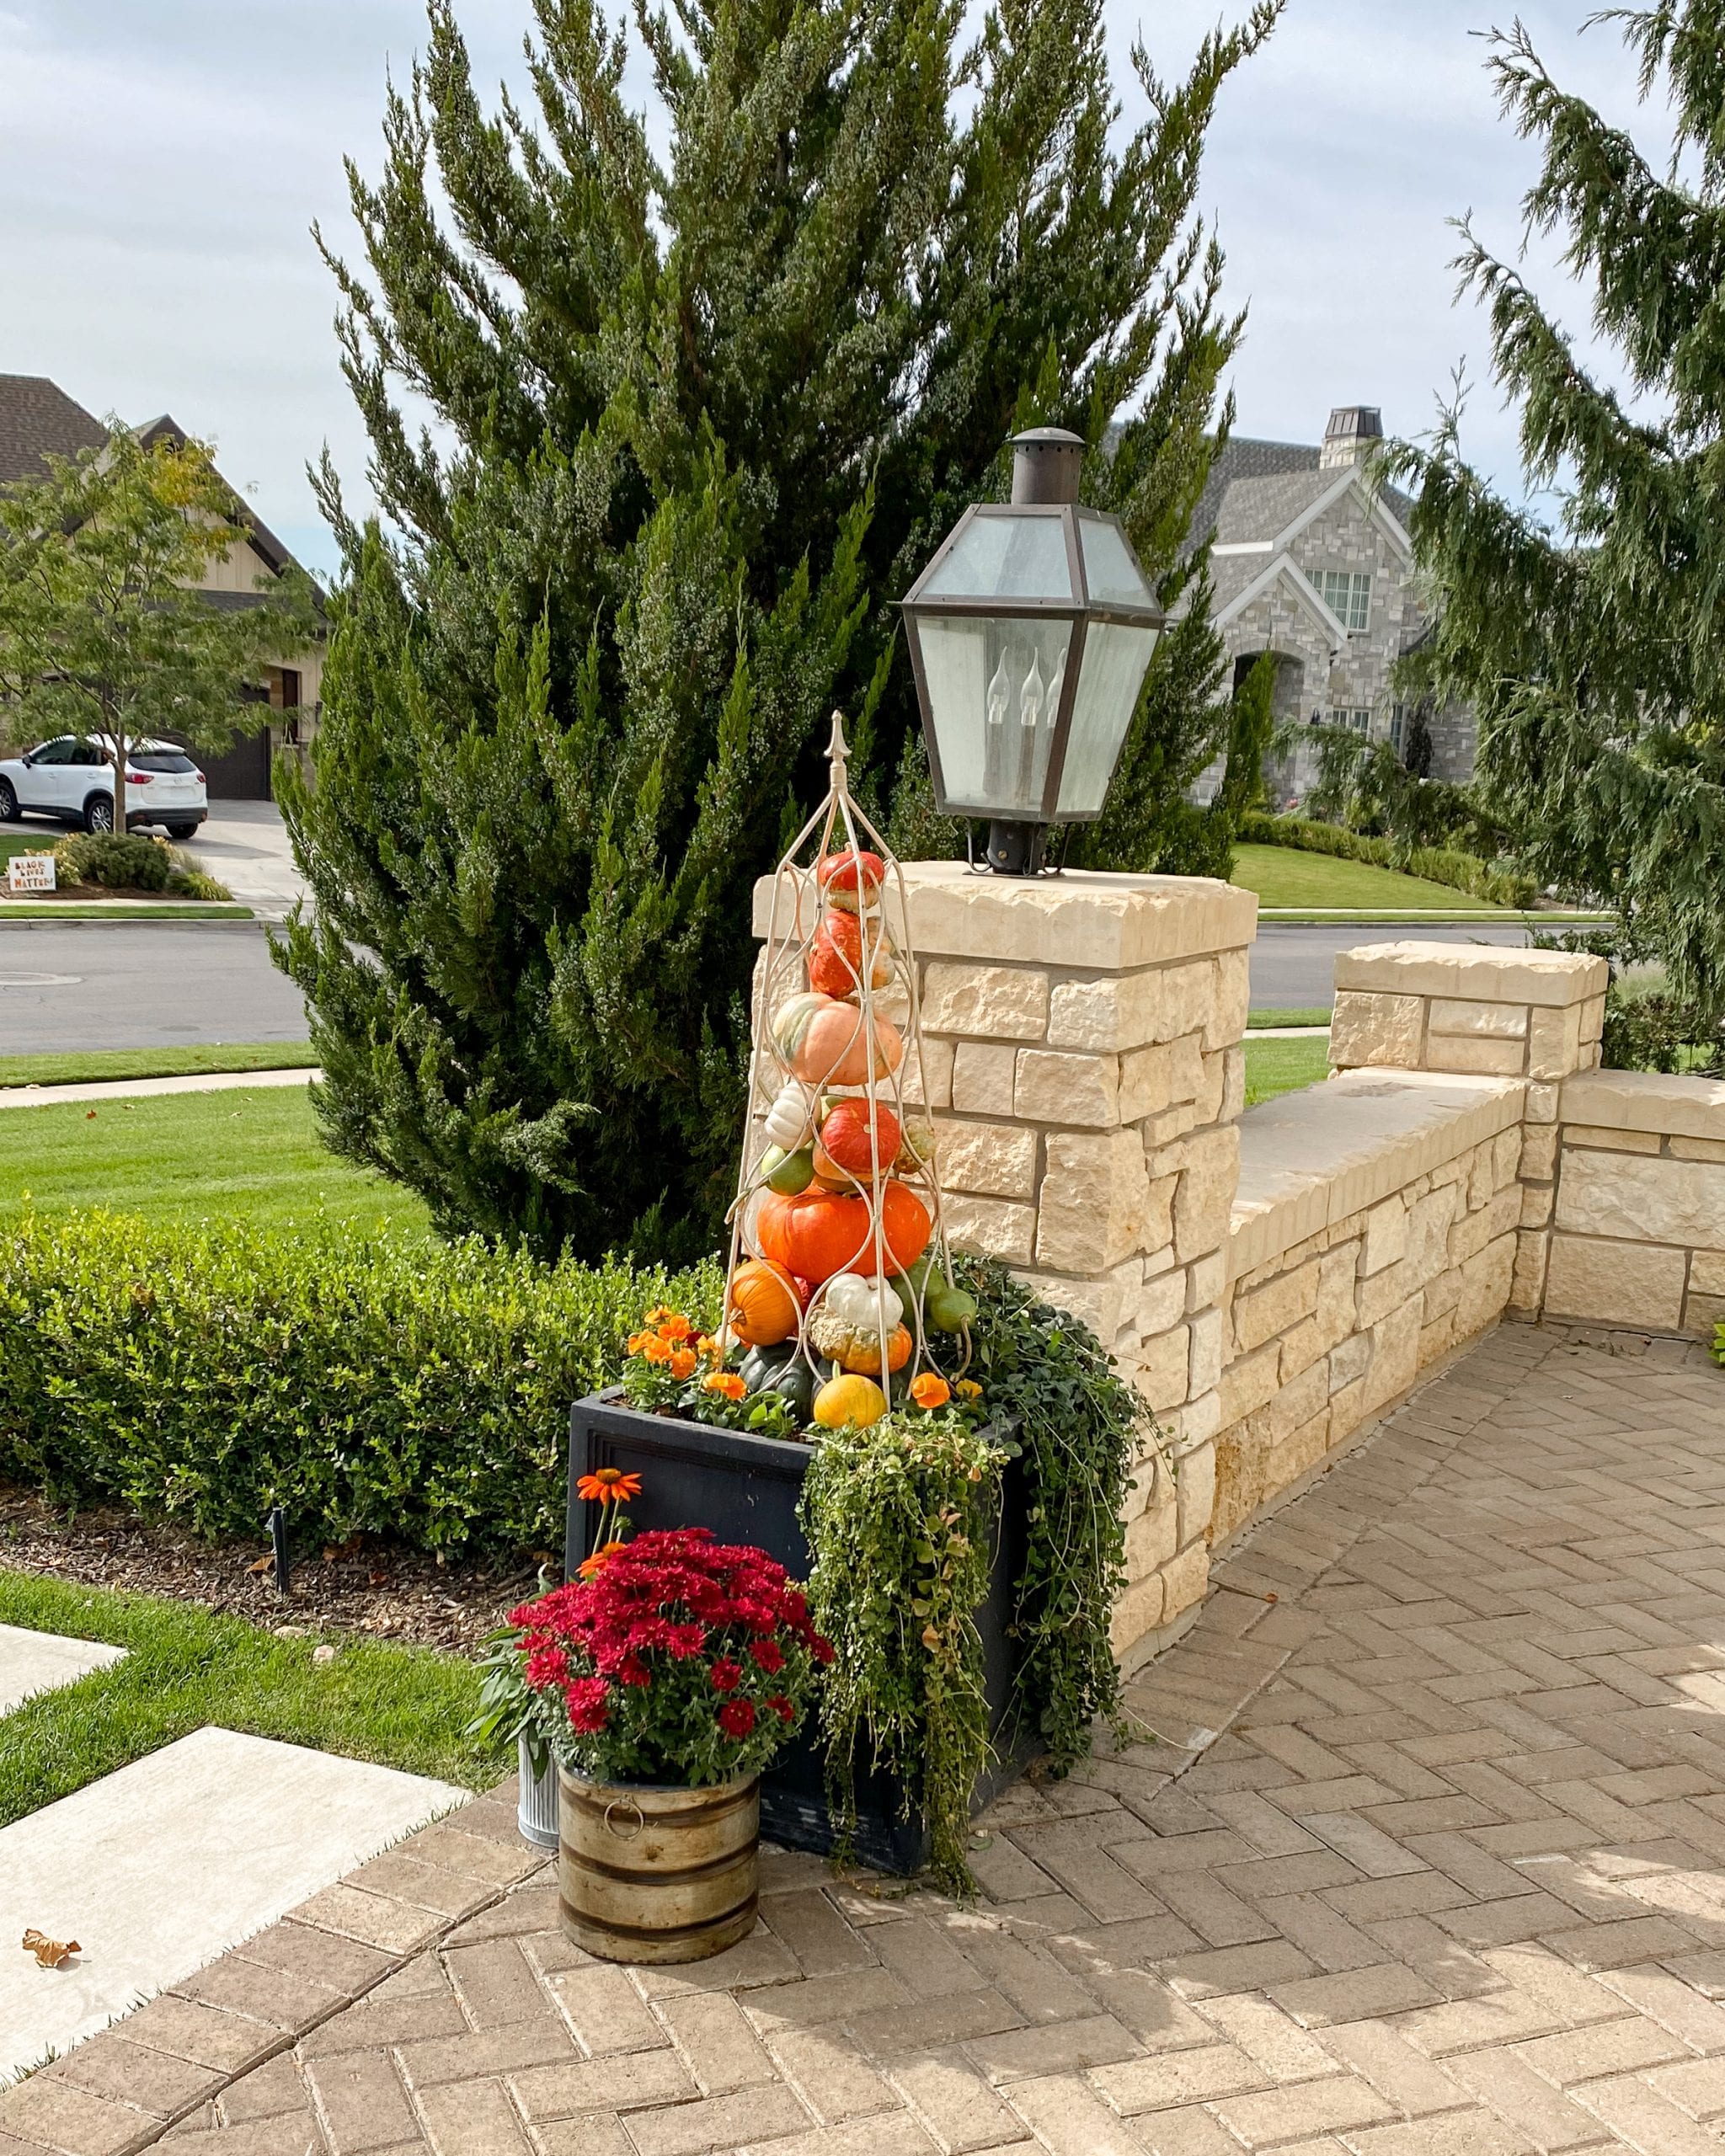
After I added in the flowers, I added some more potting soil and some compost bark material on top to help retain moisture and fortify the new plants.
The Rest of the Porch Decor
After the planters and pumpkin towers were done, I put the mums I bought into some metal containers. This saves so much time and you don’t have to plant them or re-pot them and it looks so much nicer. You can use baskets or any type of container to place the fall potted plants in.

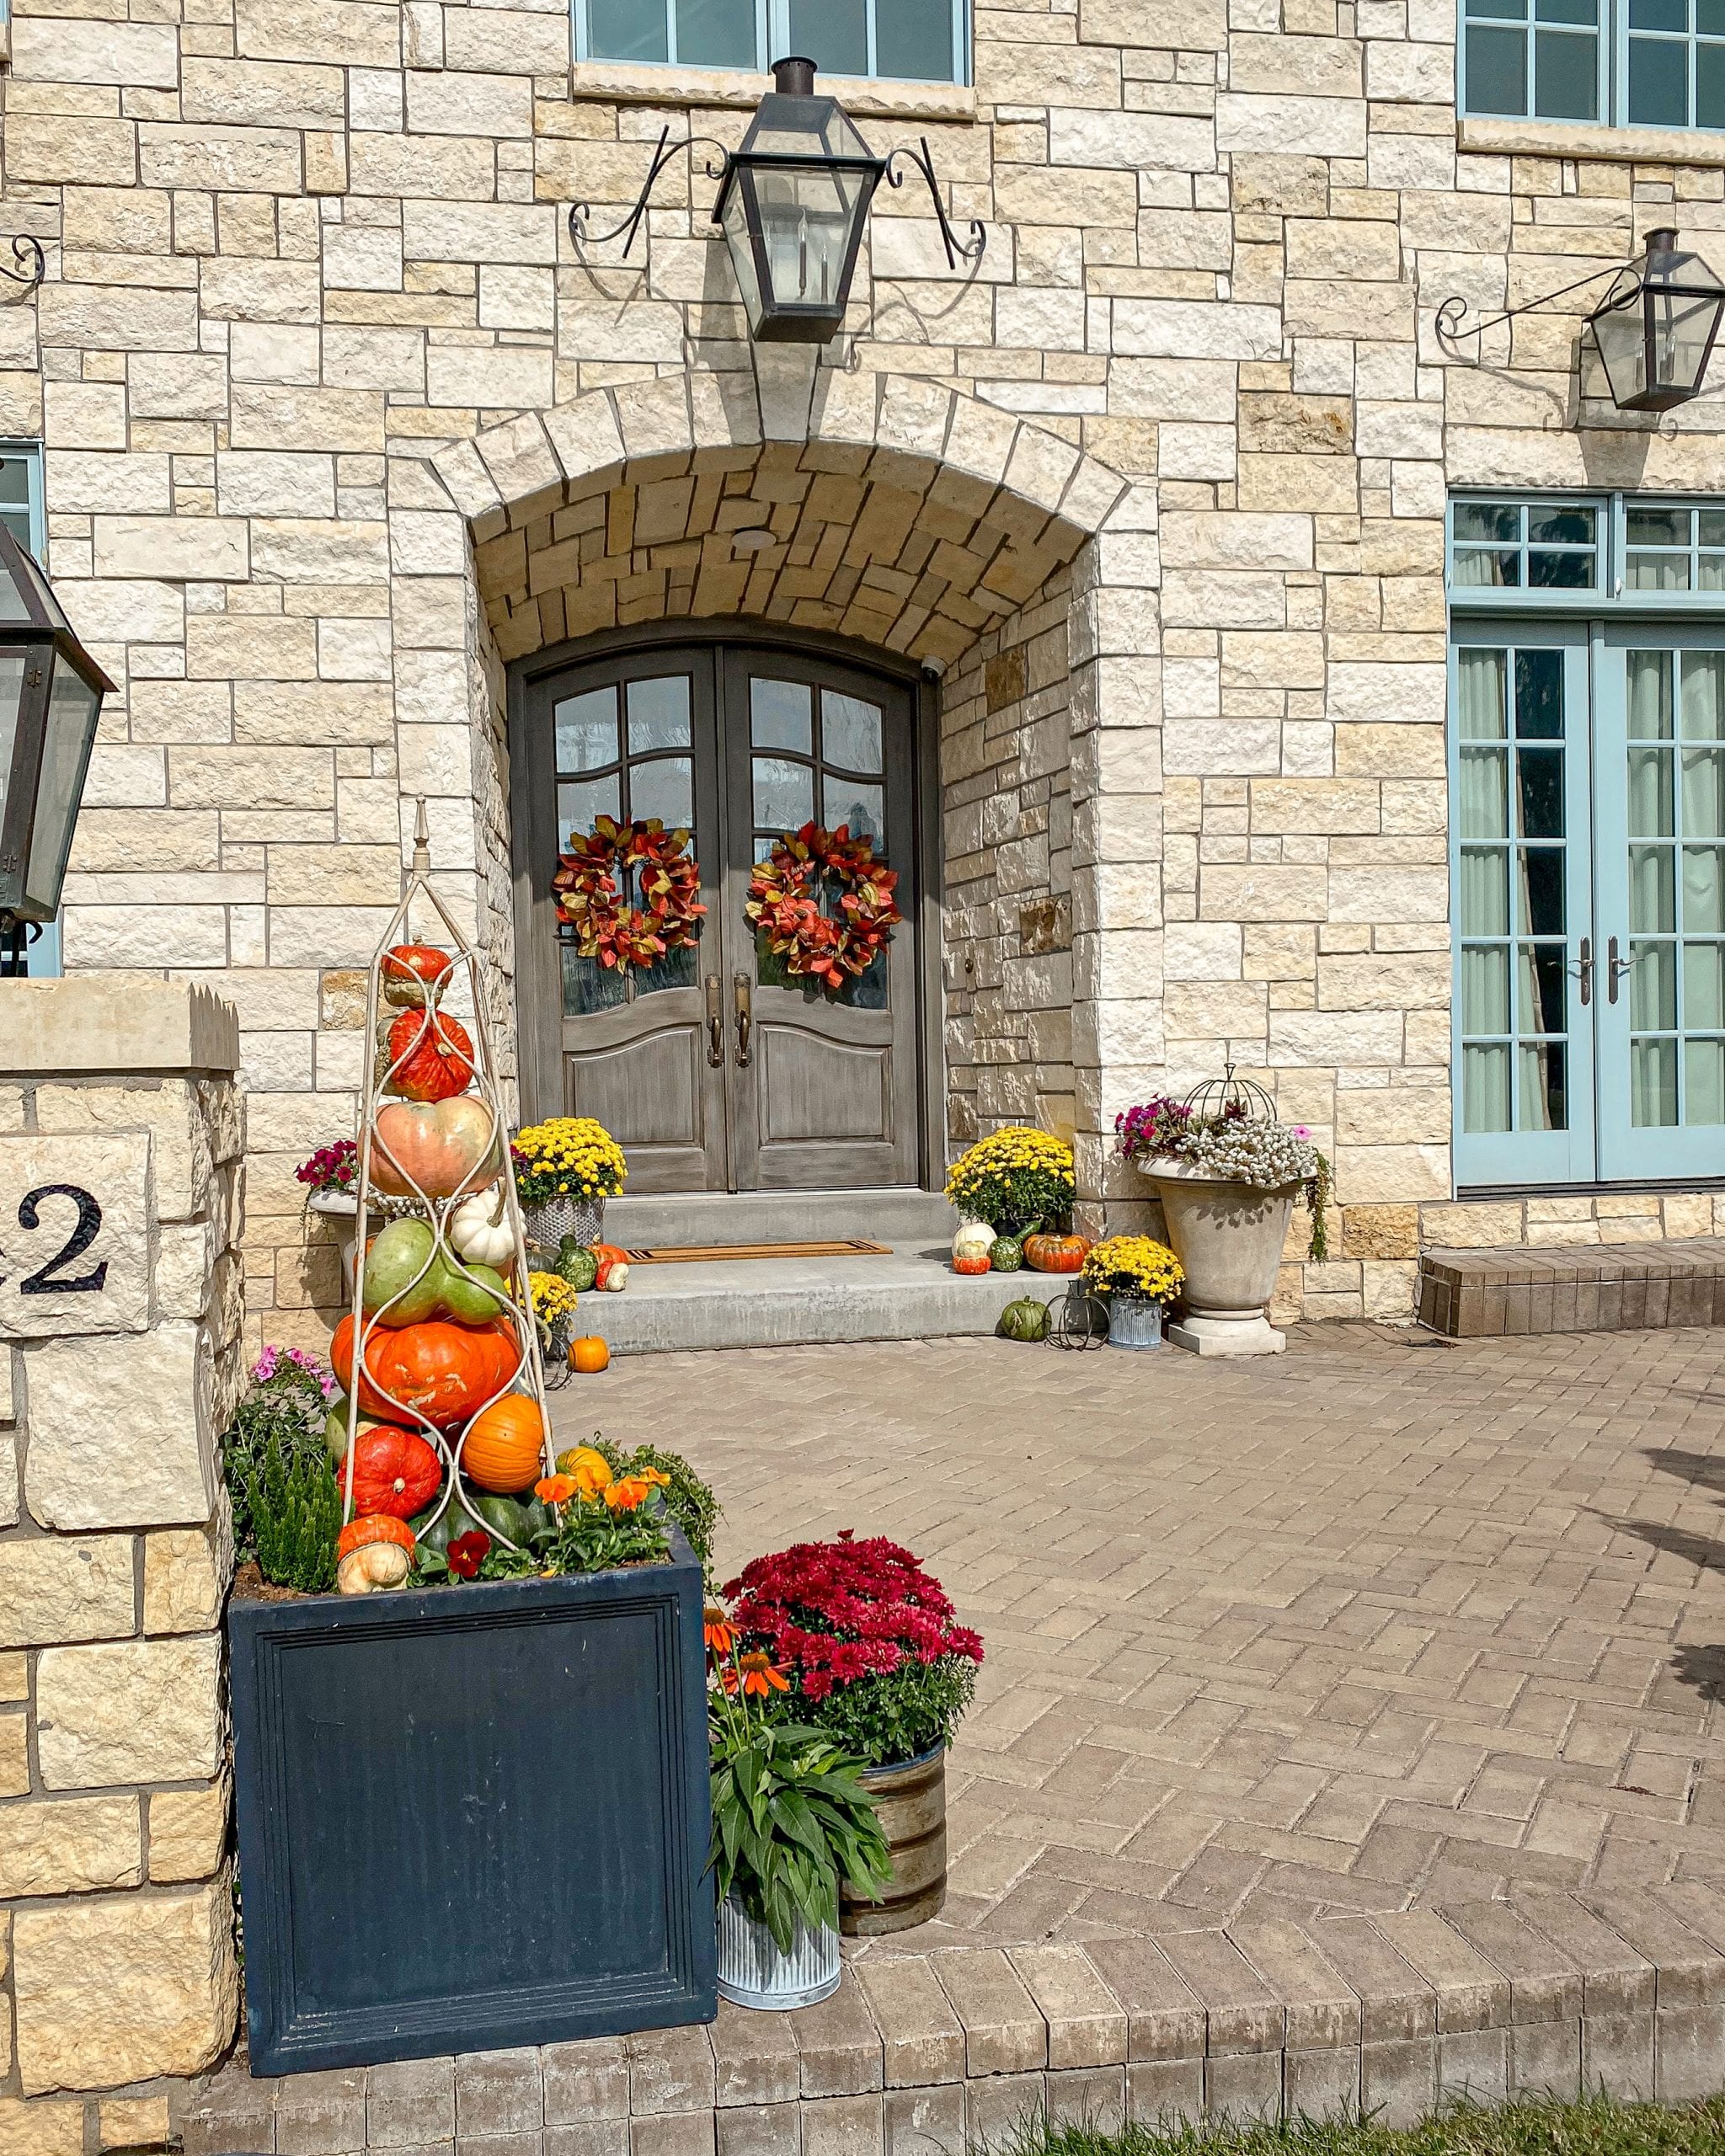
I then added more mums in containers and pumpkins and gourds on the upper part of the front porch.
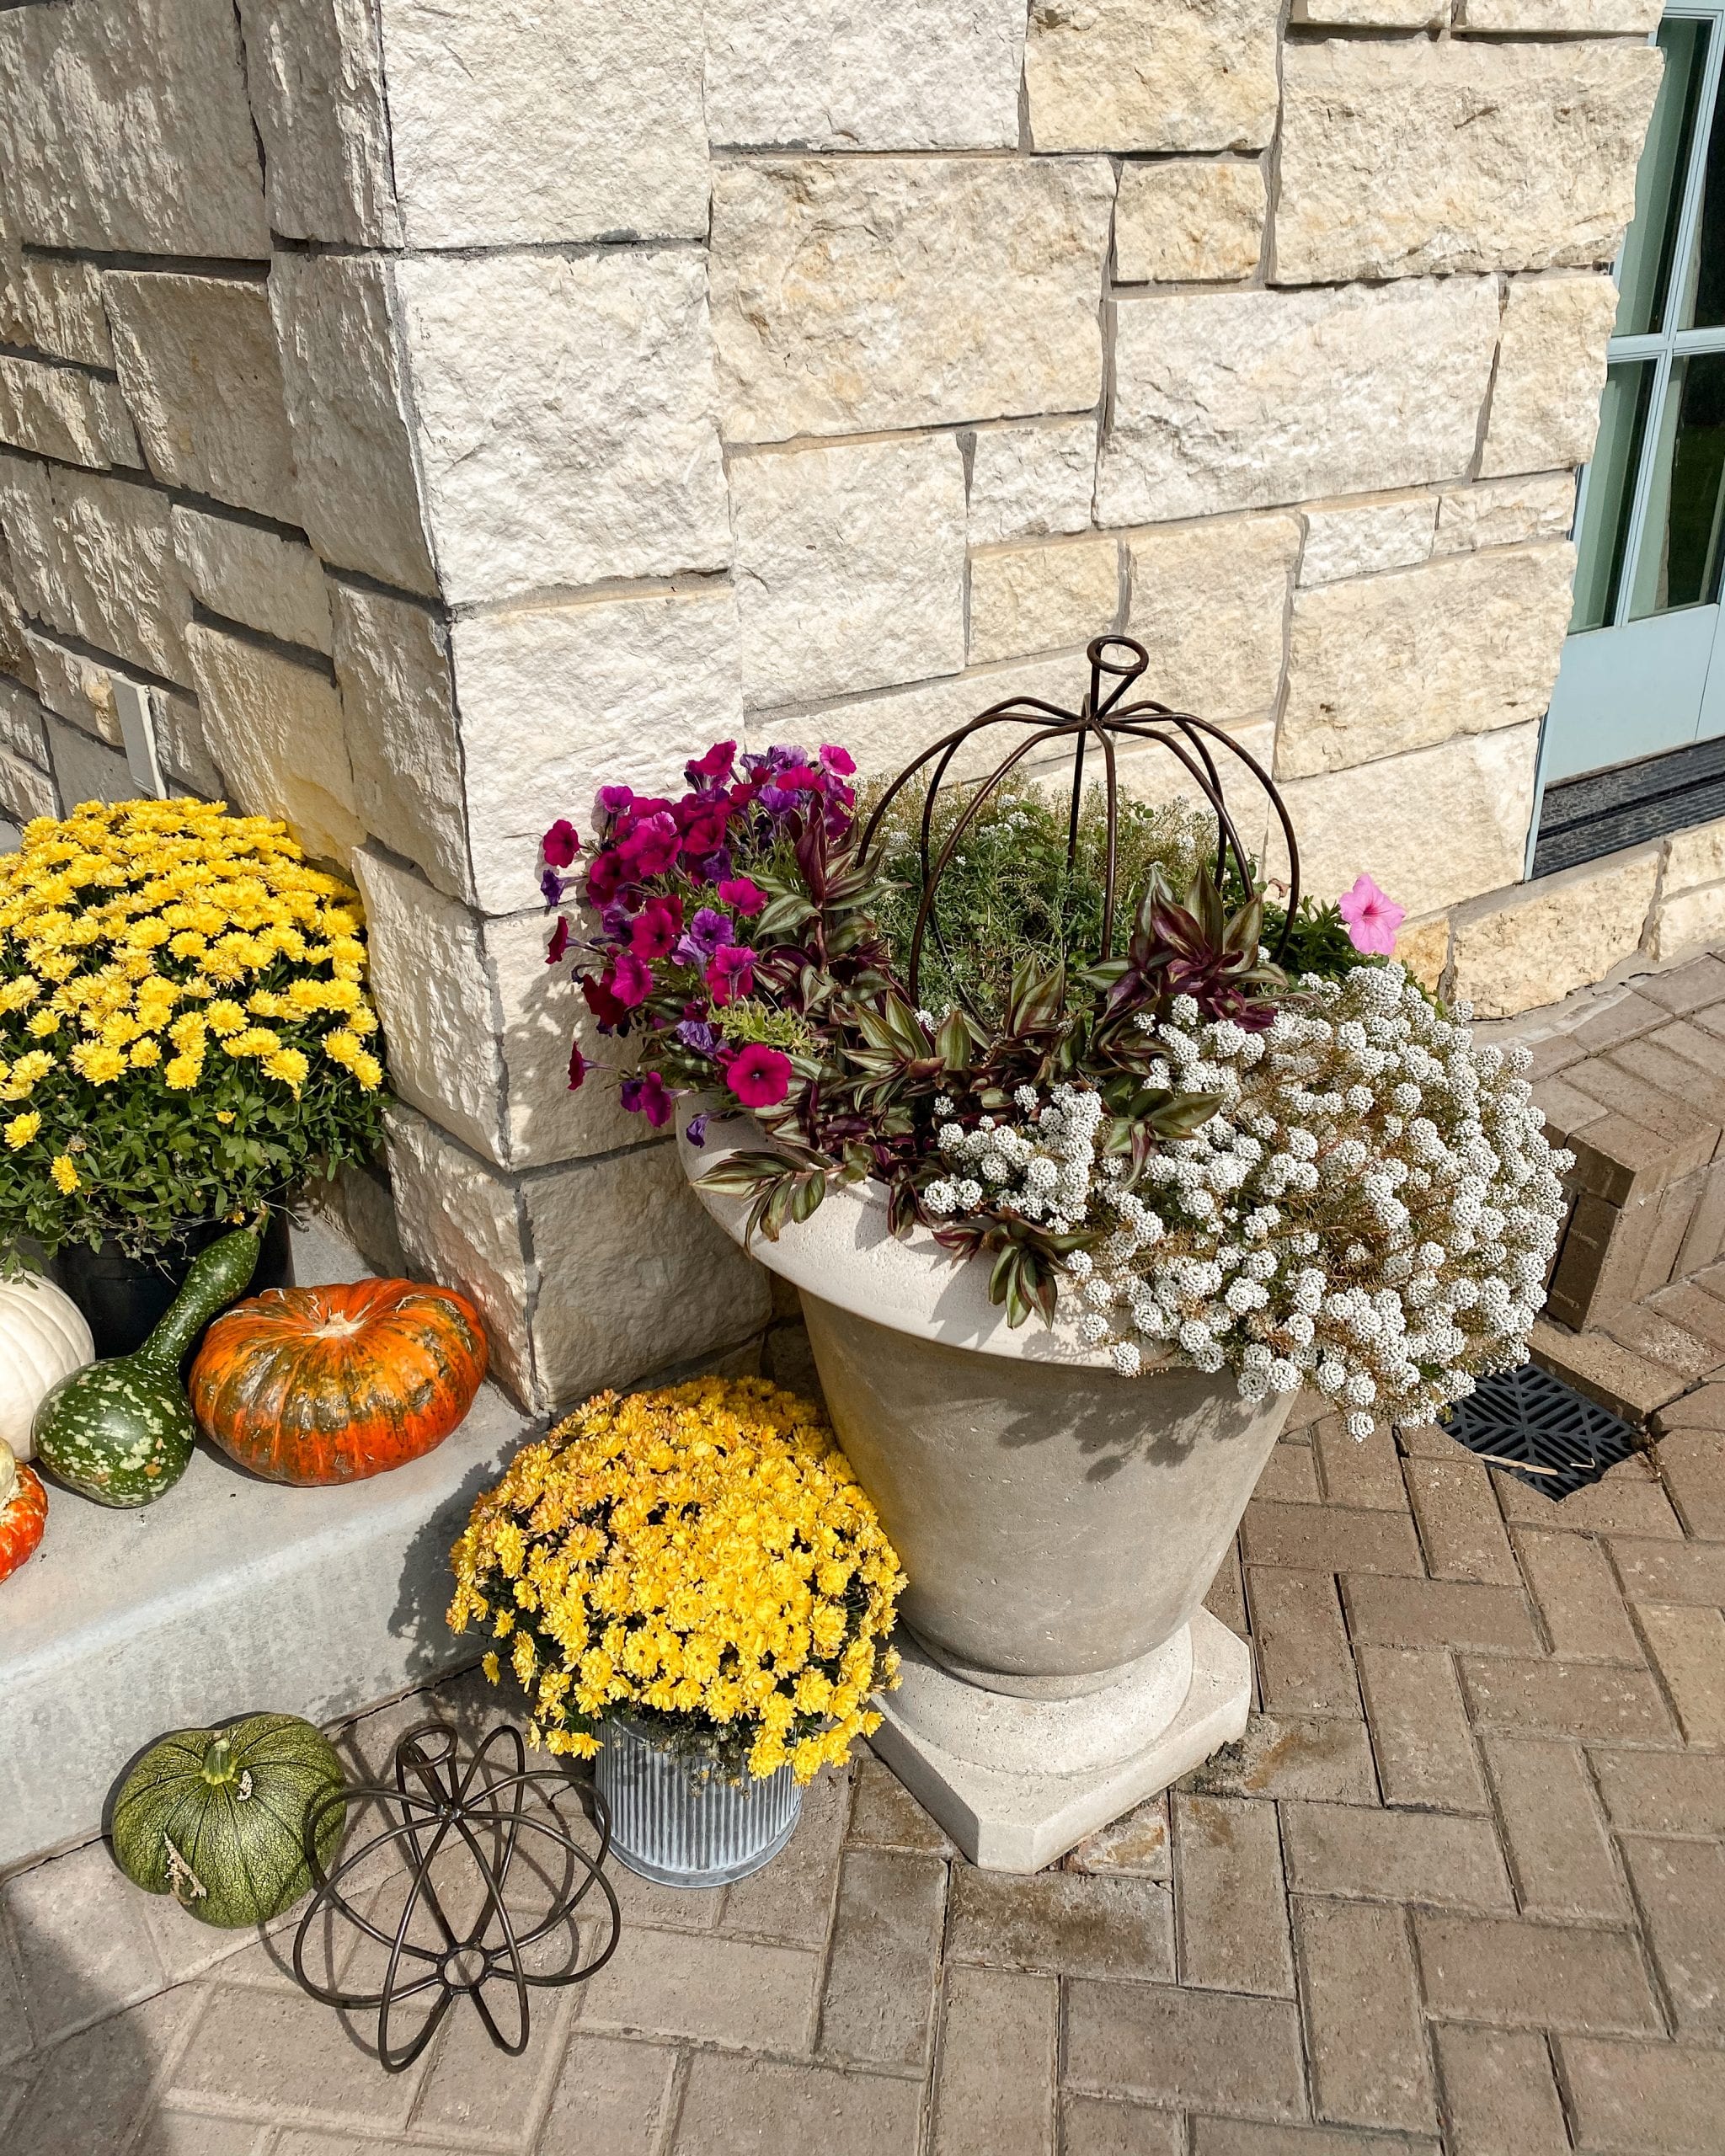
I trimmed up the middle of the summer planters next to the upper part of the porch to make room for the rod iron pumpkins. I then added in the the larger rod iron pumpkin to the middle of the planter and then set the smaller pumpkin down on the ground to mix things up. I found these rod iron pumpkins in Oklahoma at a co-op and brought them back on the airplane in a box! (The things I do for a pretty porch!)
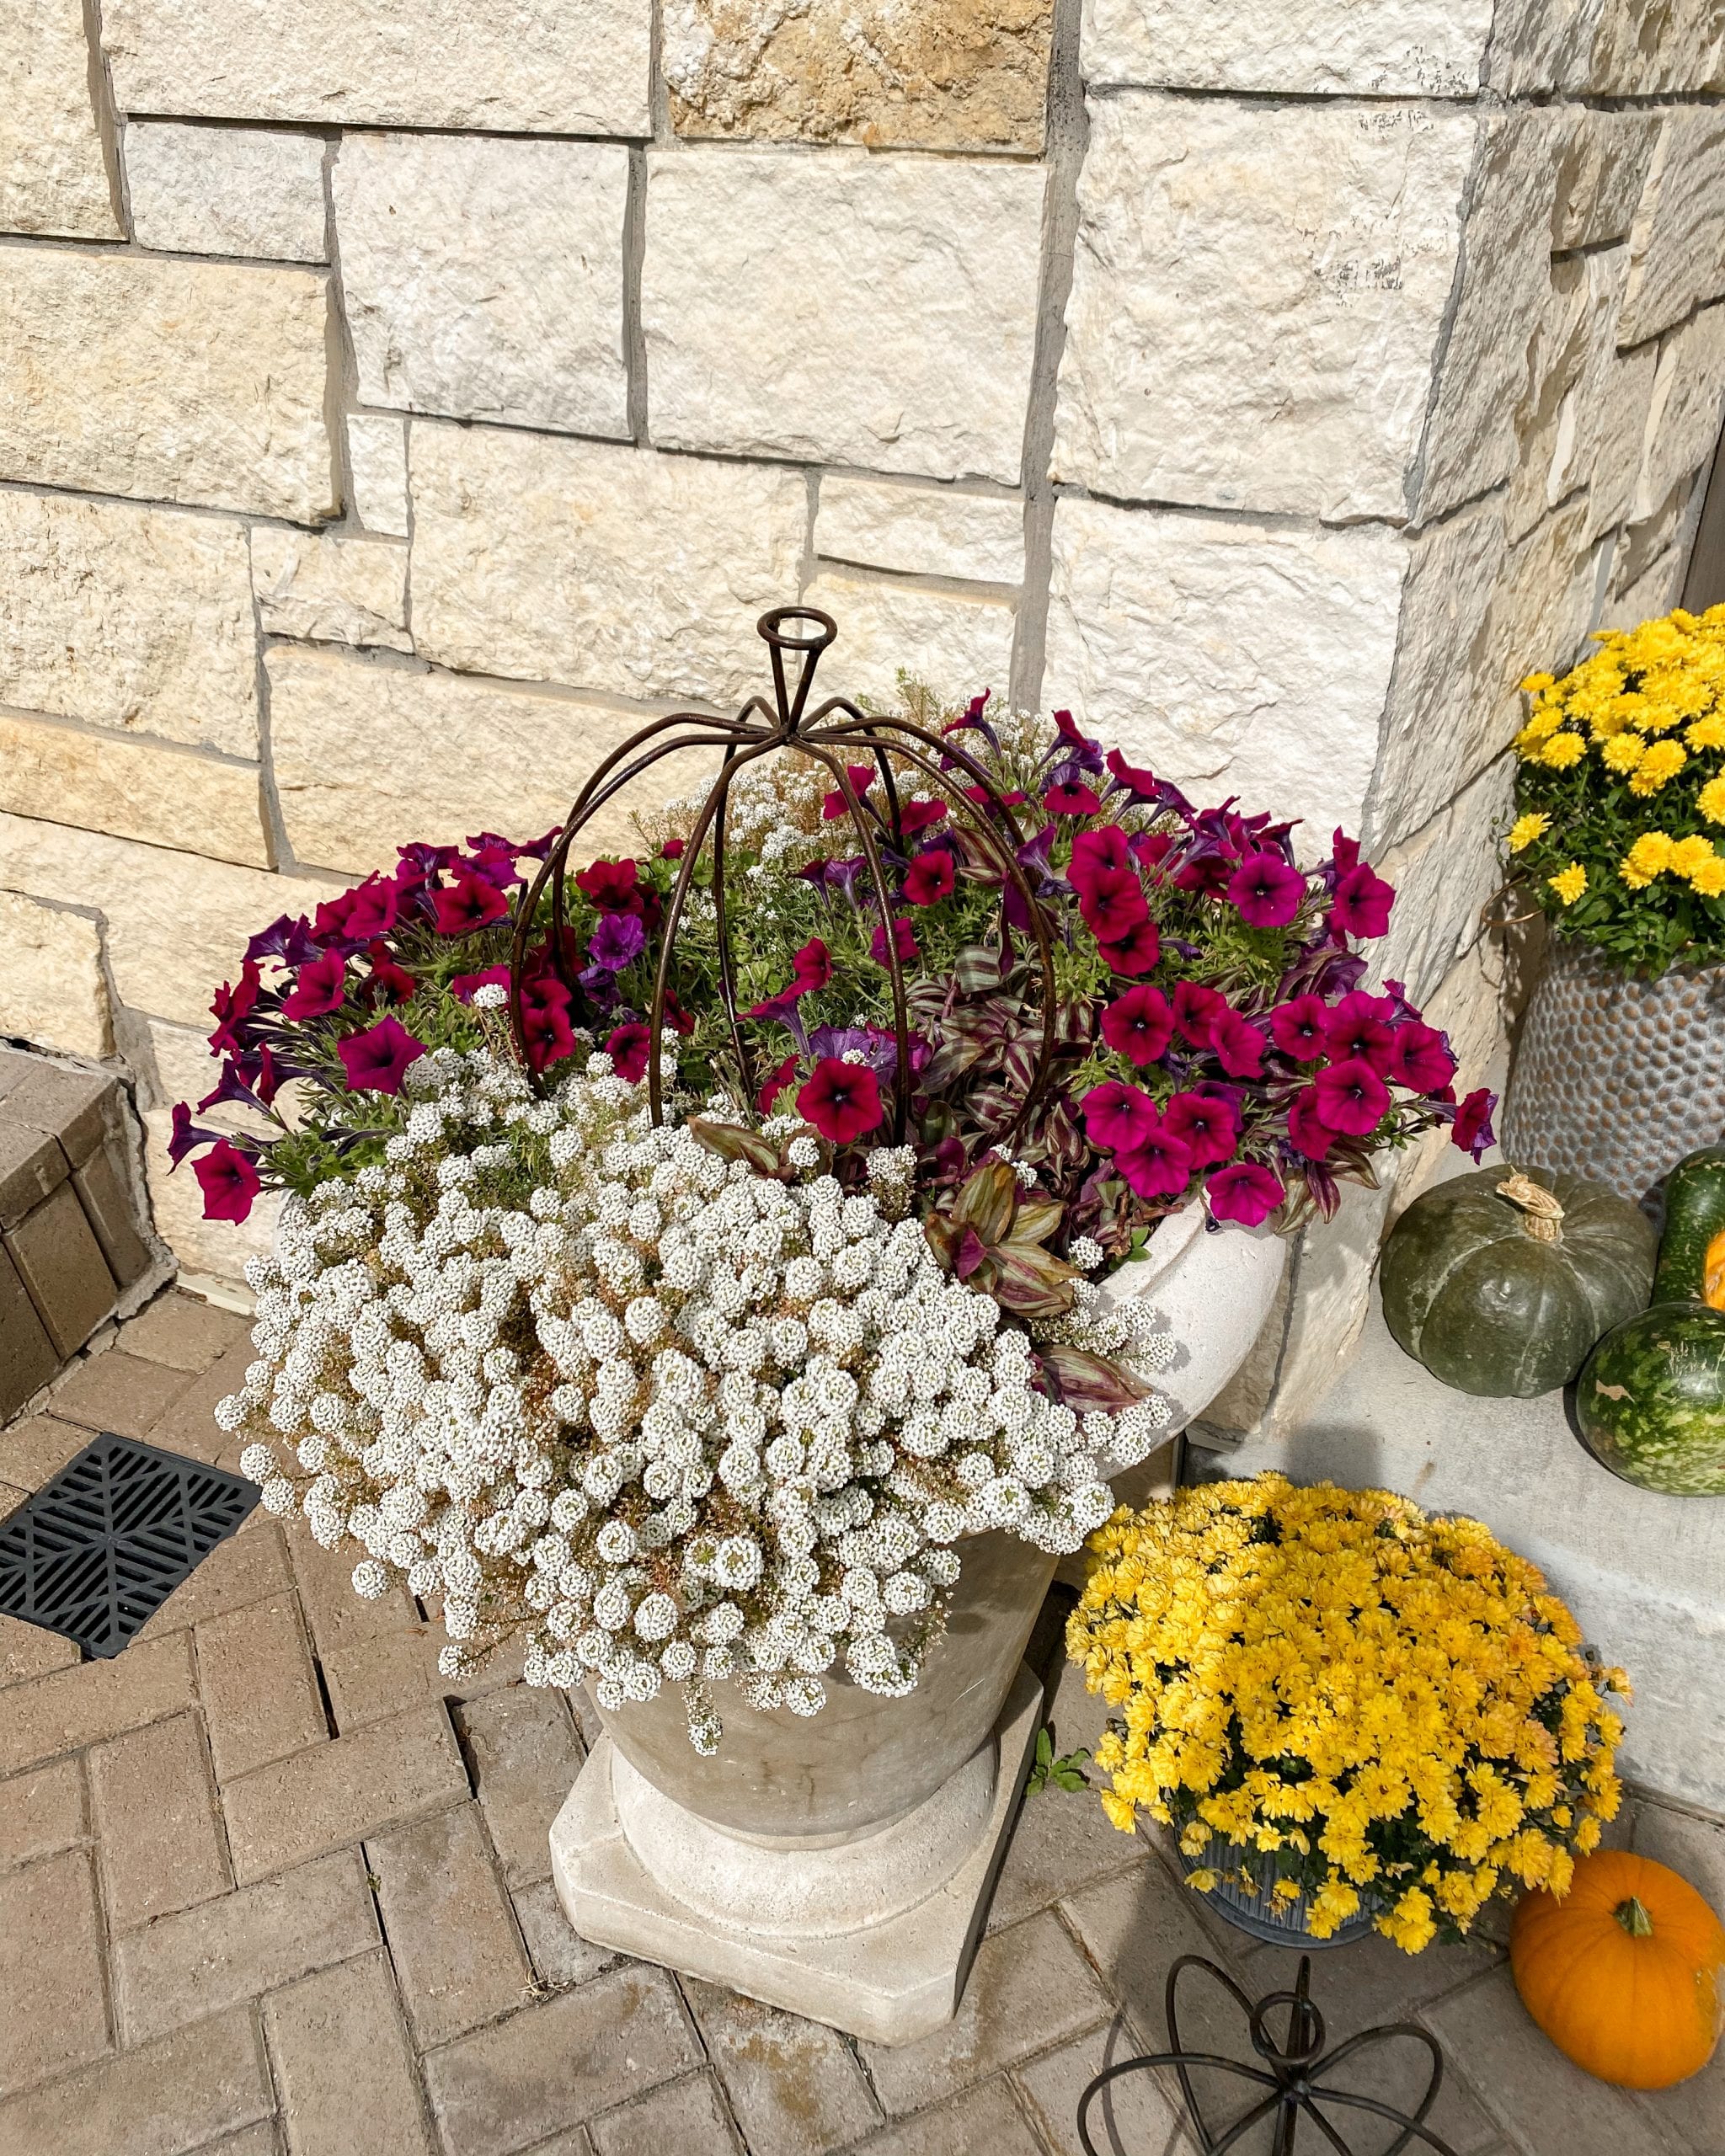
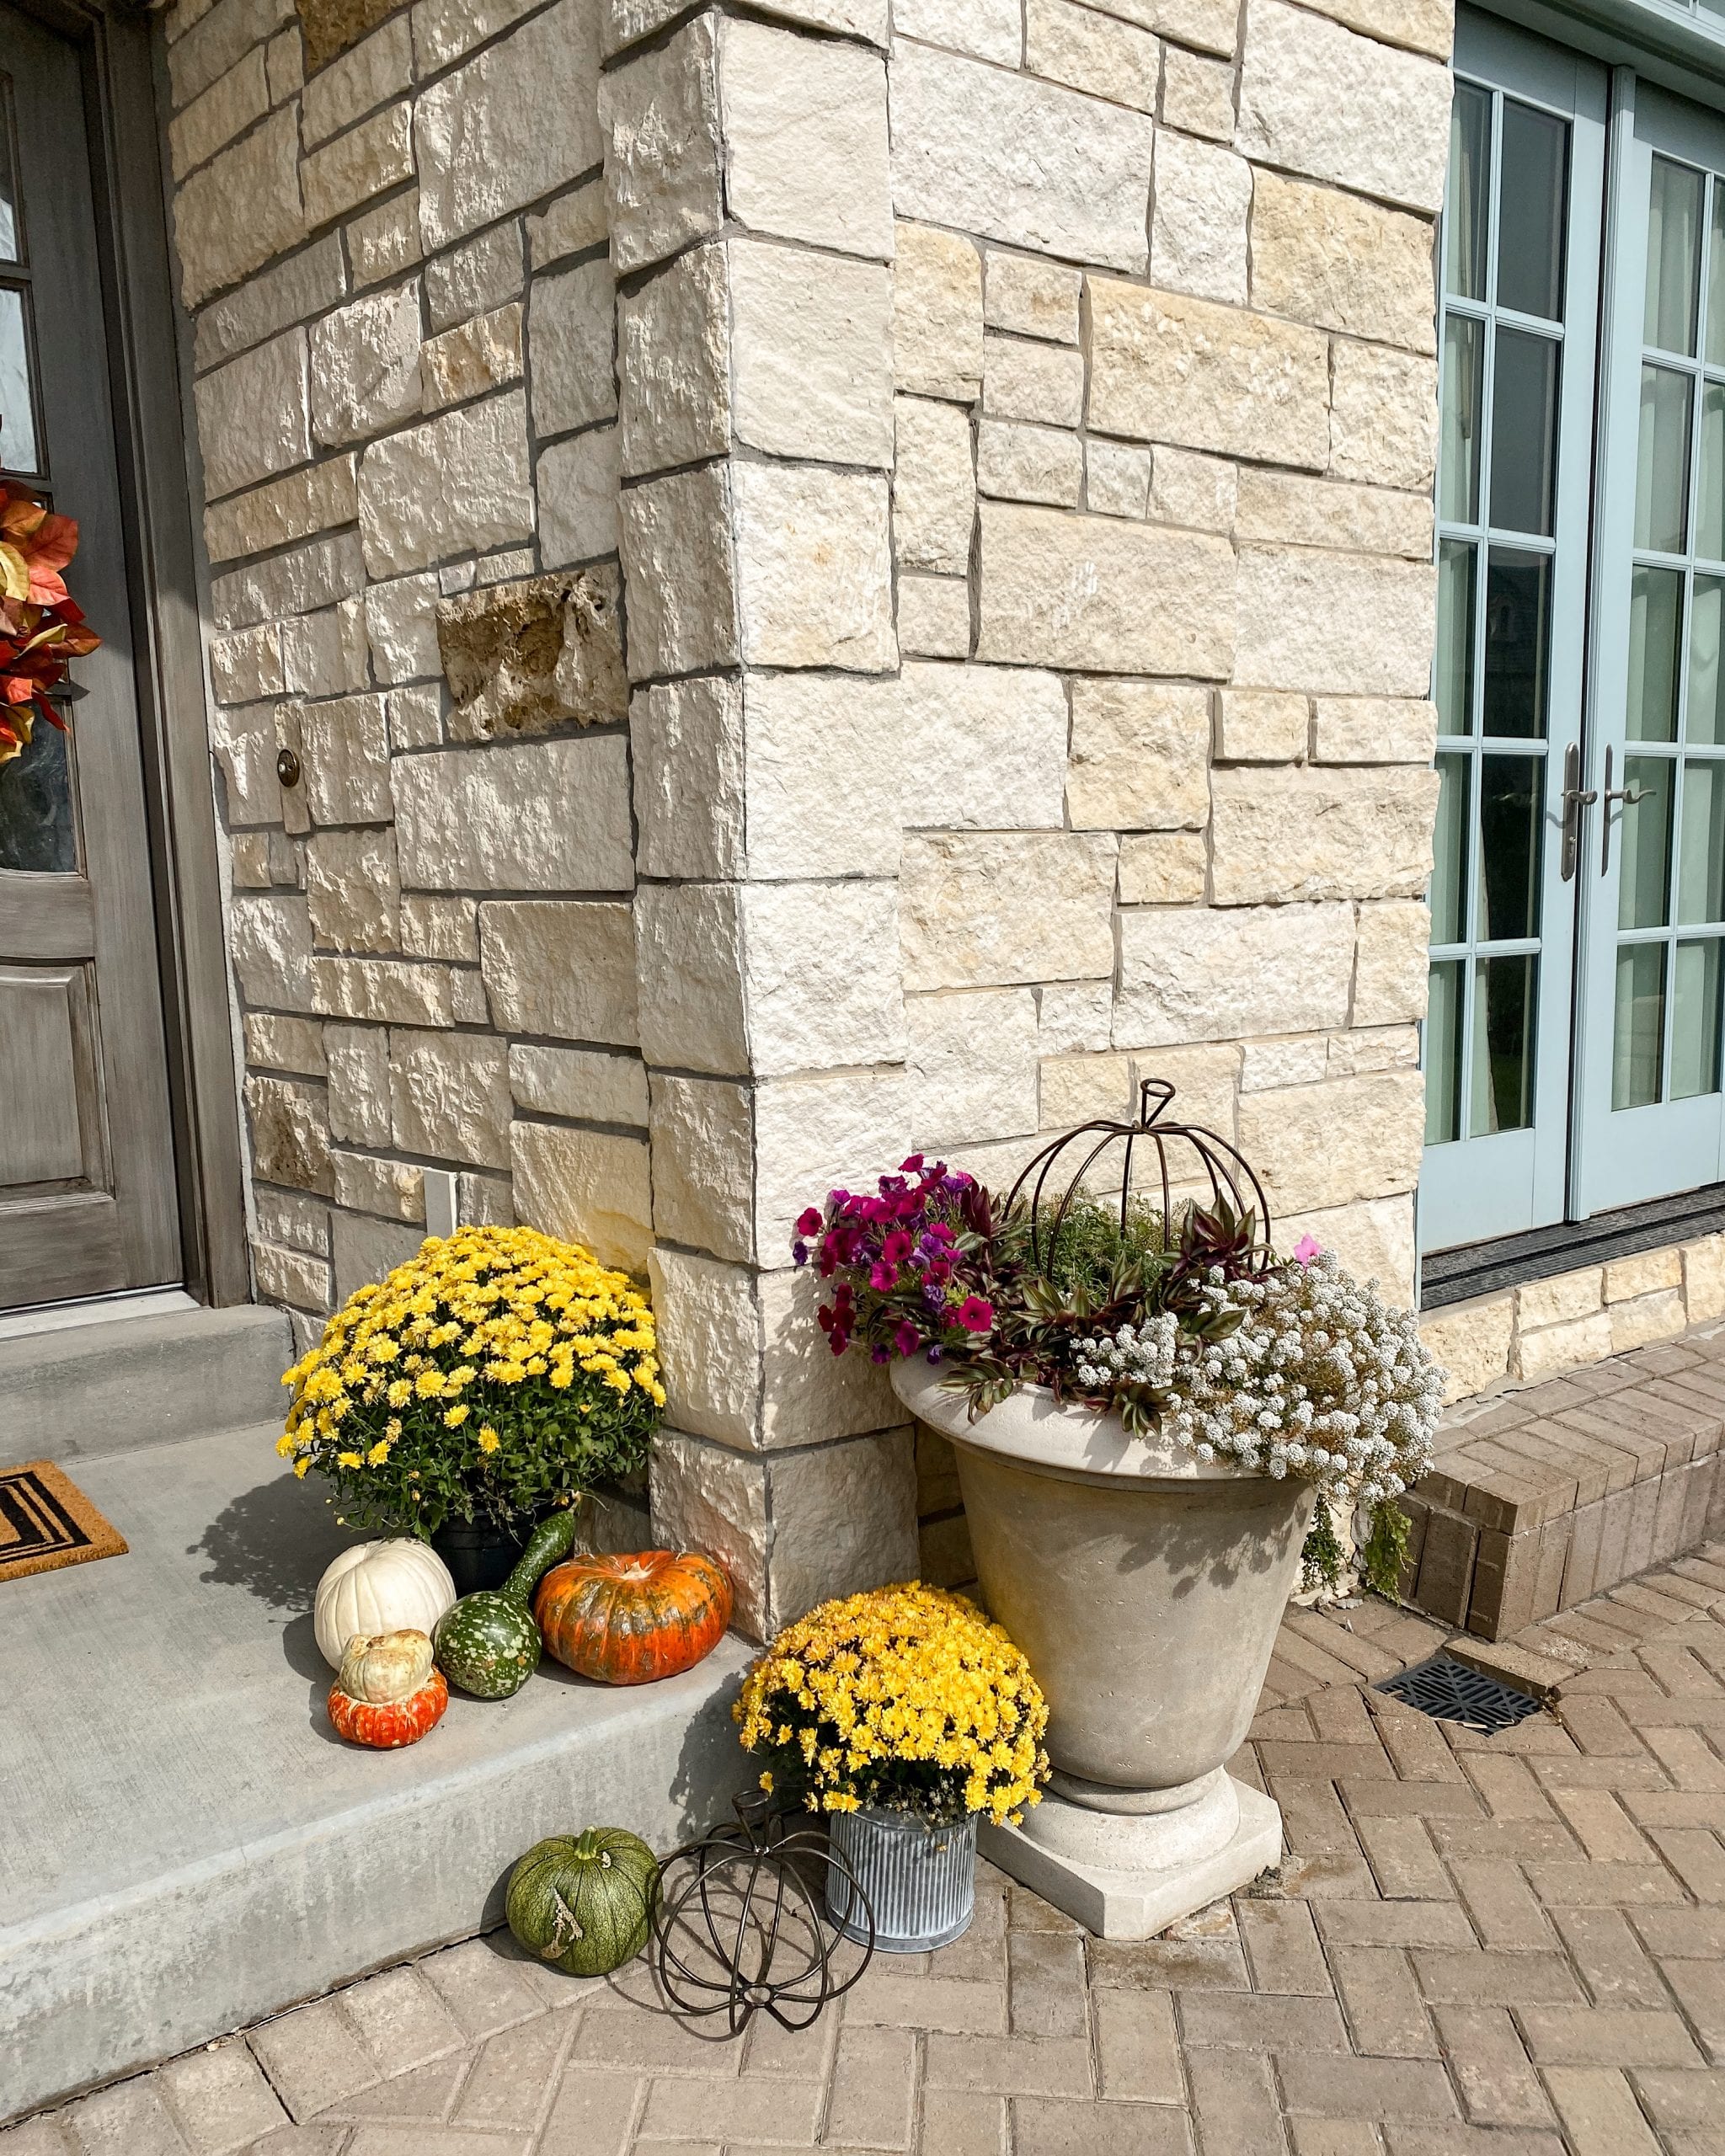
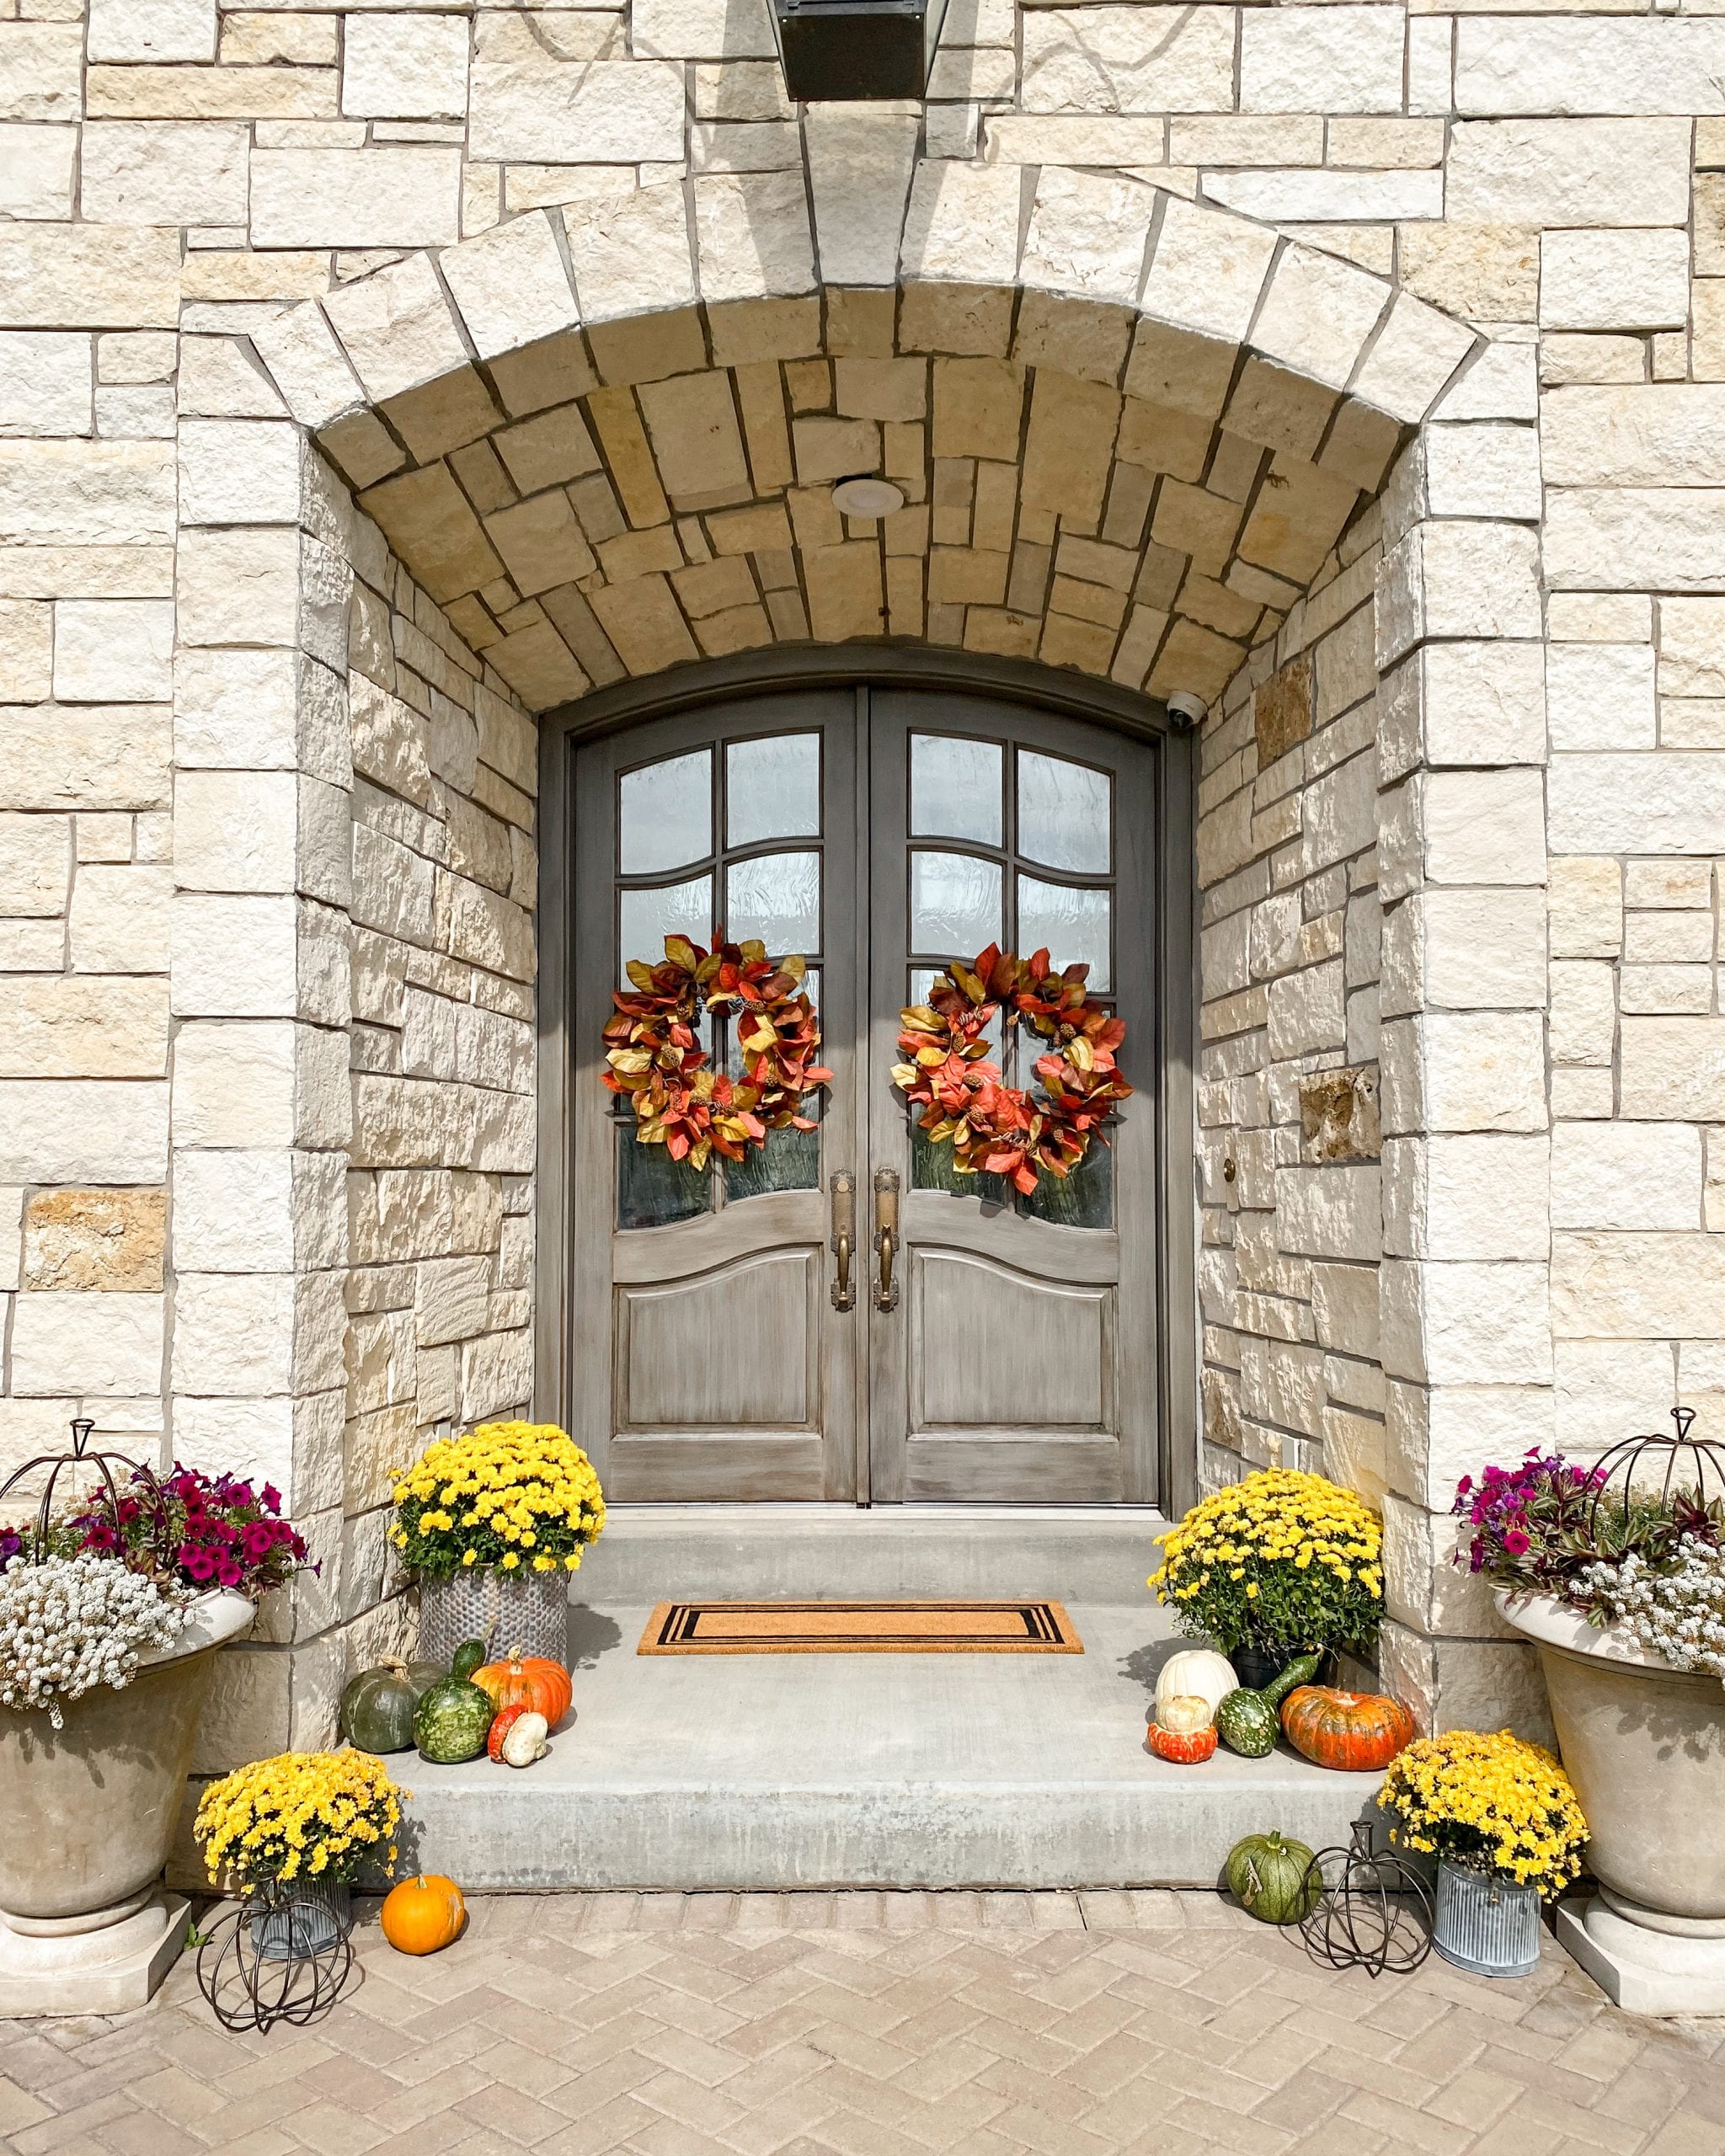
Lastly, add some colorful fall wreaths to your front door/s. I used command strip hooks to hang these as they don’t ruin your paint or finish on your door. I also added a new rug to the porch.
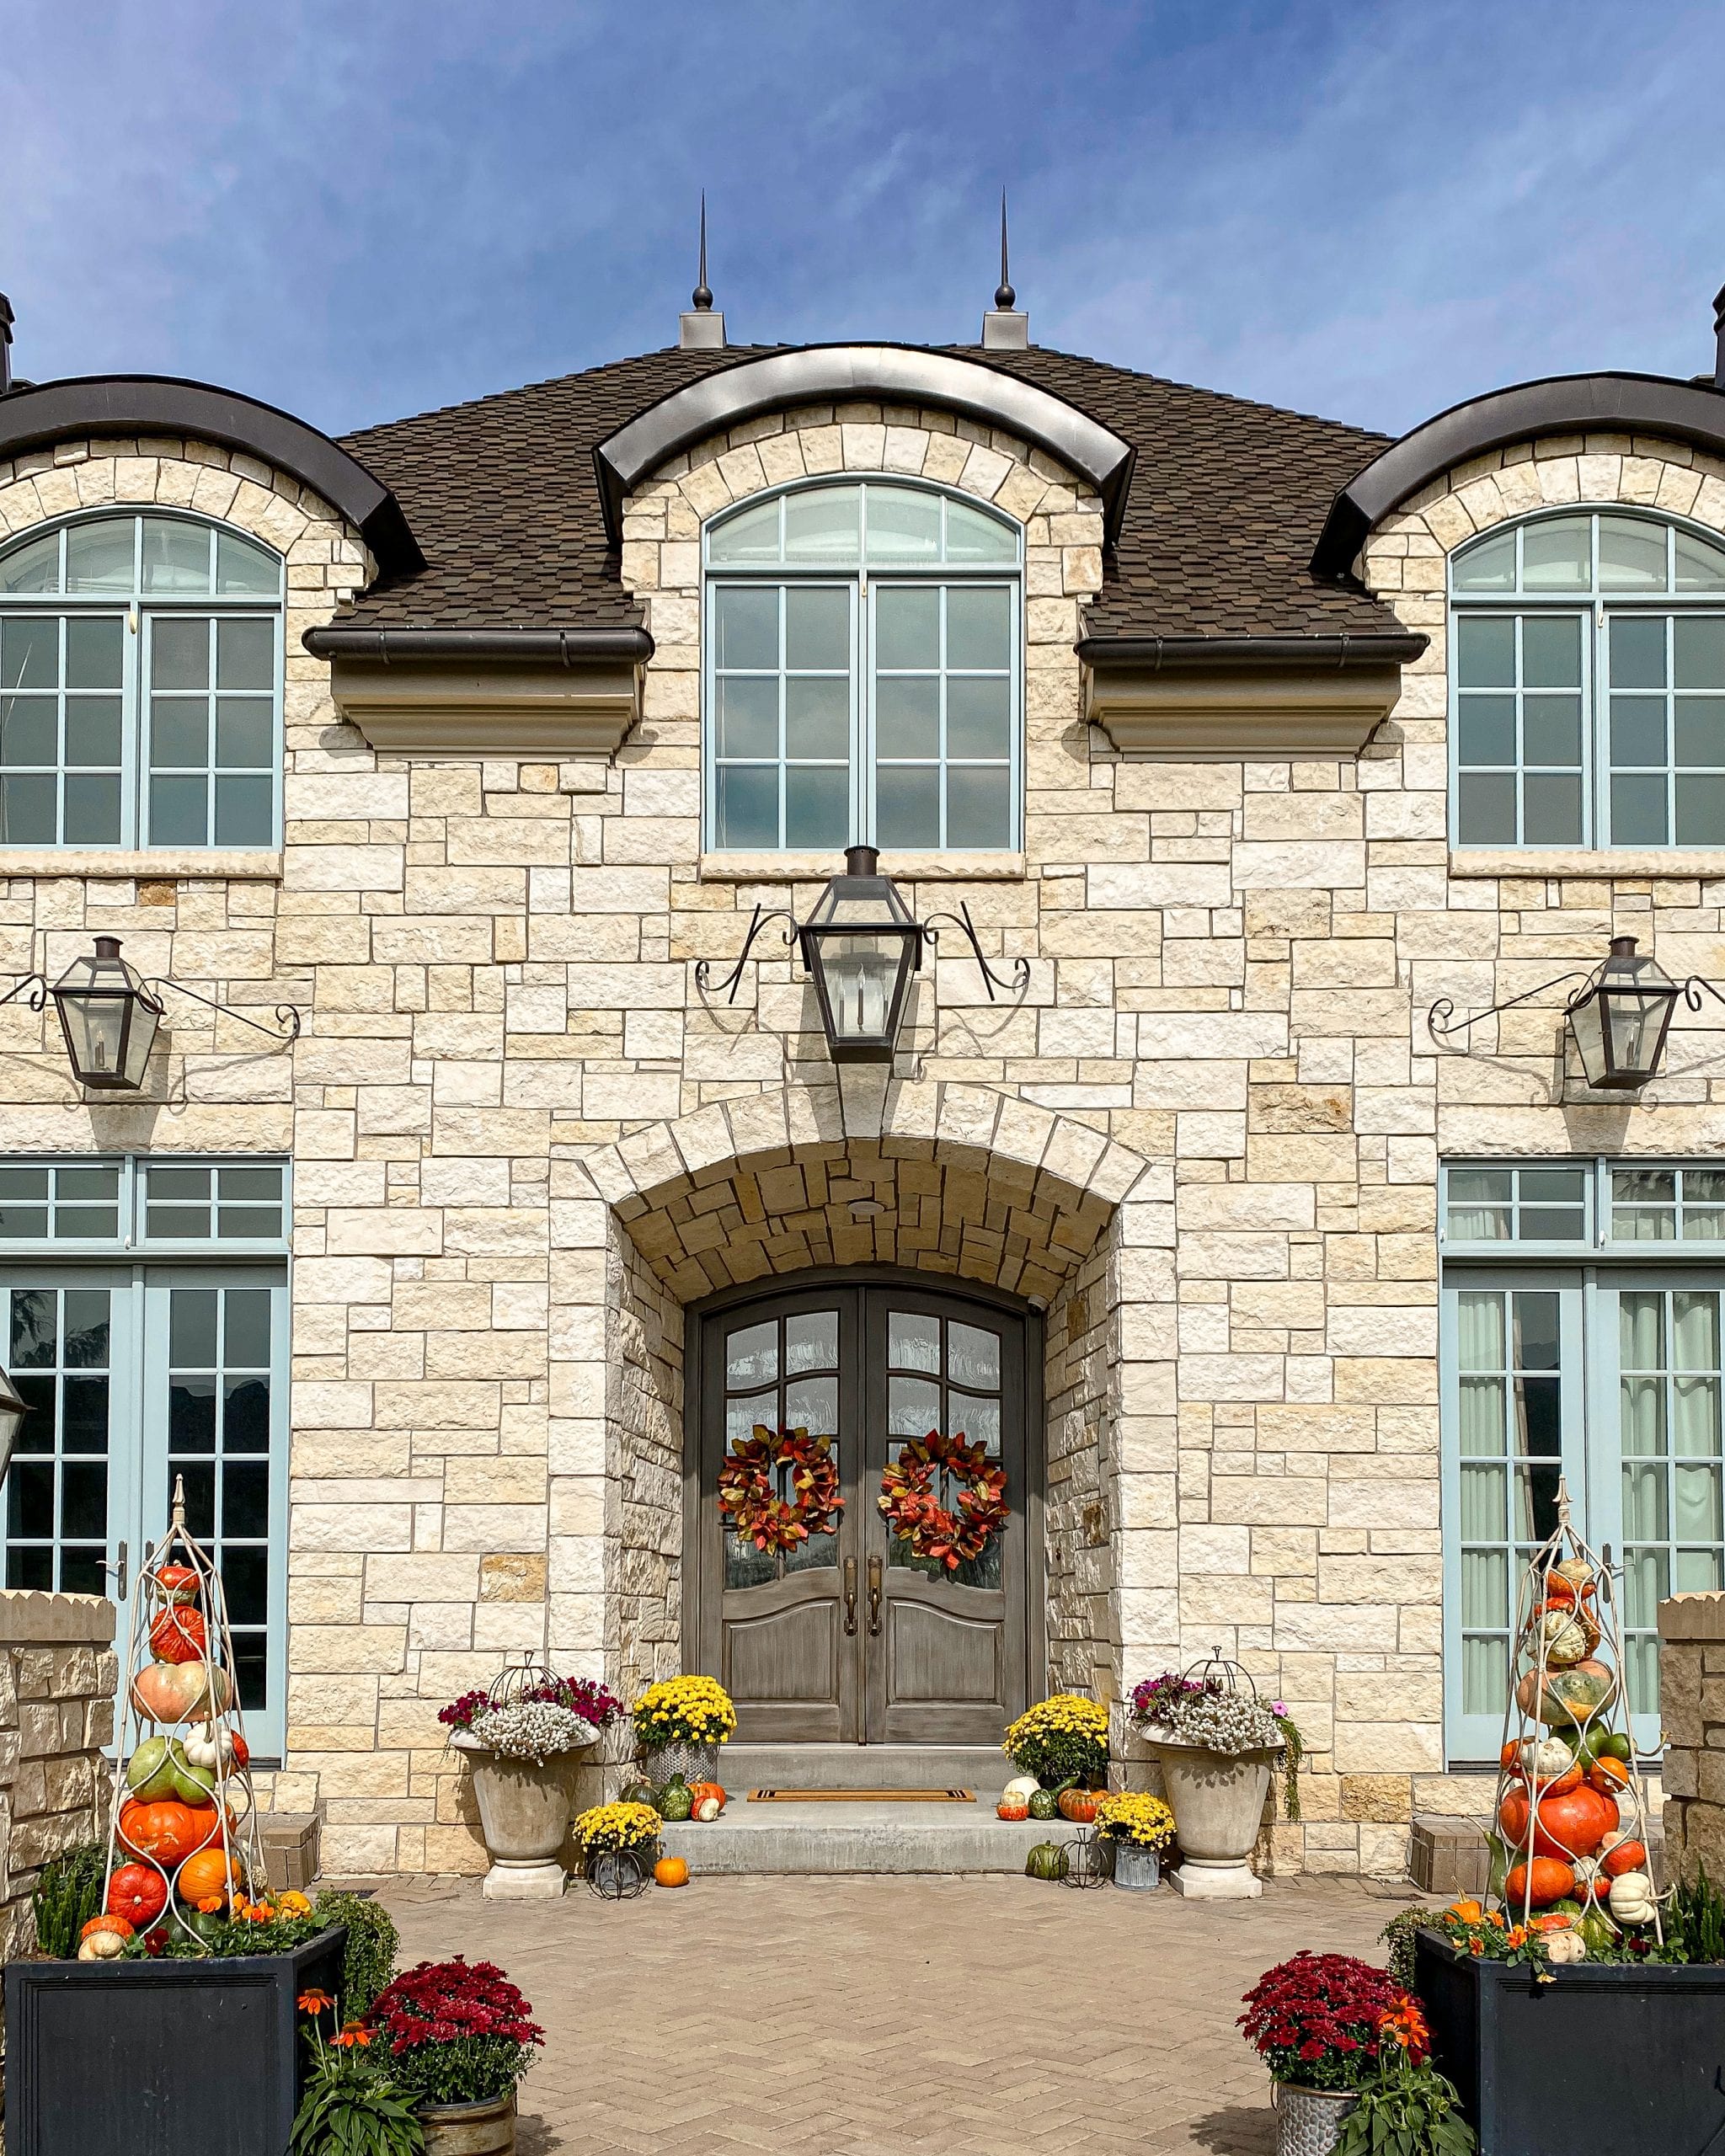
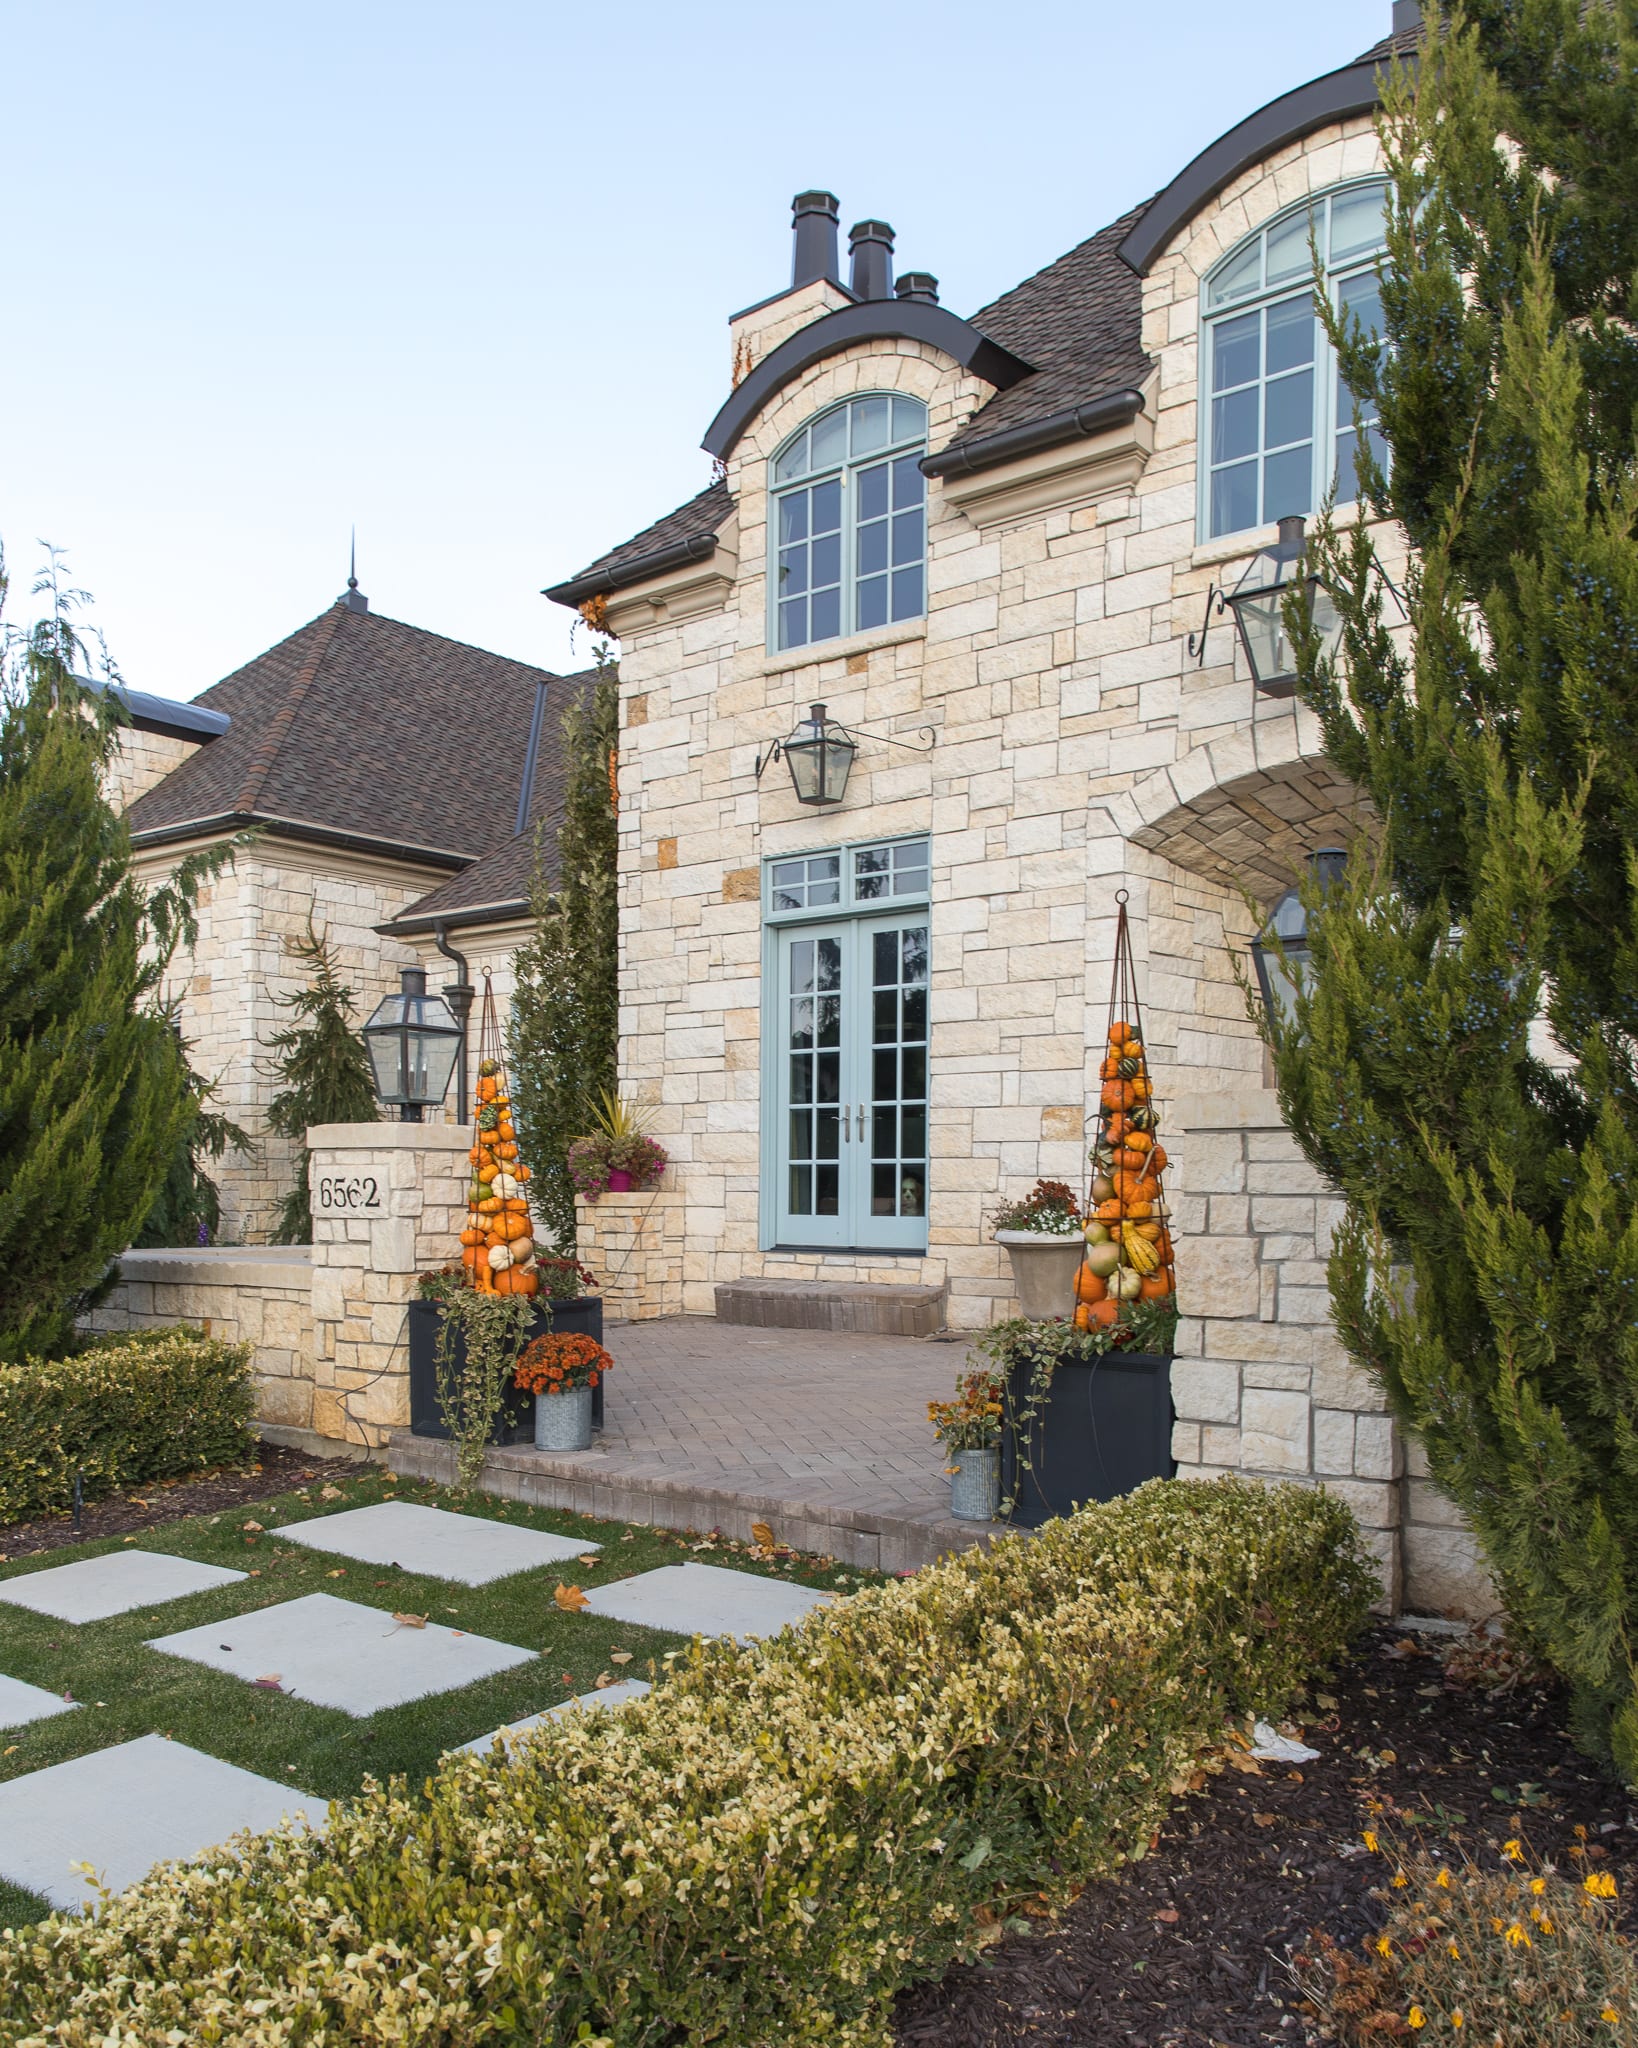
I hope you enjoyed seeing how I decorated my porch for Fall. Here are some of the other garden obelisk pumpkin towers I’ve done in the past few years. This other obelisk I used below was a lot more difficult and required a lot more patience, time, and wire to keep the pumpkins in. I’ll explain more under each photo.

This photo above is from the first year I tried this on my front porch. I used these taller obelisks and larger pumpkins in the bottom and smaller ones on top. You can see more of this post here:
This next photo is from last year. I used the same obelisks but I only used small pumpkins and gourds. The upside is that it looked a little different but the down side was that it required A LOT of pumpkins and gourds and it was really difficult to keep them inside. I had to add a lot of wire around the outside of the obelisk. If you add wire to yours, go up and down vertically as that works better than wrapping it around horizontally. To see more of last years fall porch decor click here:
I hope you enjoyed seeing how I created these obelisk pumpkin towers and my fall porch decor ideas. If you have any questions, please comment below! I’ve linked all the things below that I used and what I could source online for you below.
Many home and garden stores carry the garden obelisks.

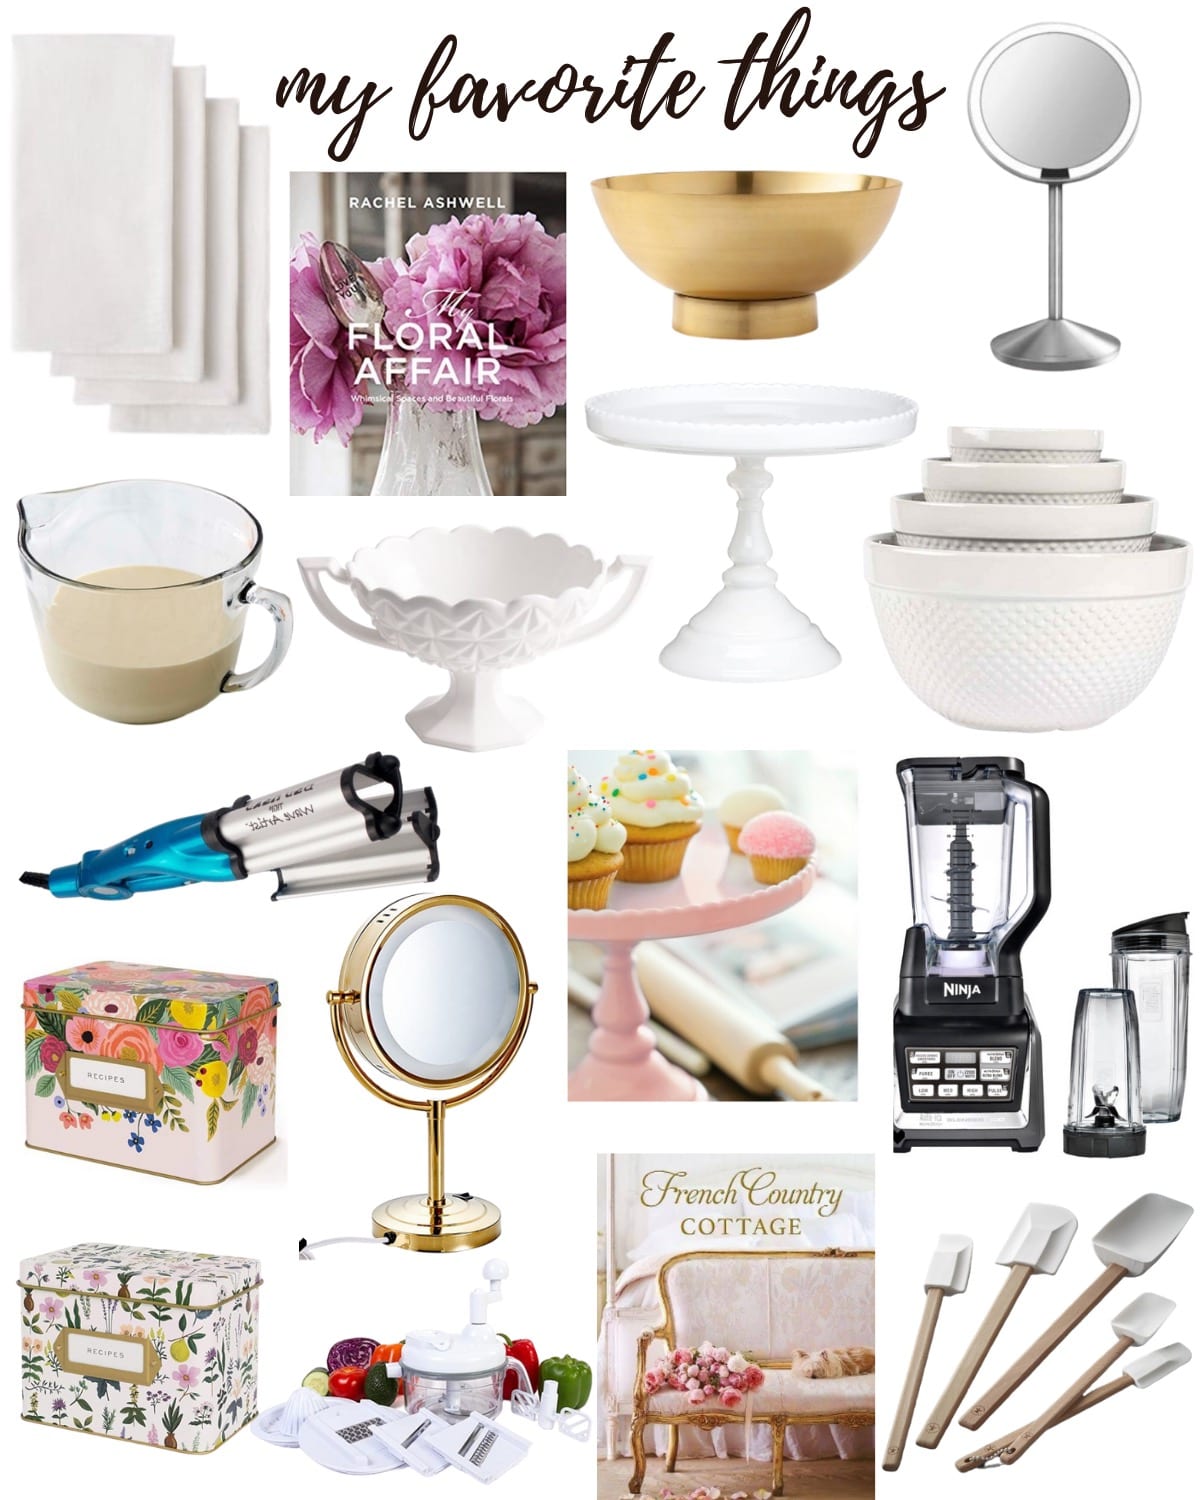
Here are all the sources and other options I could link for you:
PIN THIS FOR LATER:







Thanks so much for sharing my pumpkin towers! They are so fun to do!