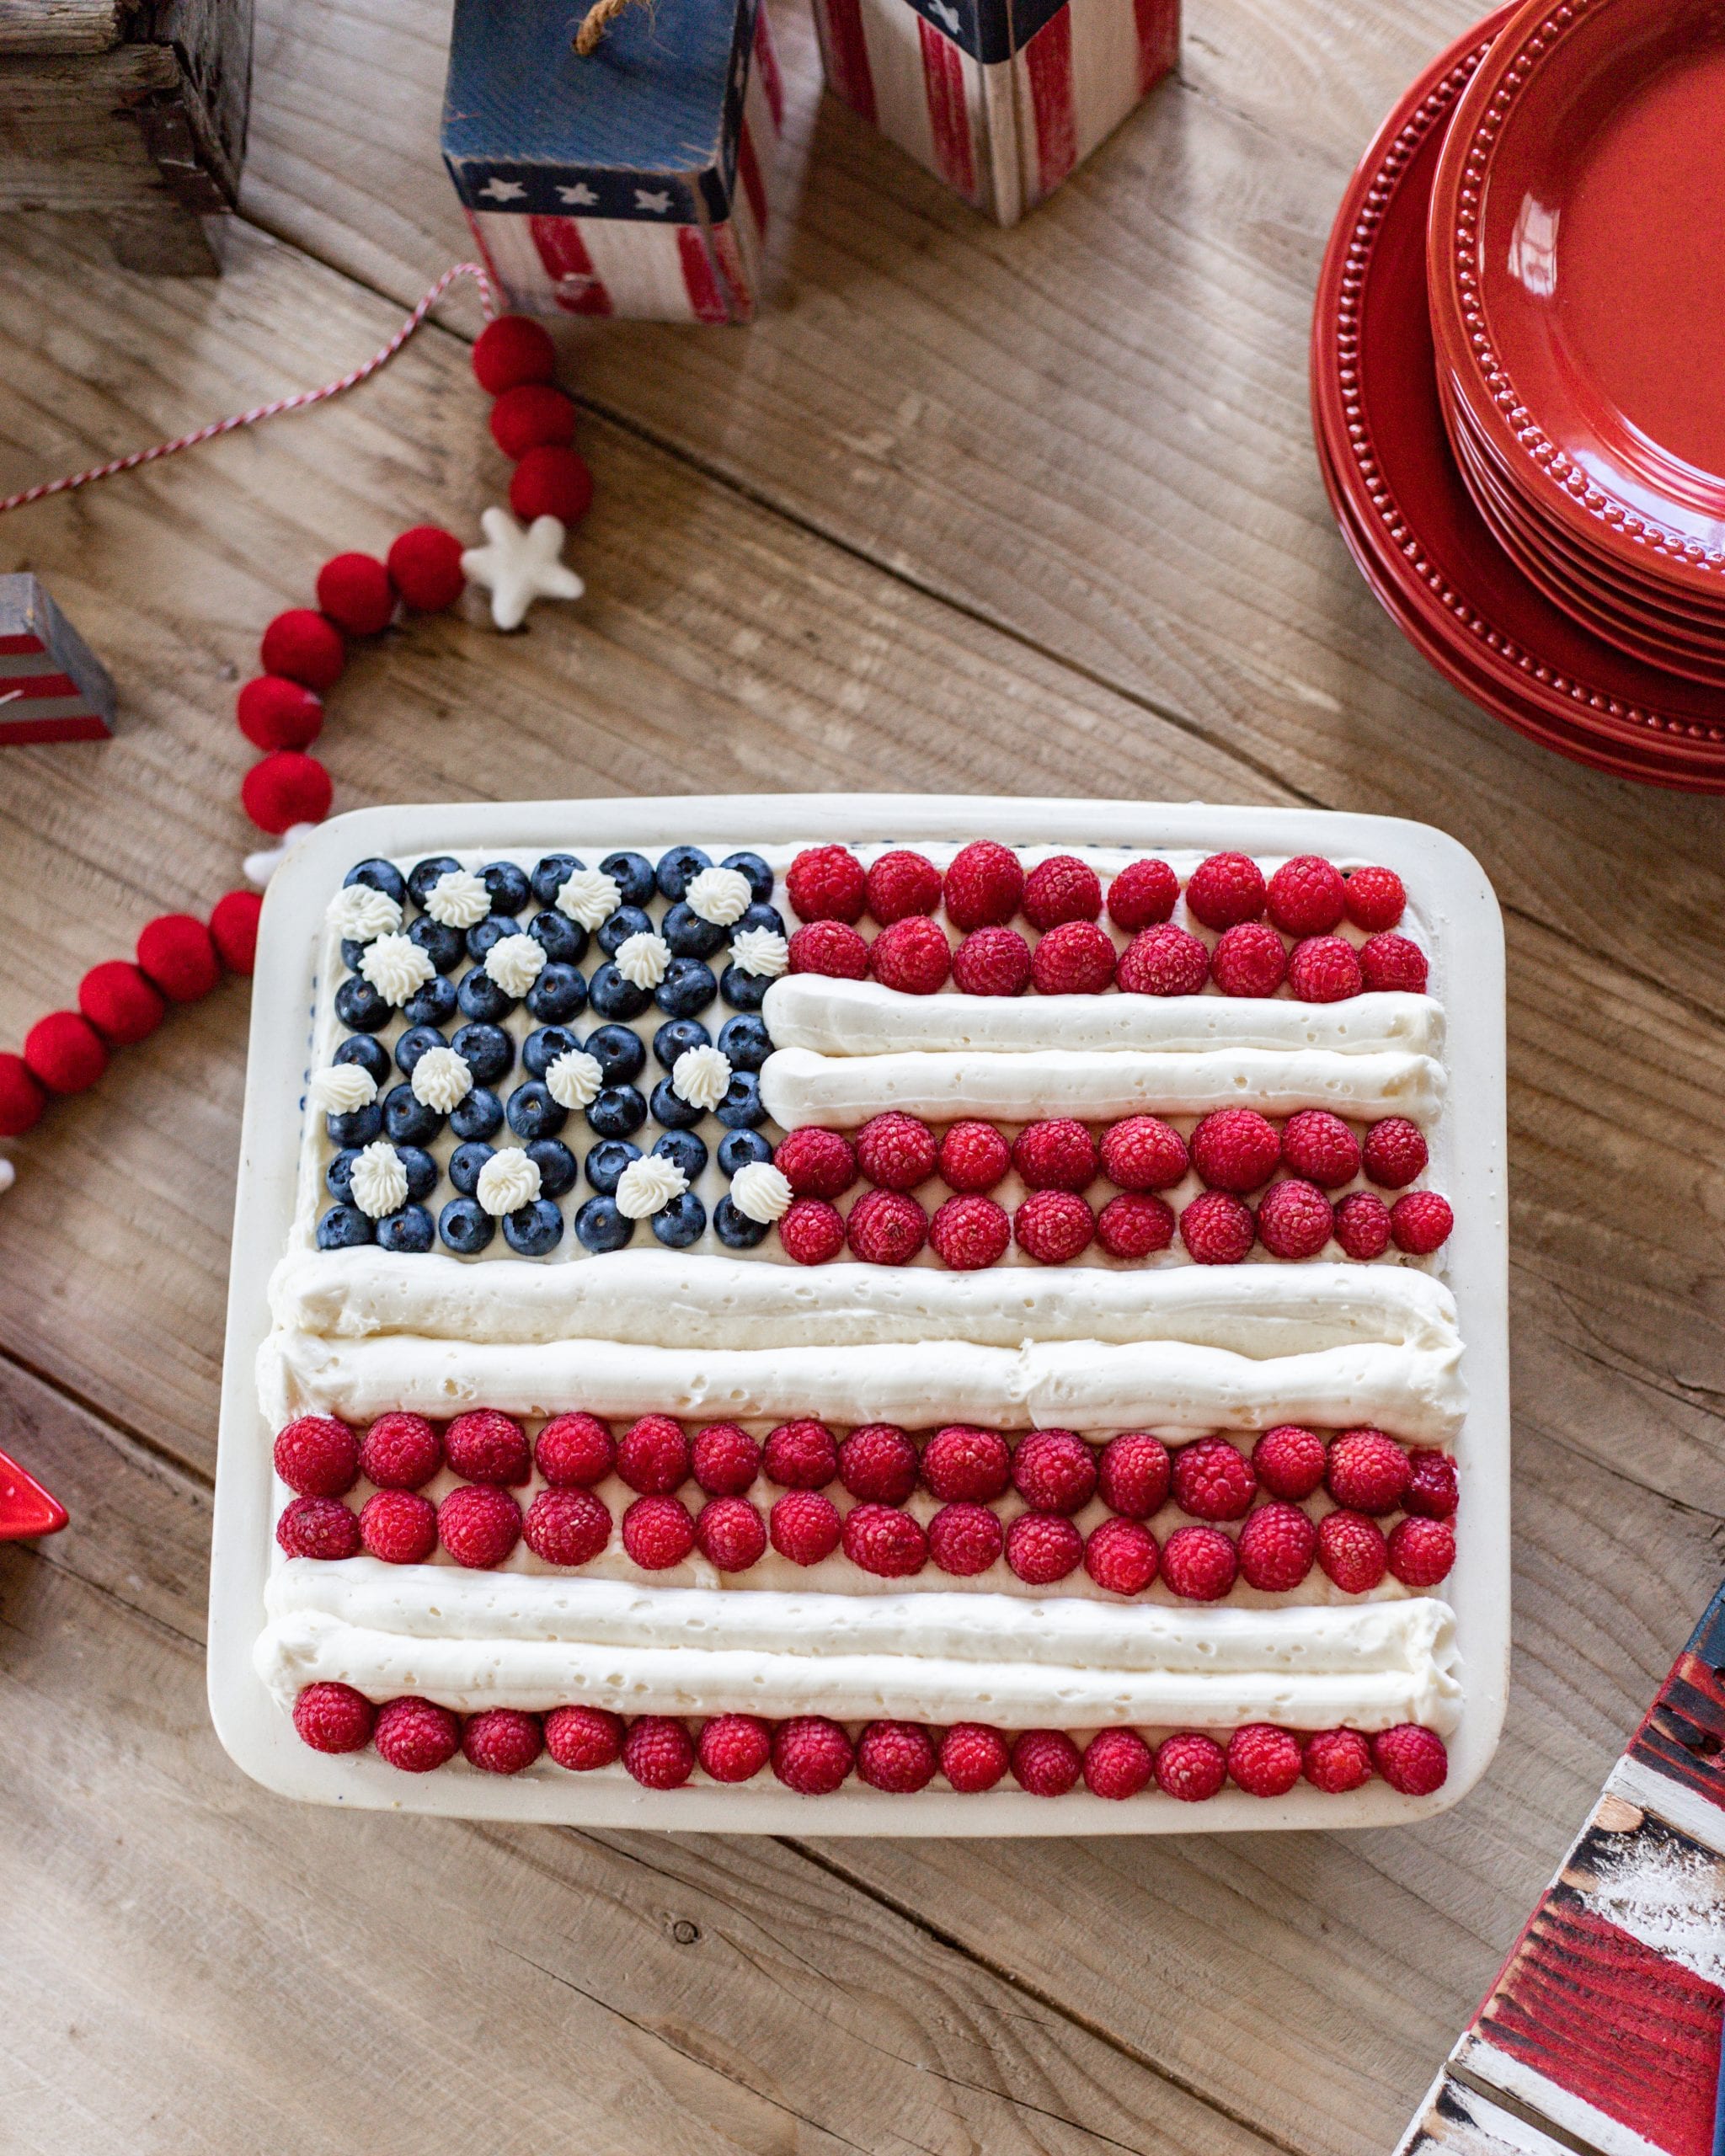
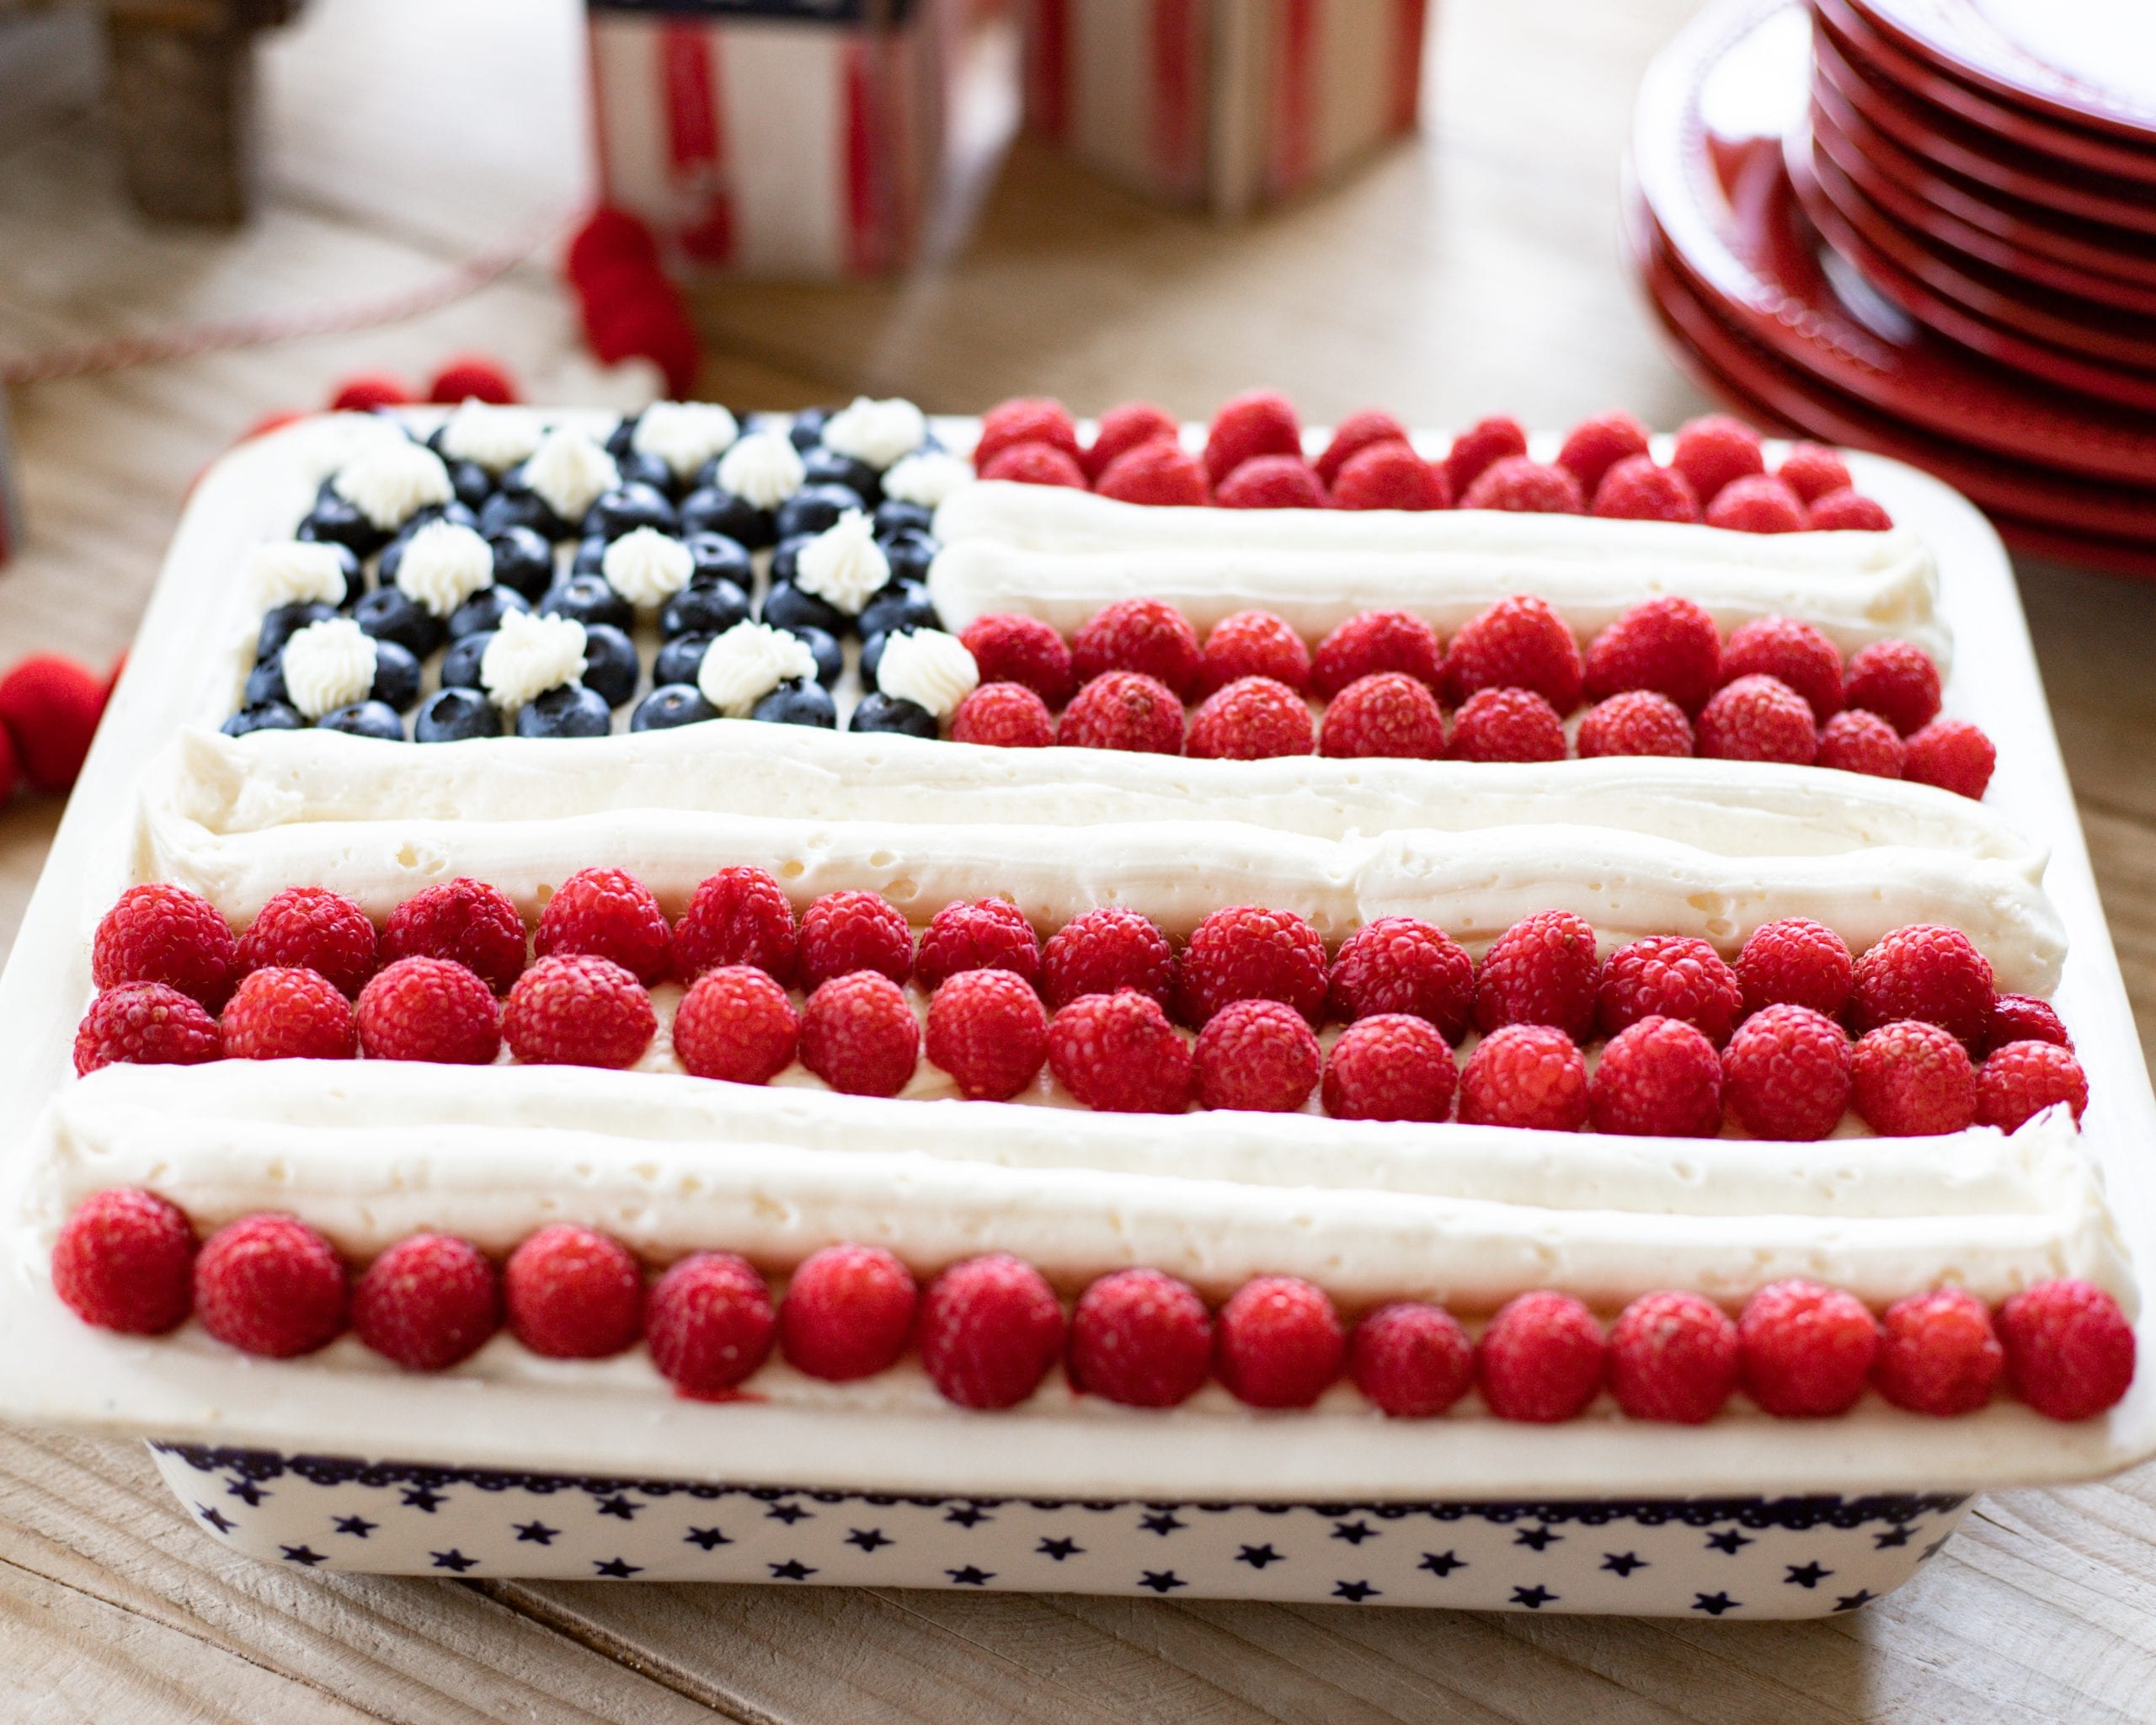
Sharing how I made this easy-to-decorate Stars and Stripes American Flag Cake recipe for any patriotic event.
Disclaimer: This post does include affiliate links for your convenience. This is at NO additional cost to you but earns me a small commission. To read more, check out our disclosure policy.
Table of contents
Stars and Stripes Flag Cake
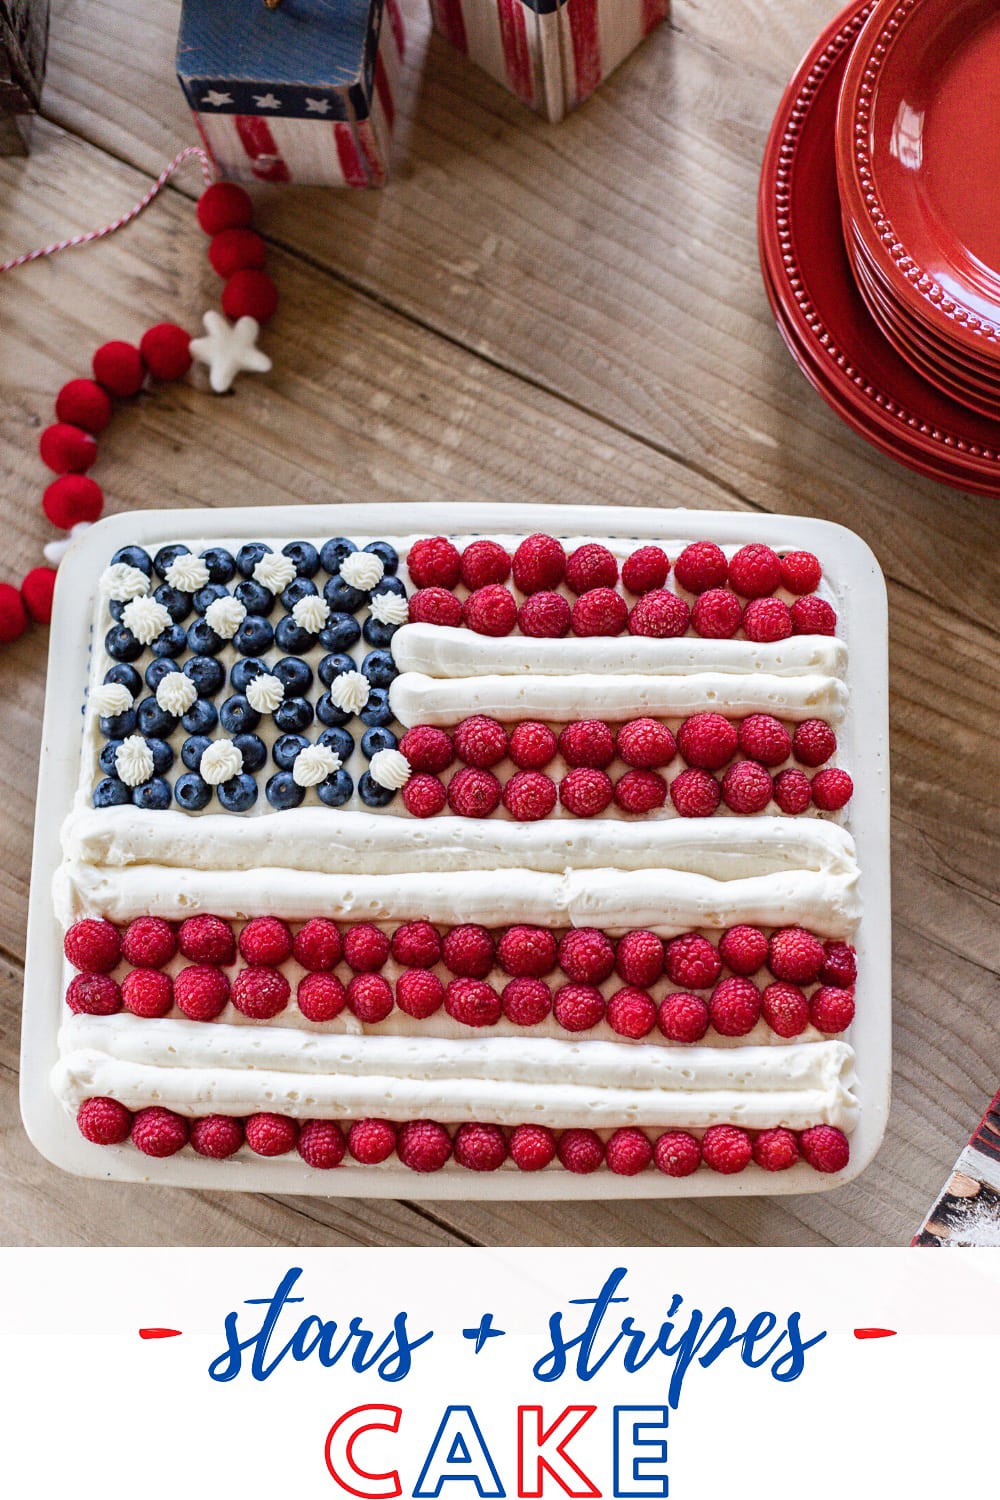
This Easy Stars and Stripes American Flag Cake is really easy to make and you don’t have to be a master cake decorator or expert baker to pull this off! I’ll link sources at the bottom of the post!
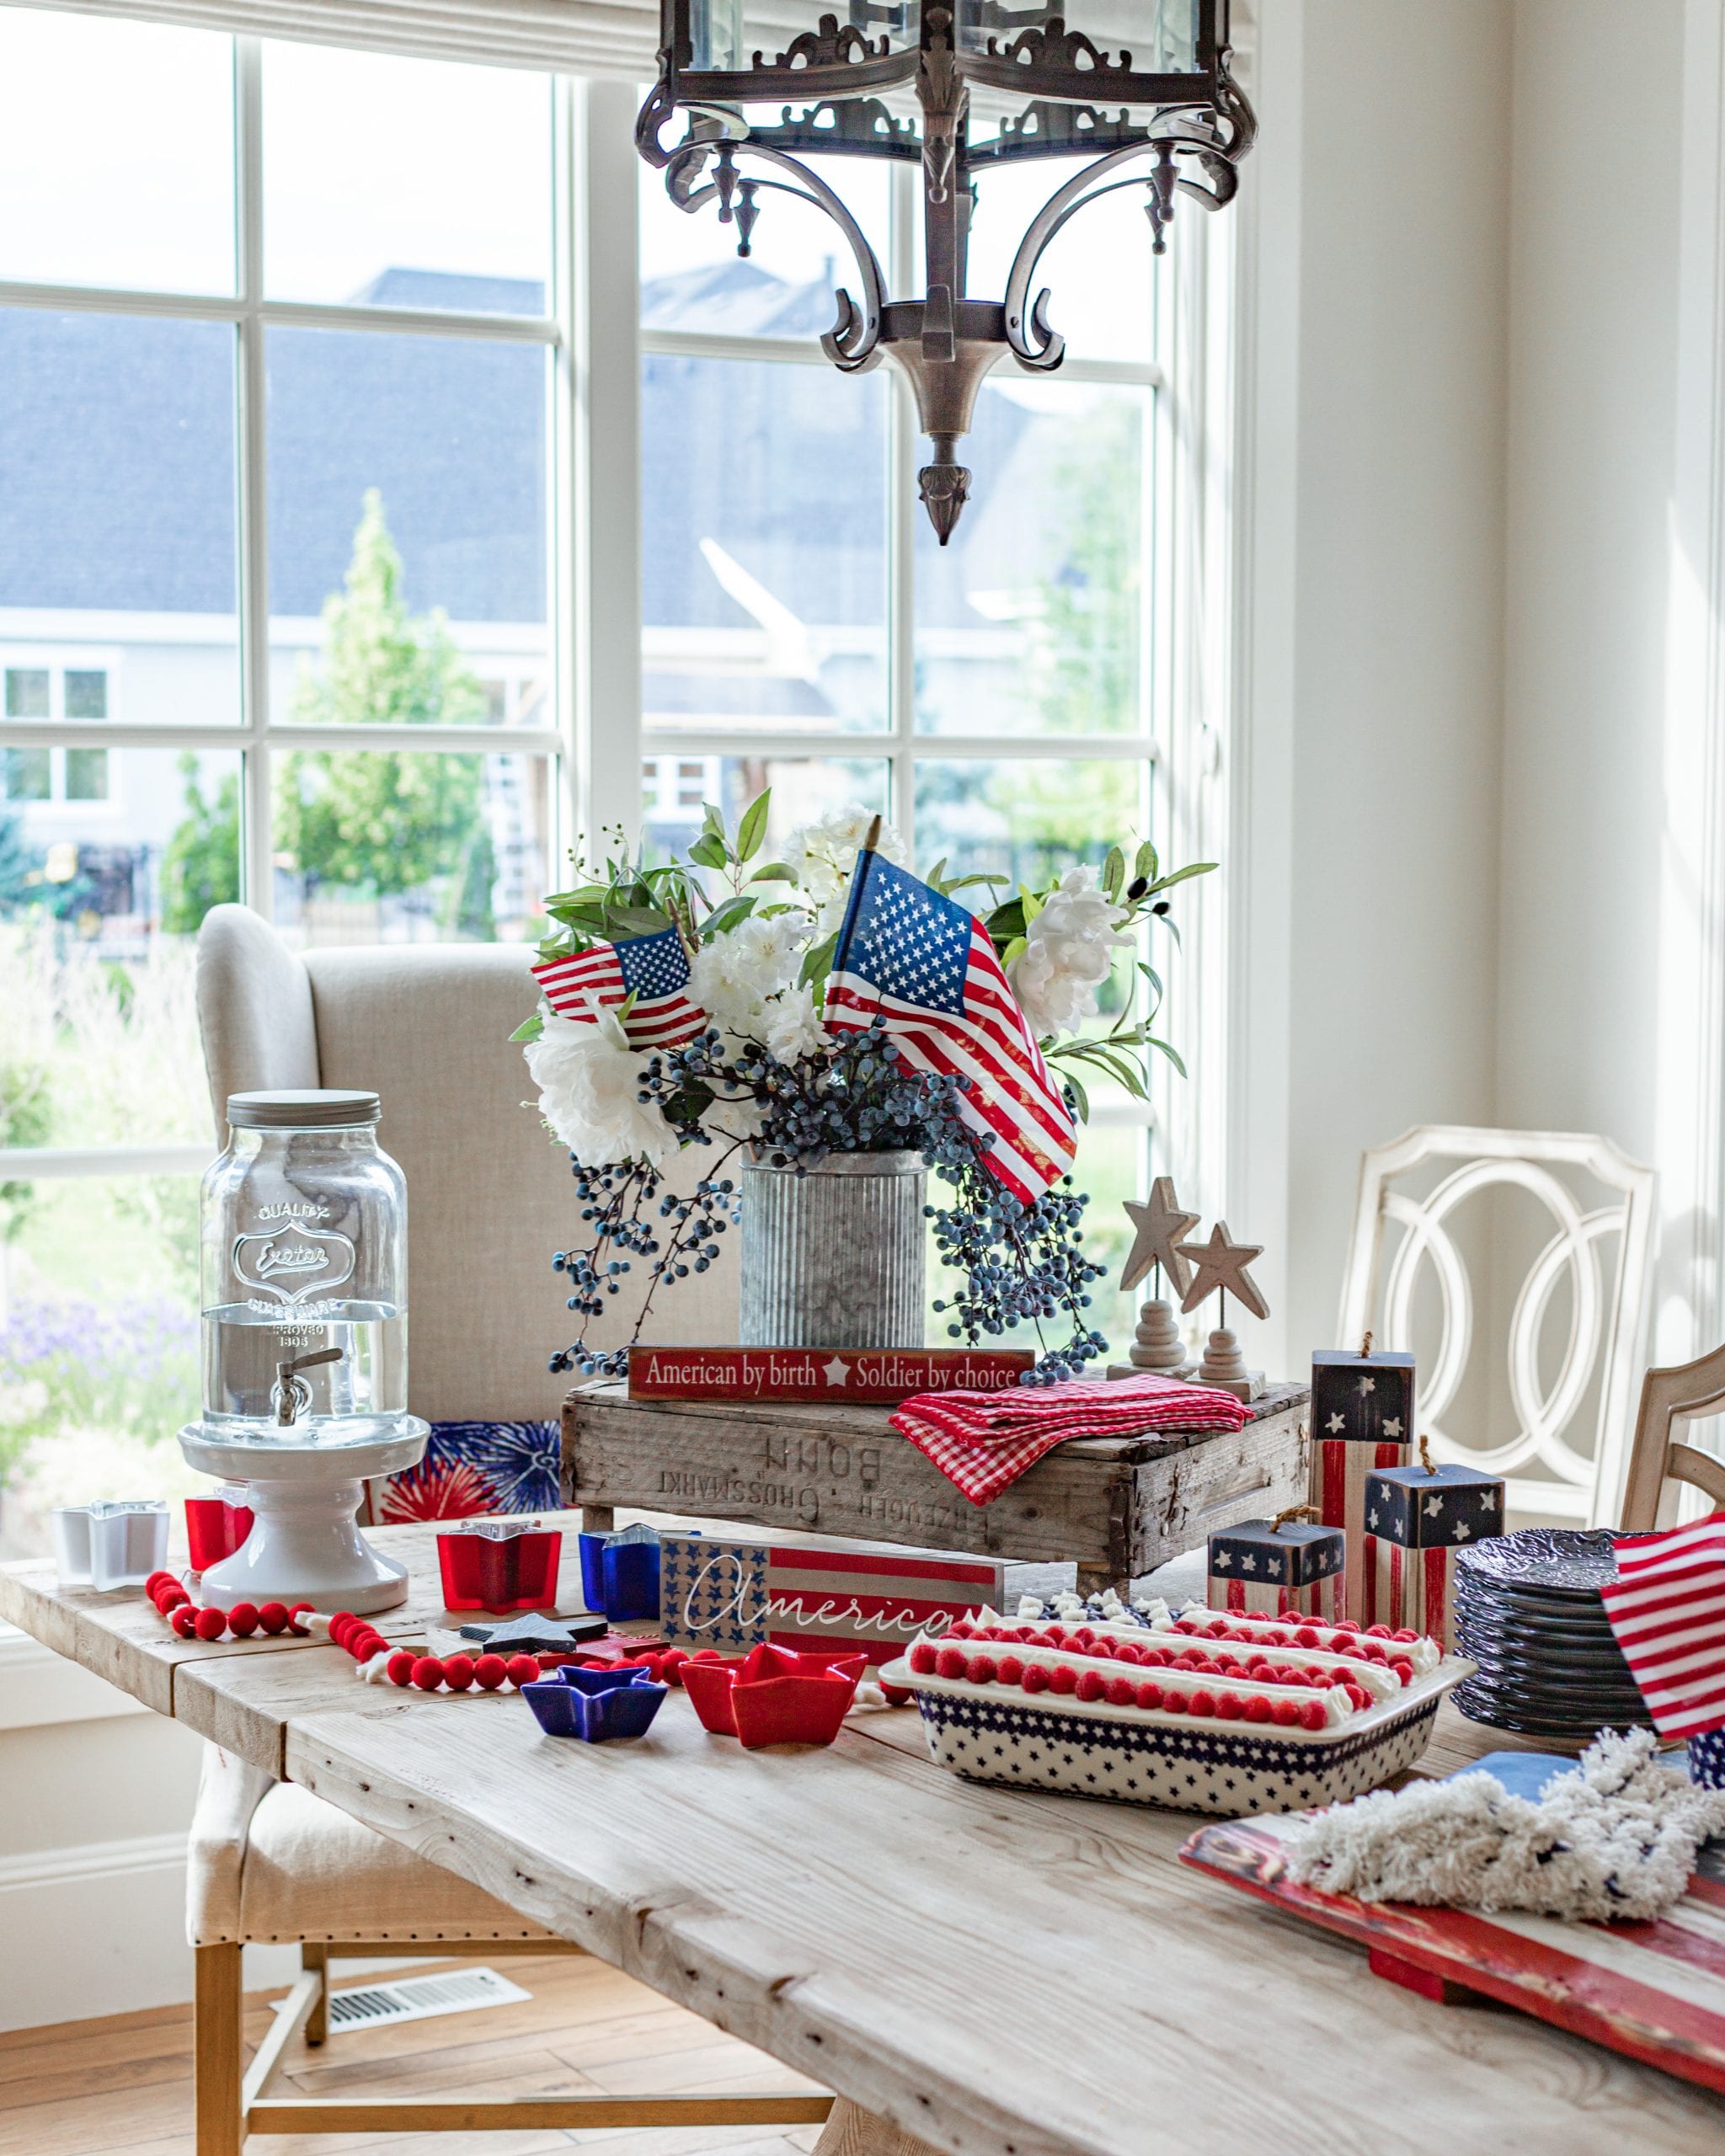
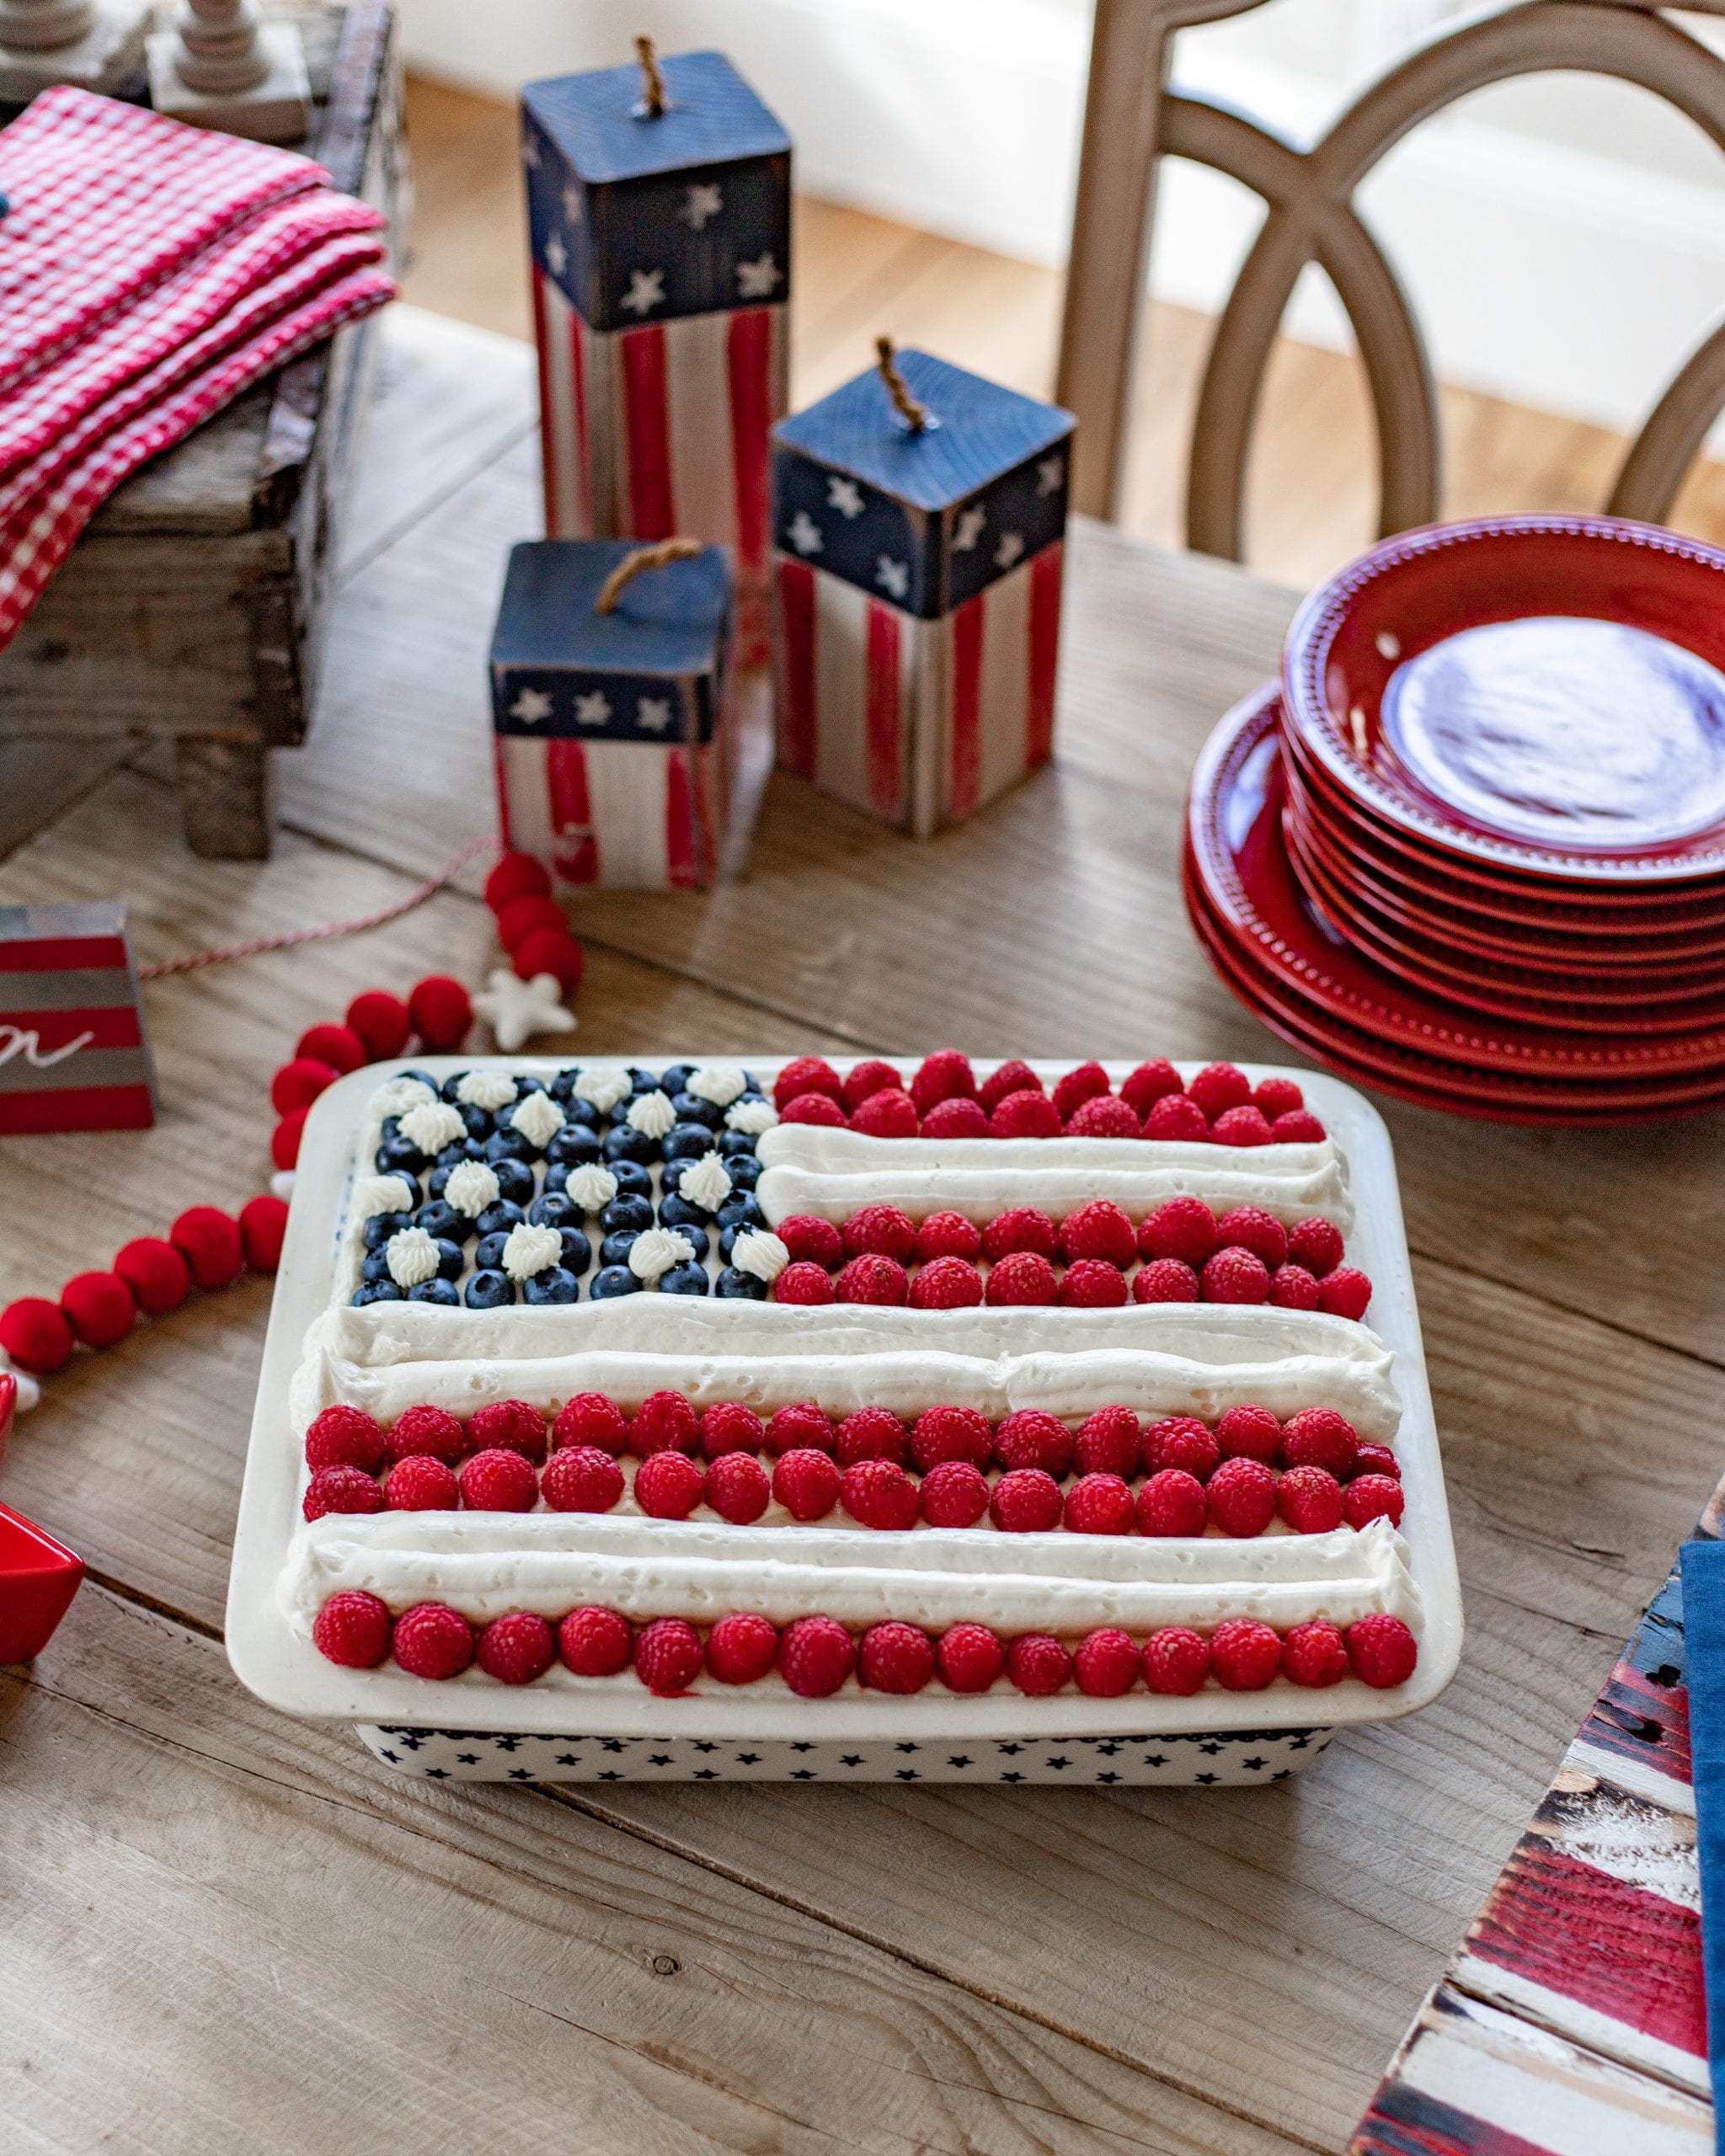
I’m sharing the step-by-step instructions and photos so you can make this one for your Fourth of July celebration. Everyone loved my Stars and Stripes Flag Cake last year and I think I’ll make it a tradition from here on out.
Making the Cakes
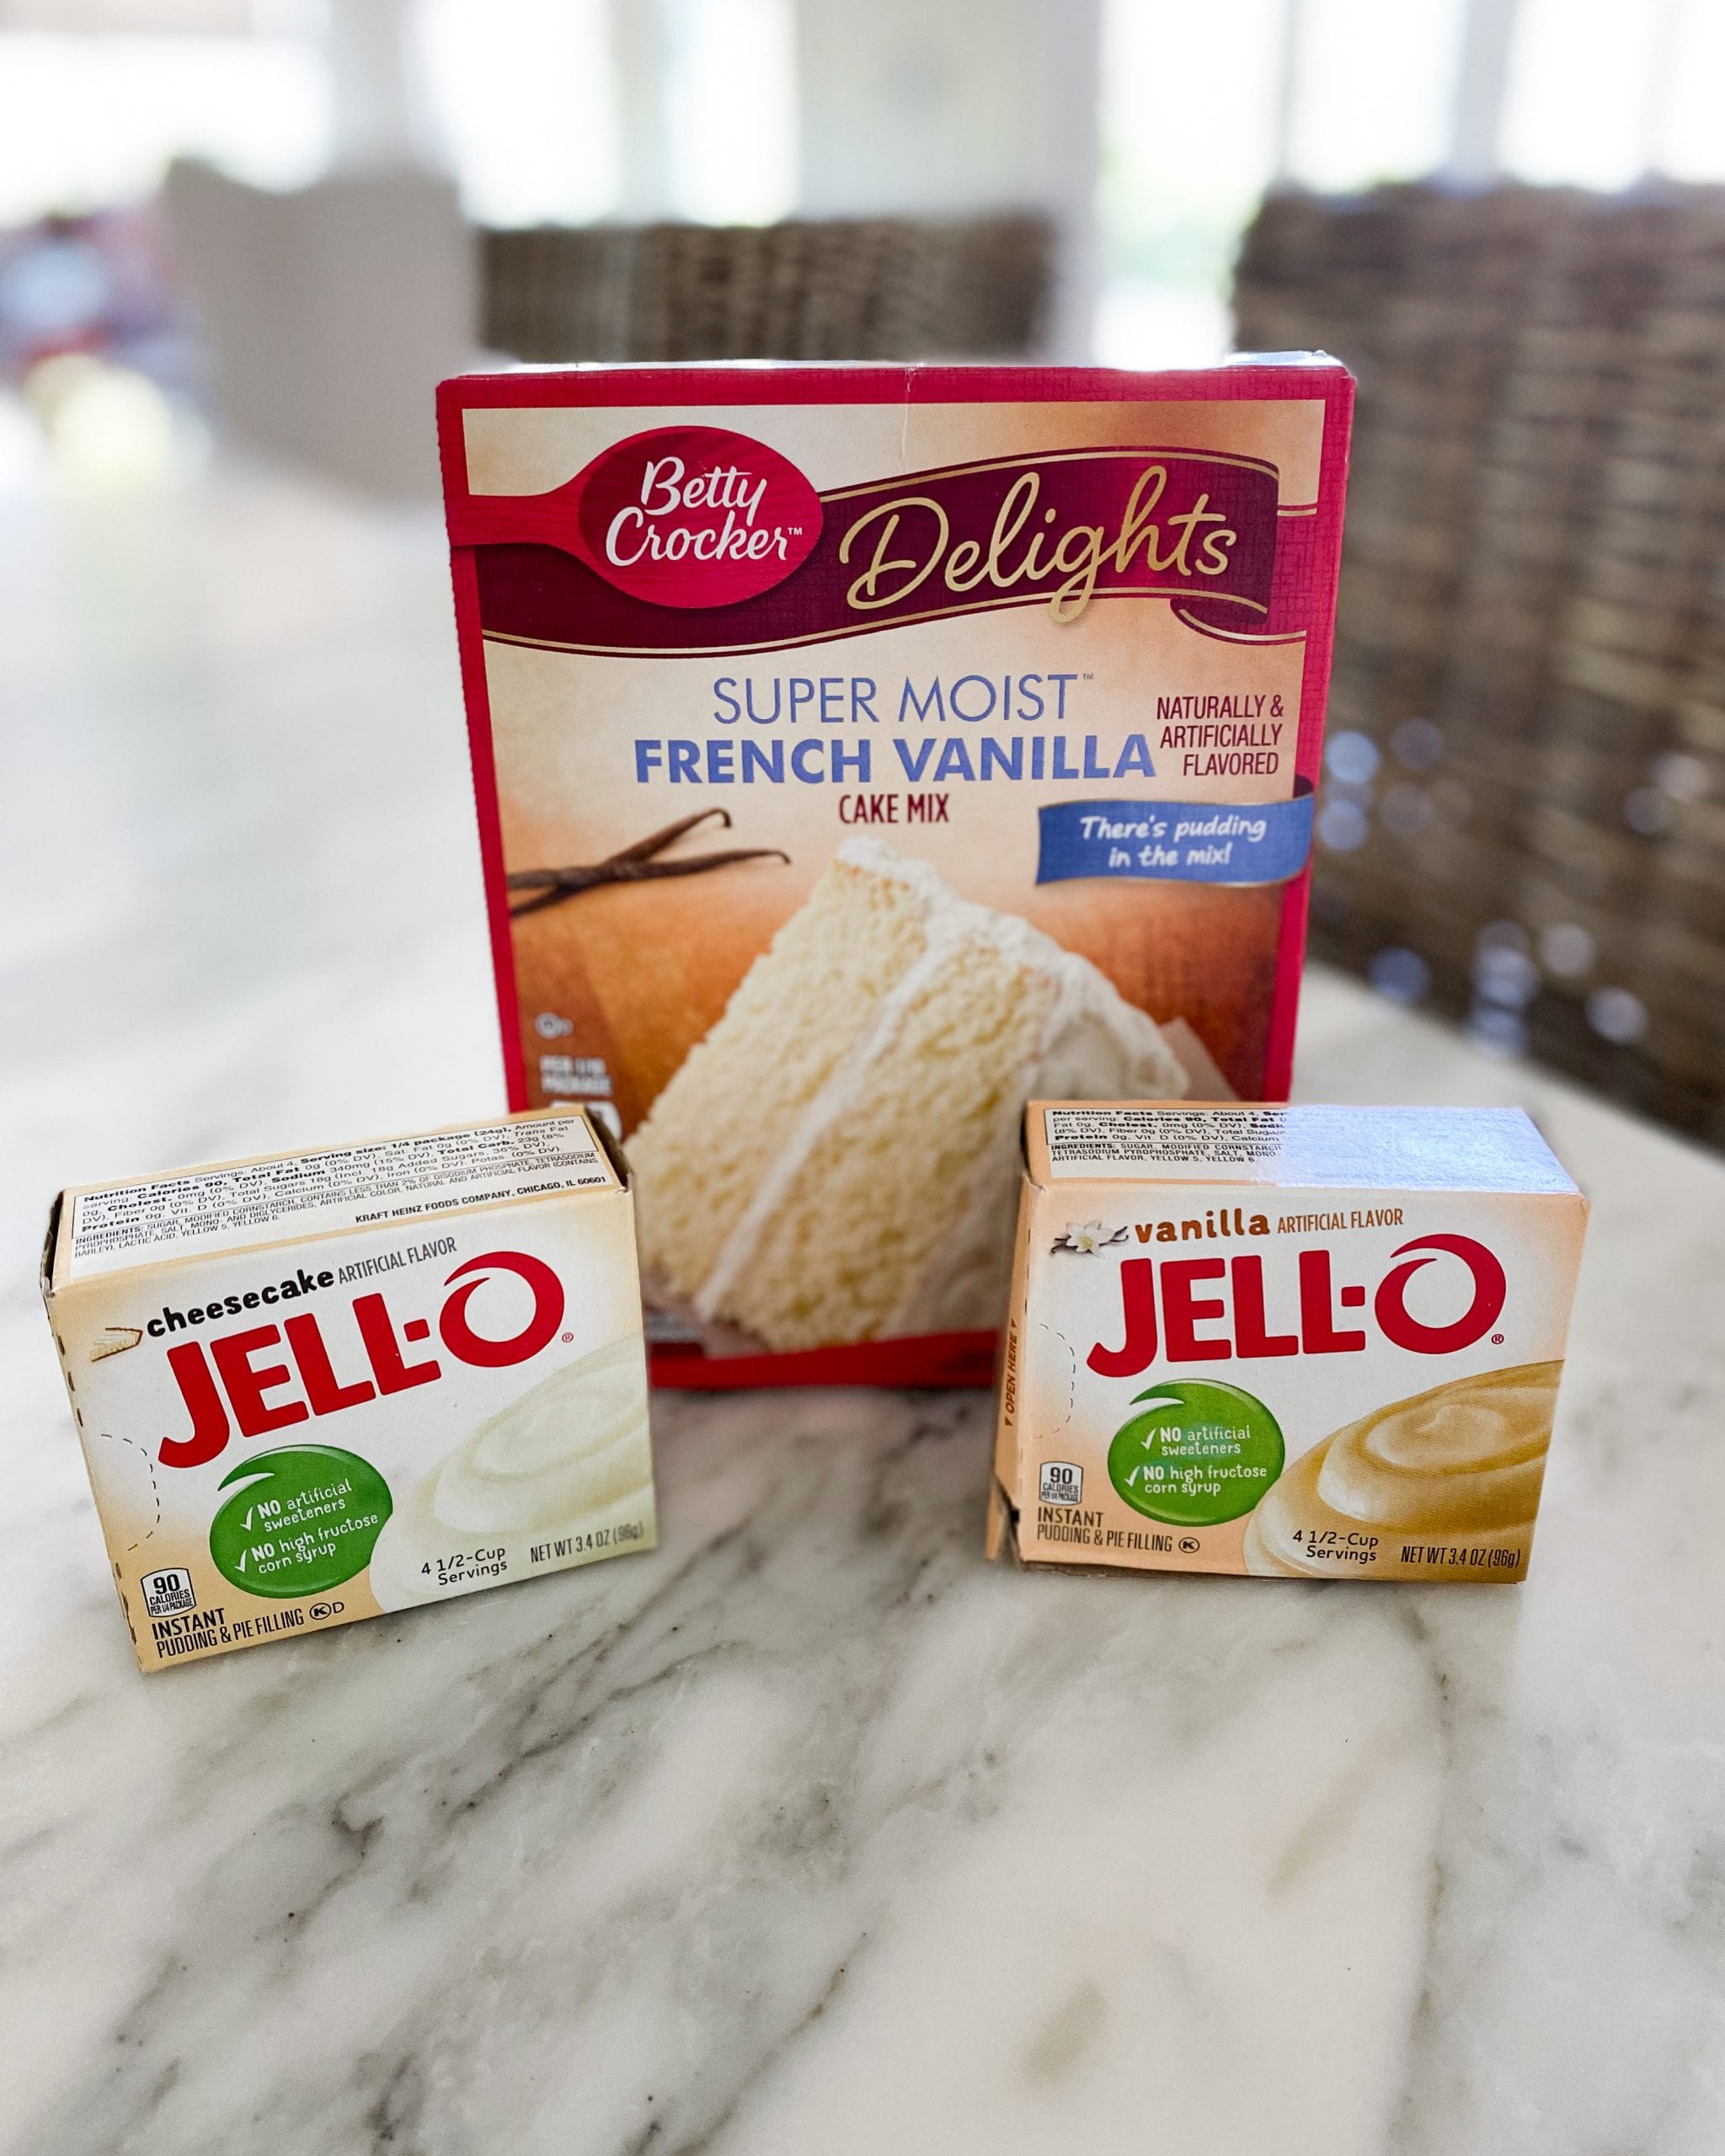
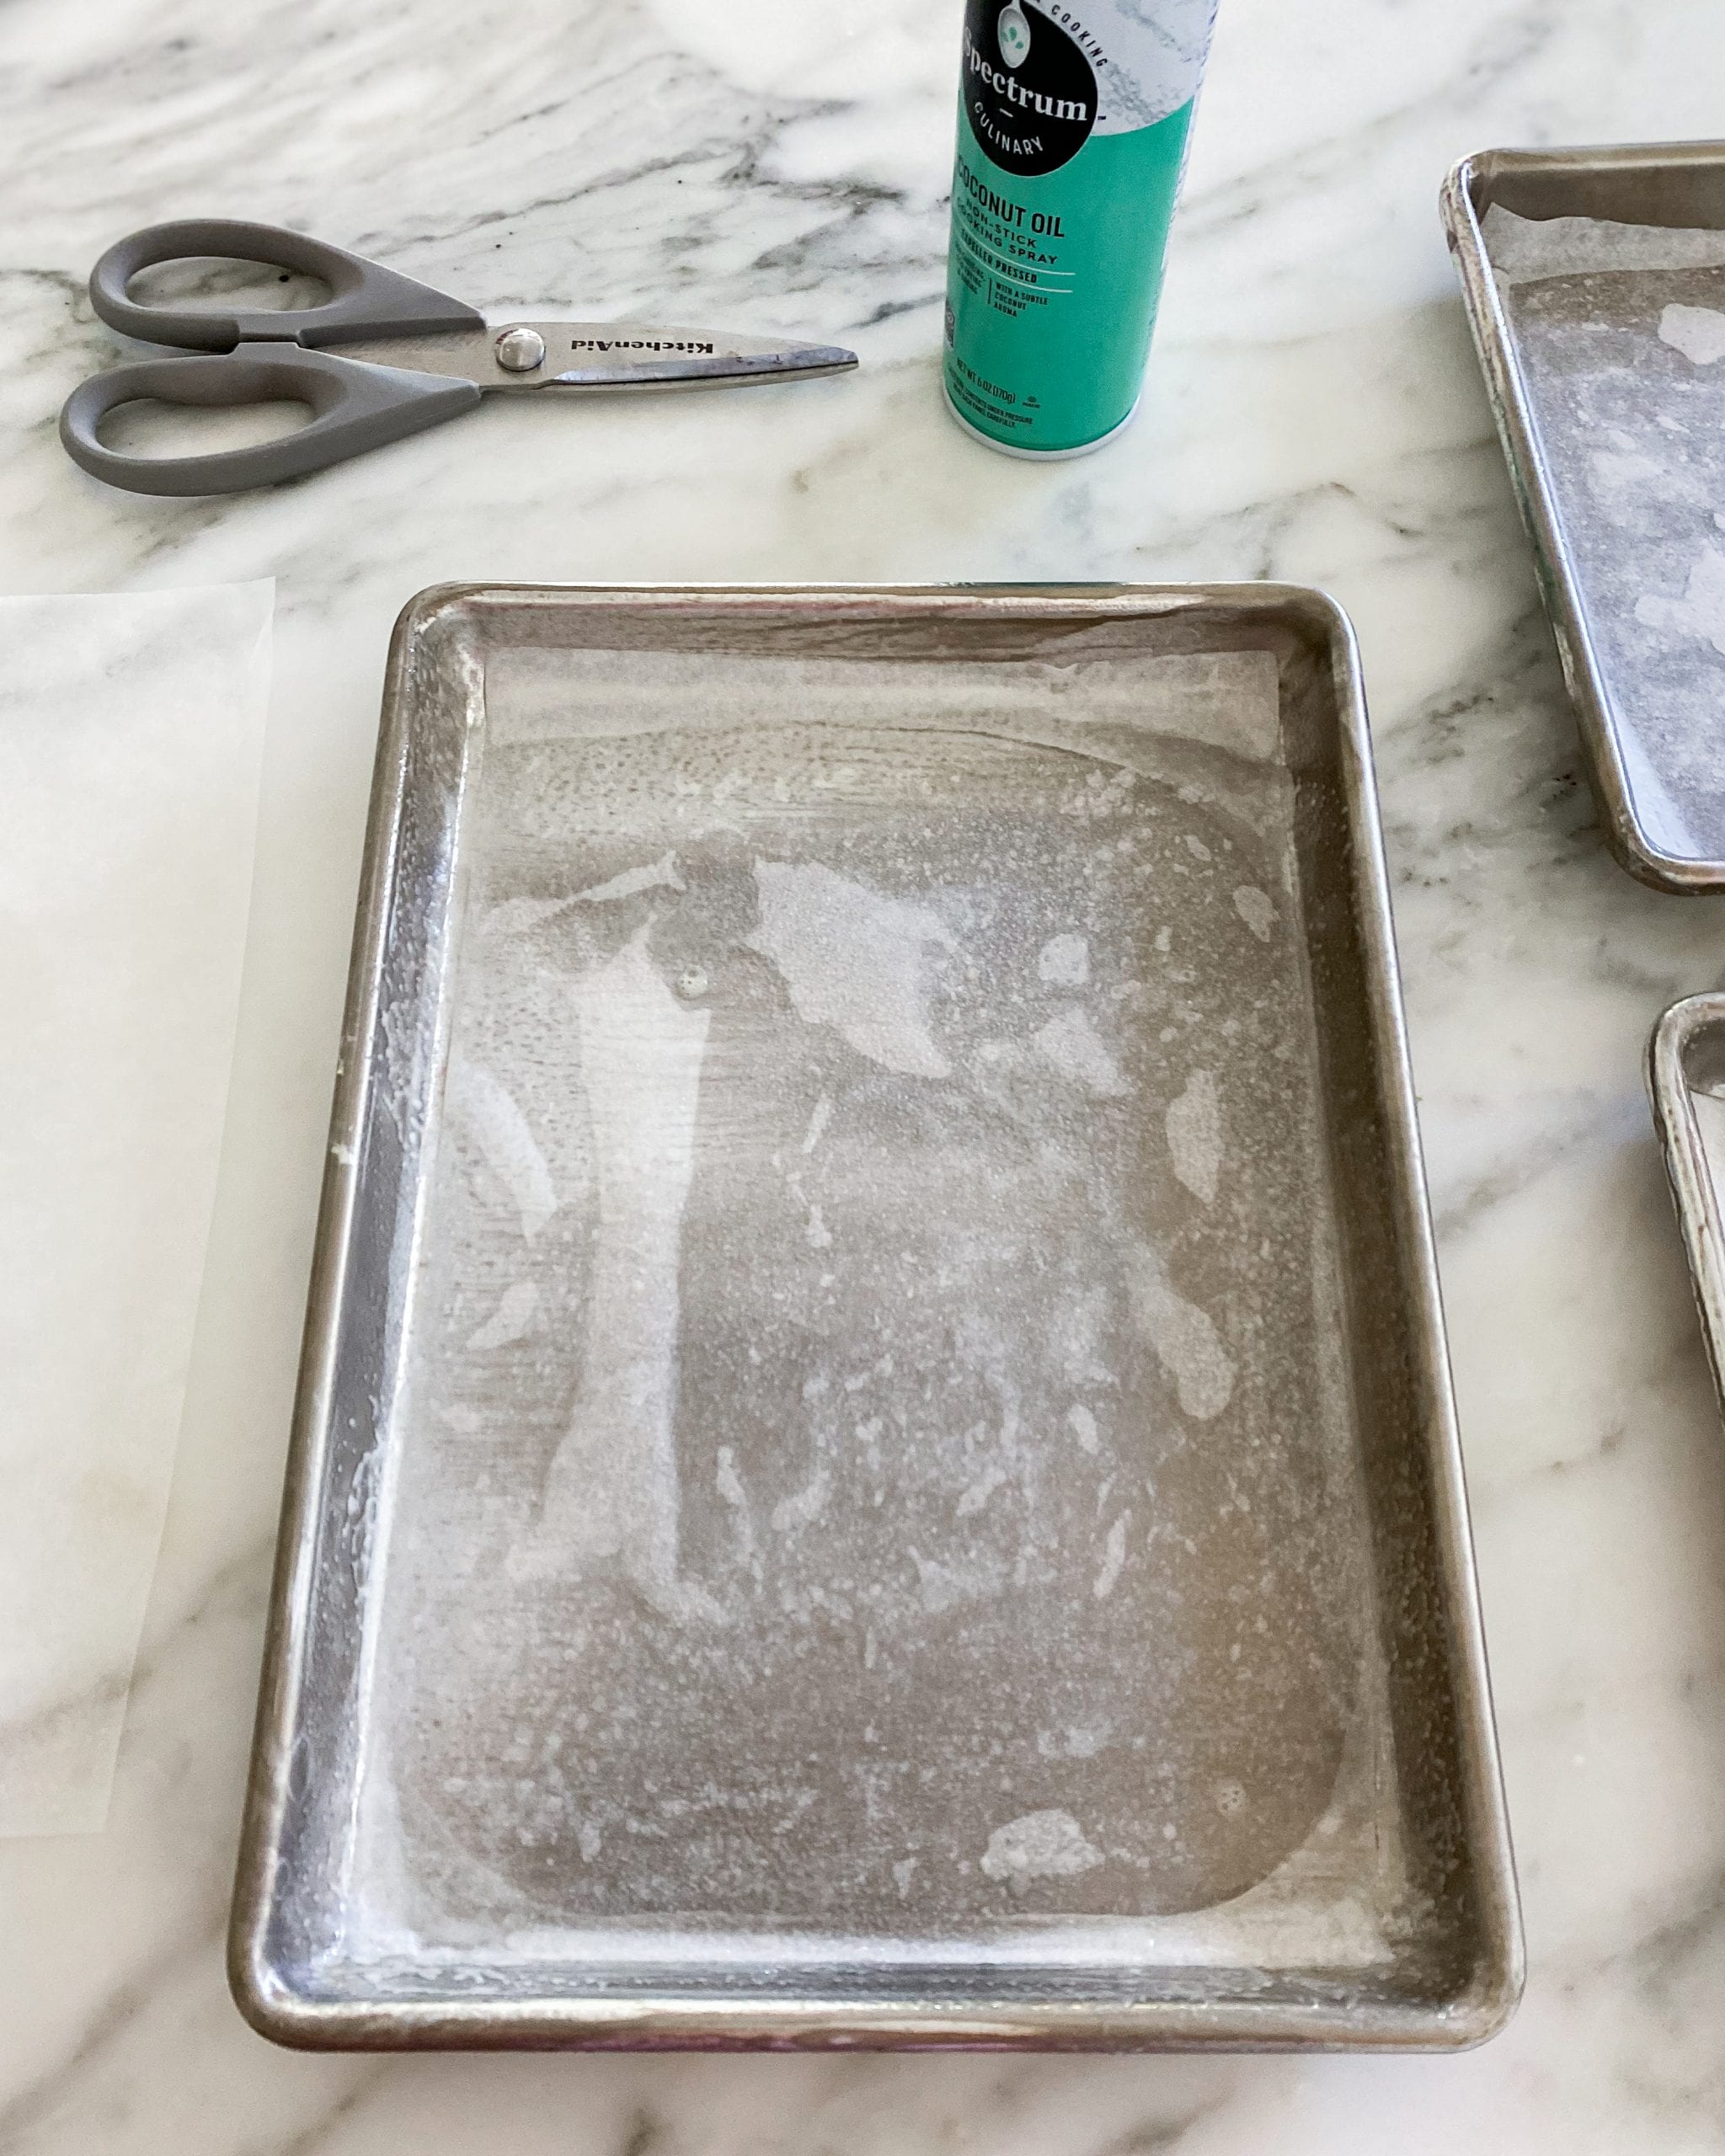
This Easy American Flag Cake Recipe really is easy! You’ll need two cake box mixes. I used vanilla cake last year and this year I’m using lemon. One thing I always do to make my box mix cakes more moist is add a package of jello instant pudding to the cake batter. I used vanilla pudding for the vanilla cake and lemon pudding for the lemon cake mix. I follow the cake mix recipe and then I add about a 1/4 cup more water and two extra tablespoons of oil. Bake as directed in a half-sheet cake pan. Spray cooking spray generously on the sheet pan and then line it with parchment paper. This helps to remove the cake from the pan when you’re ready to assemble it.
Pour equal amounts of the cake batter into two, half-sheet baking pans sprayed with cooking spray and lined with parchment paper. It’s okay if the cakes don’t look perfect since you’ll be covering them up with filling and frosting.
After you’re done baking the cakes, let them cool, then set them in a freezer or refrigerator for about twenty minutes or so.
Cream Cheese Filling
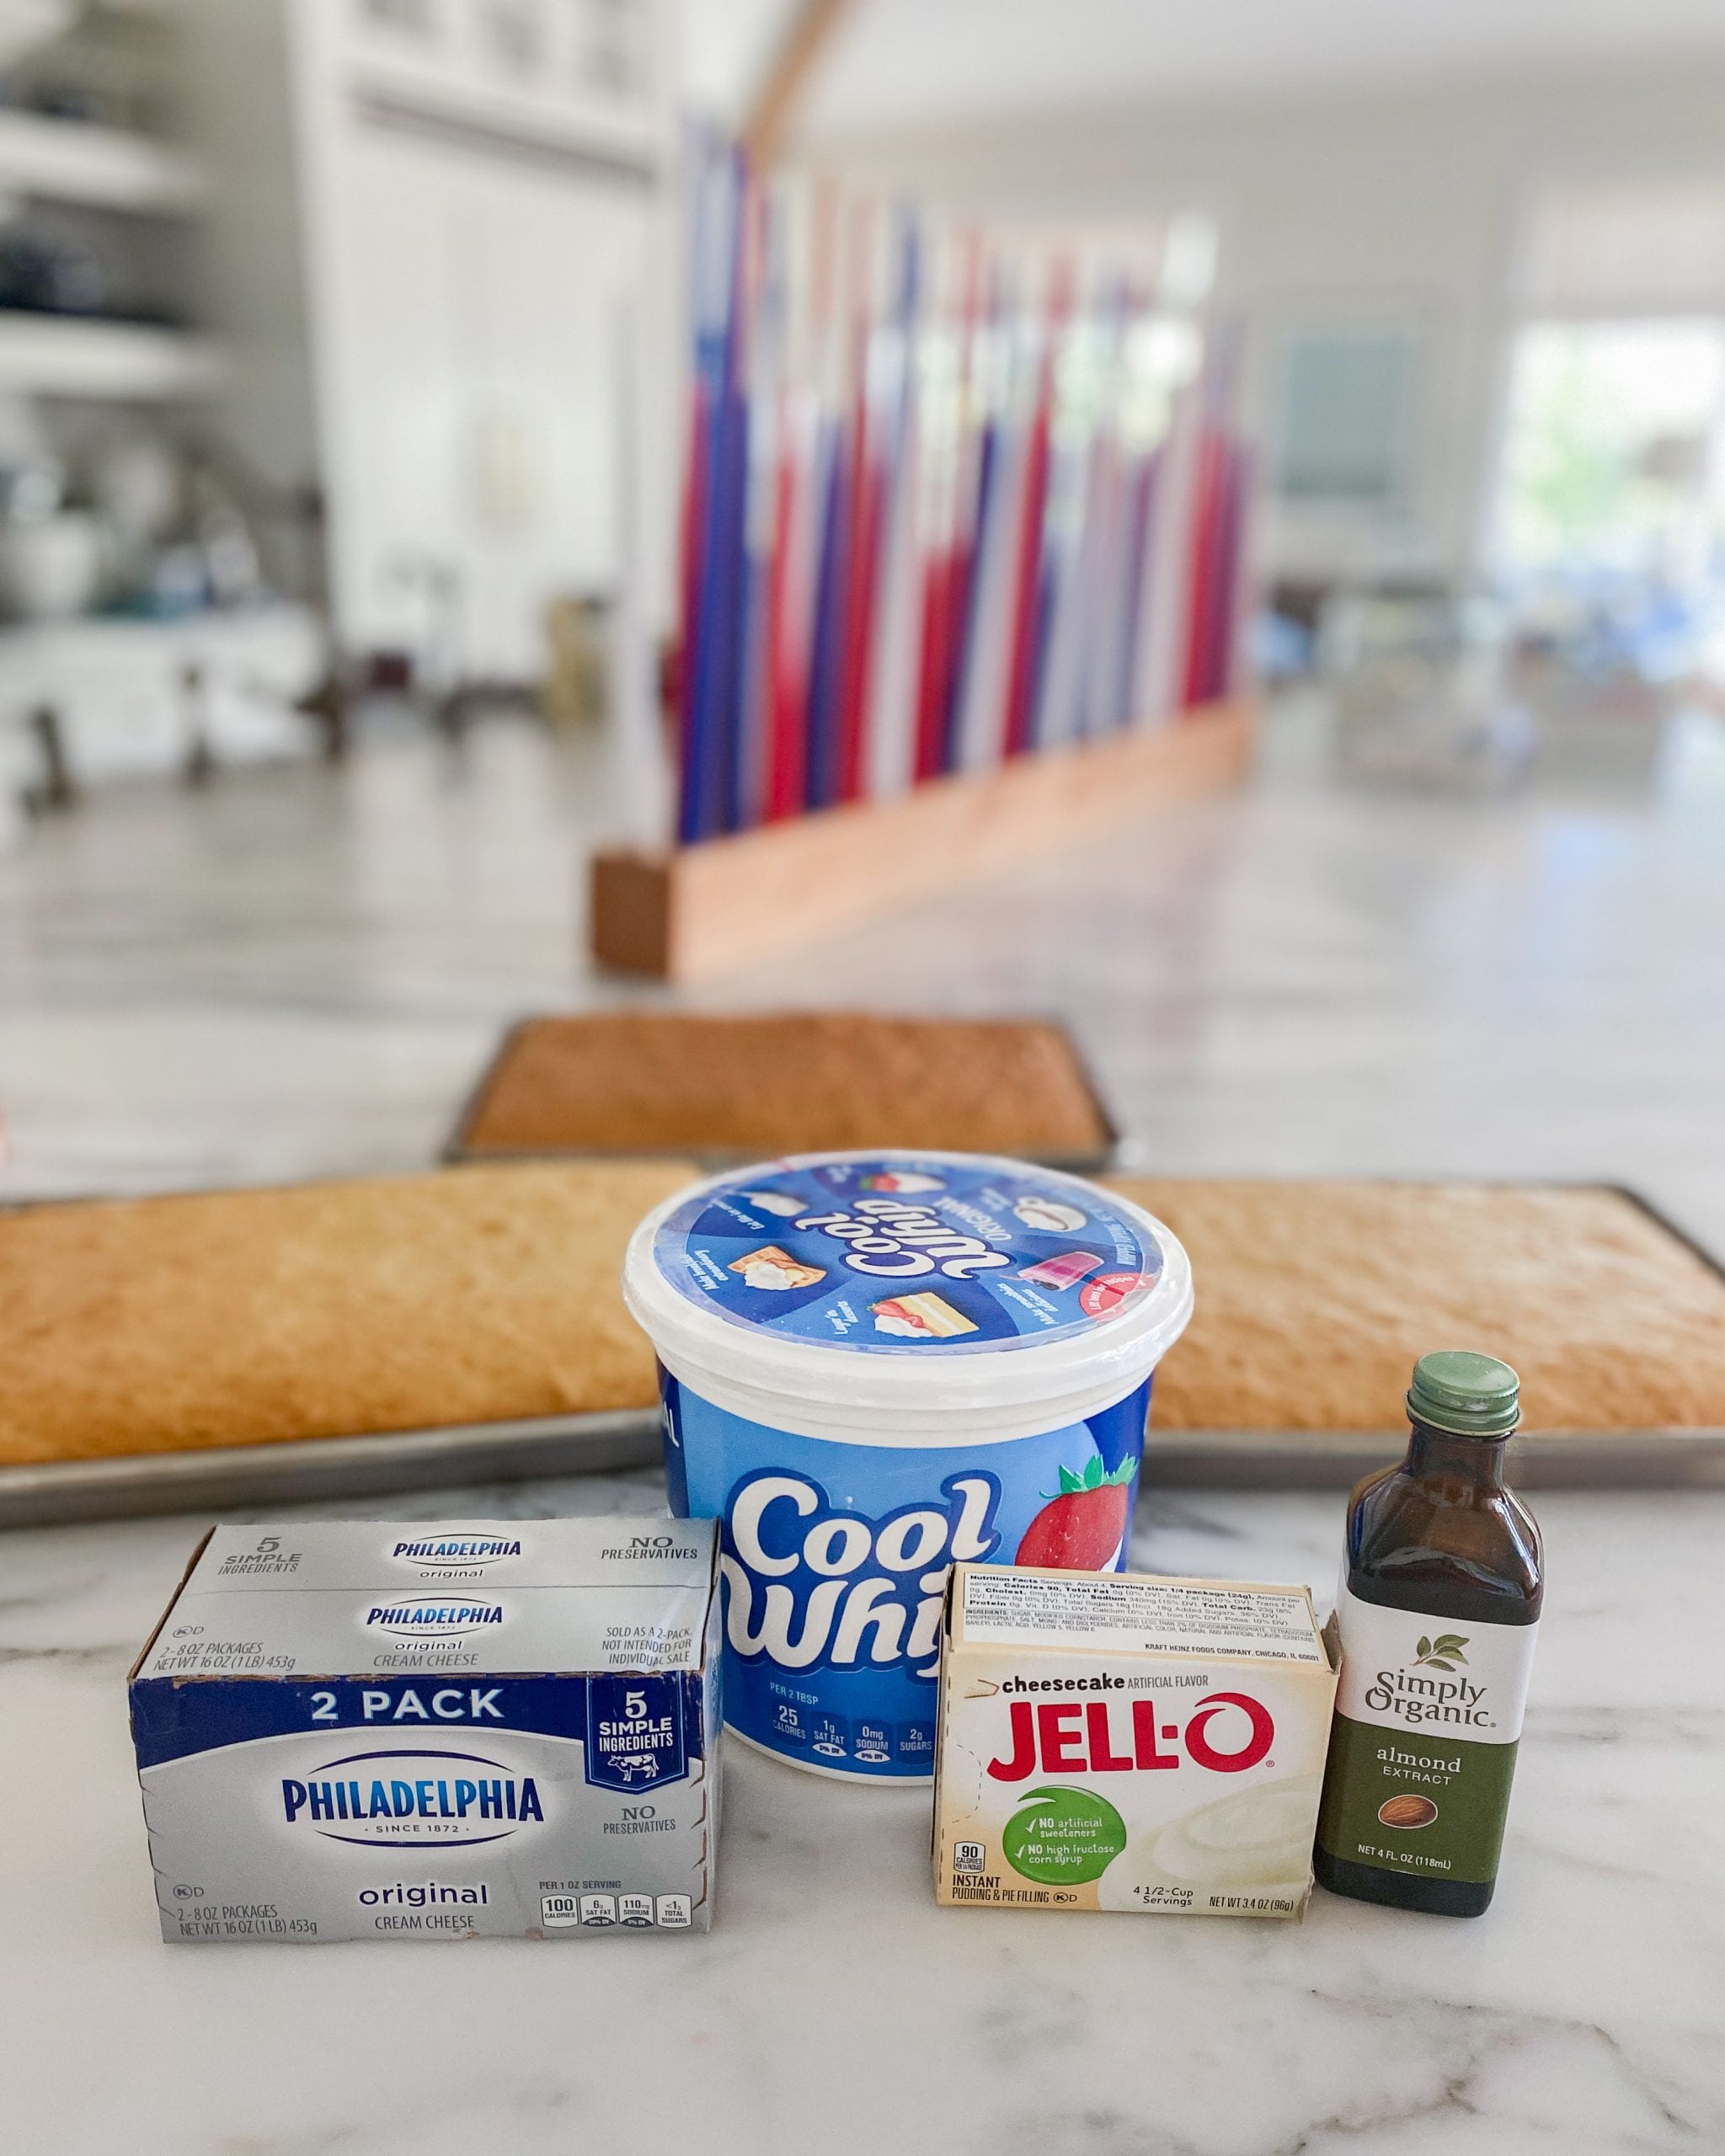
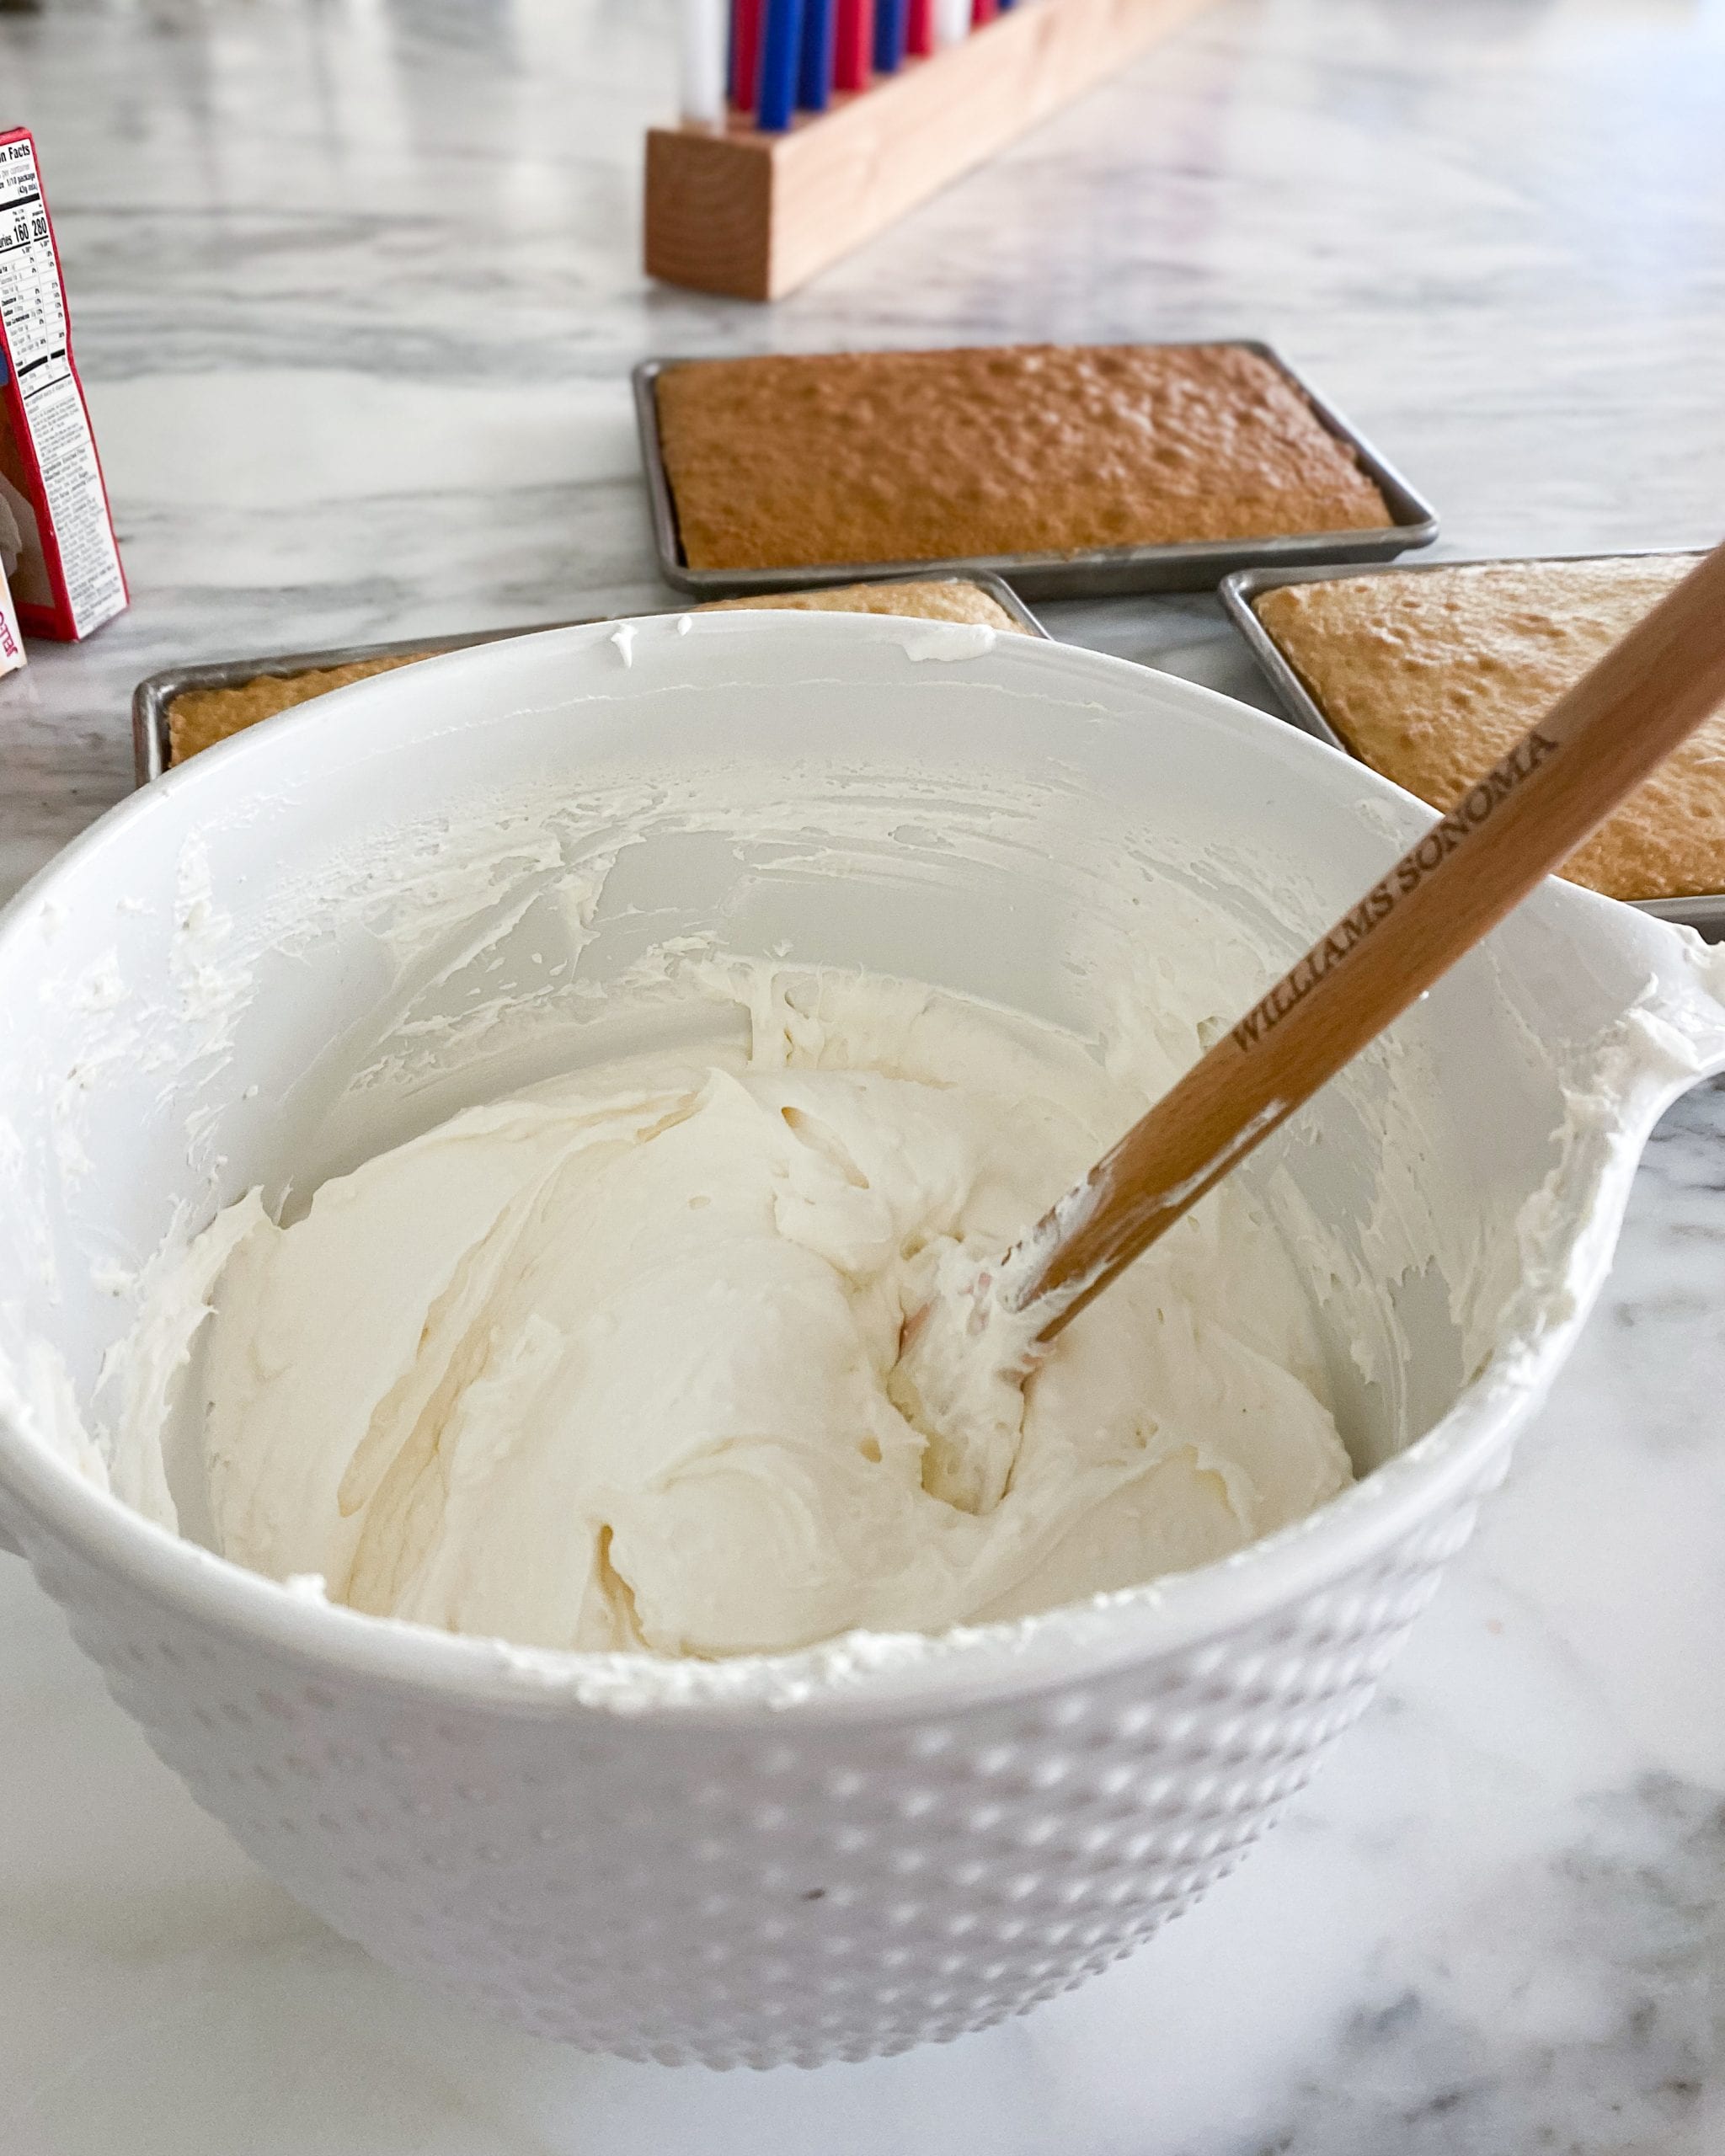
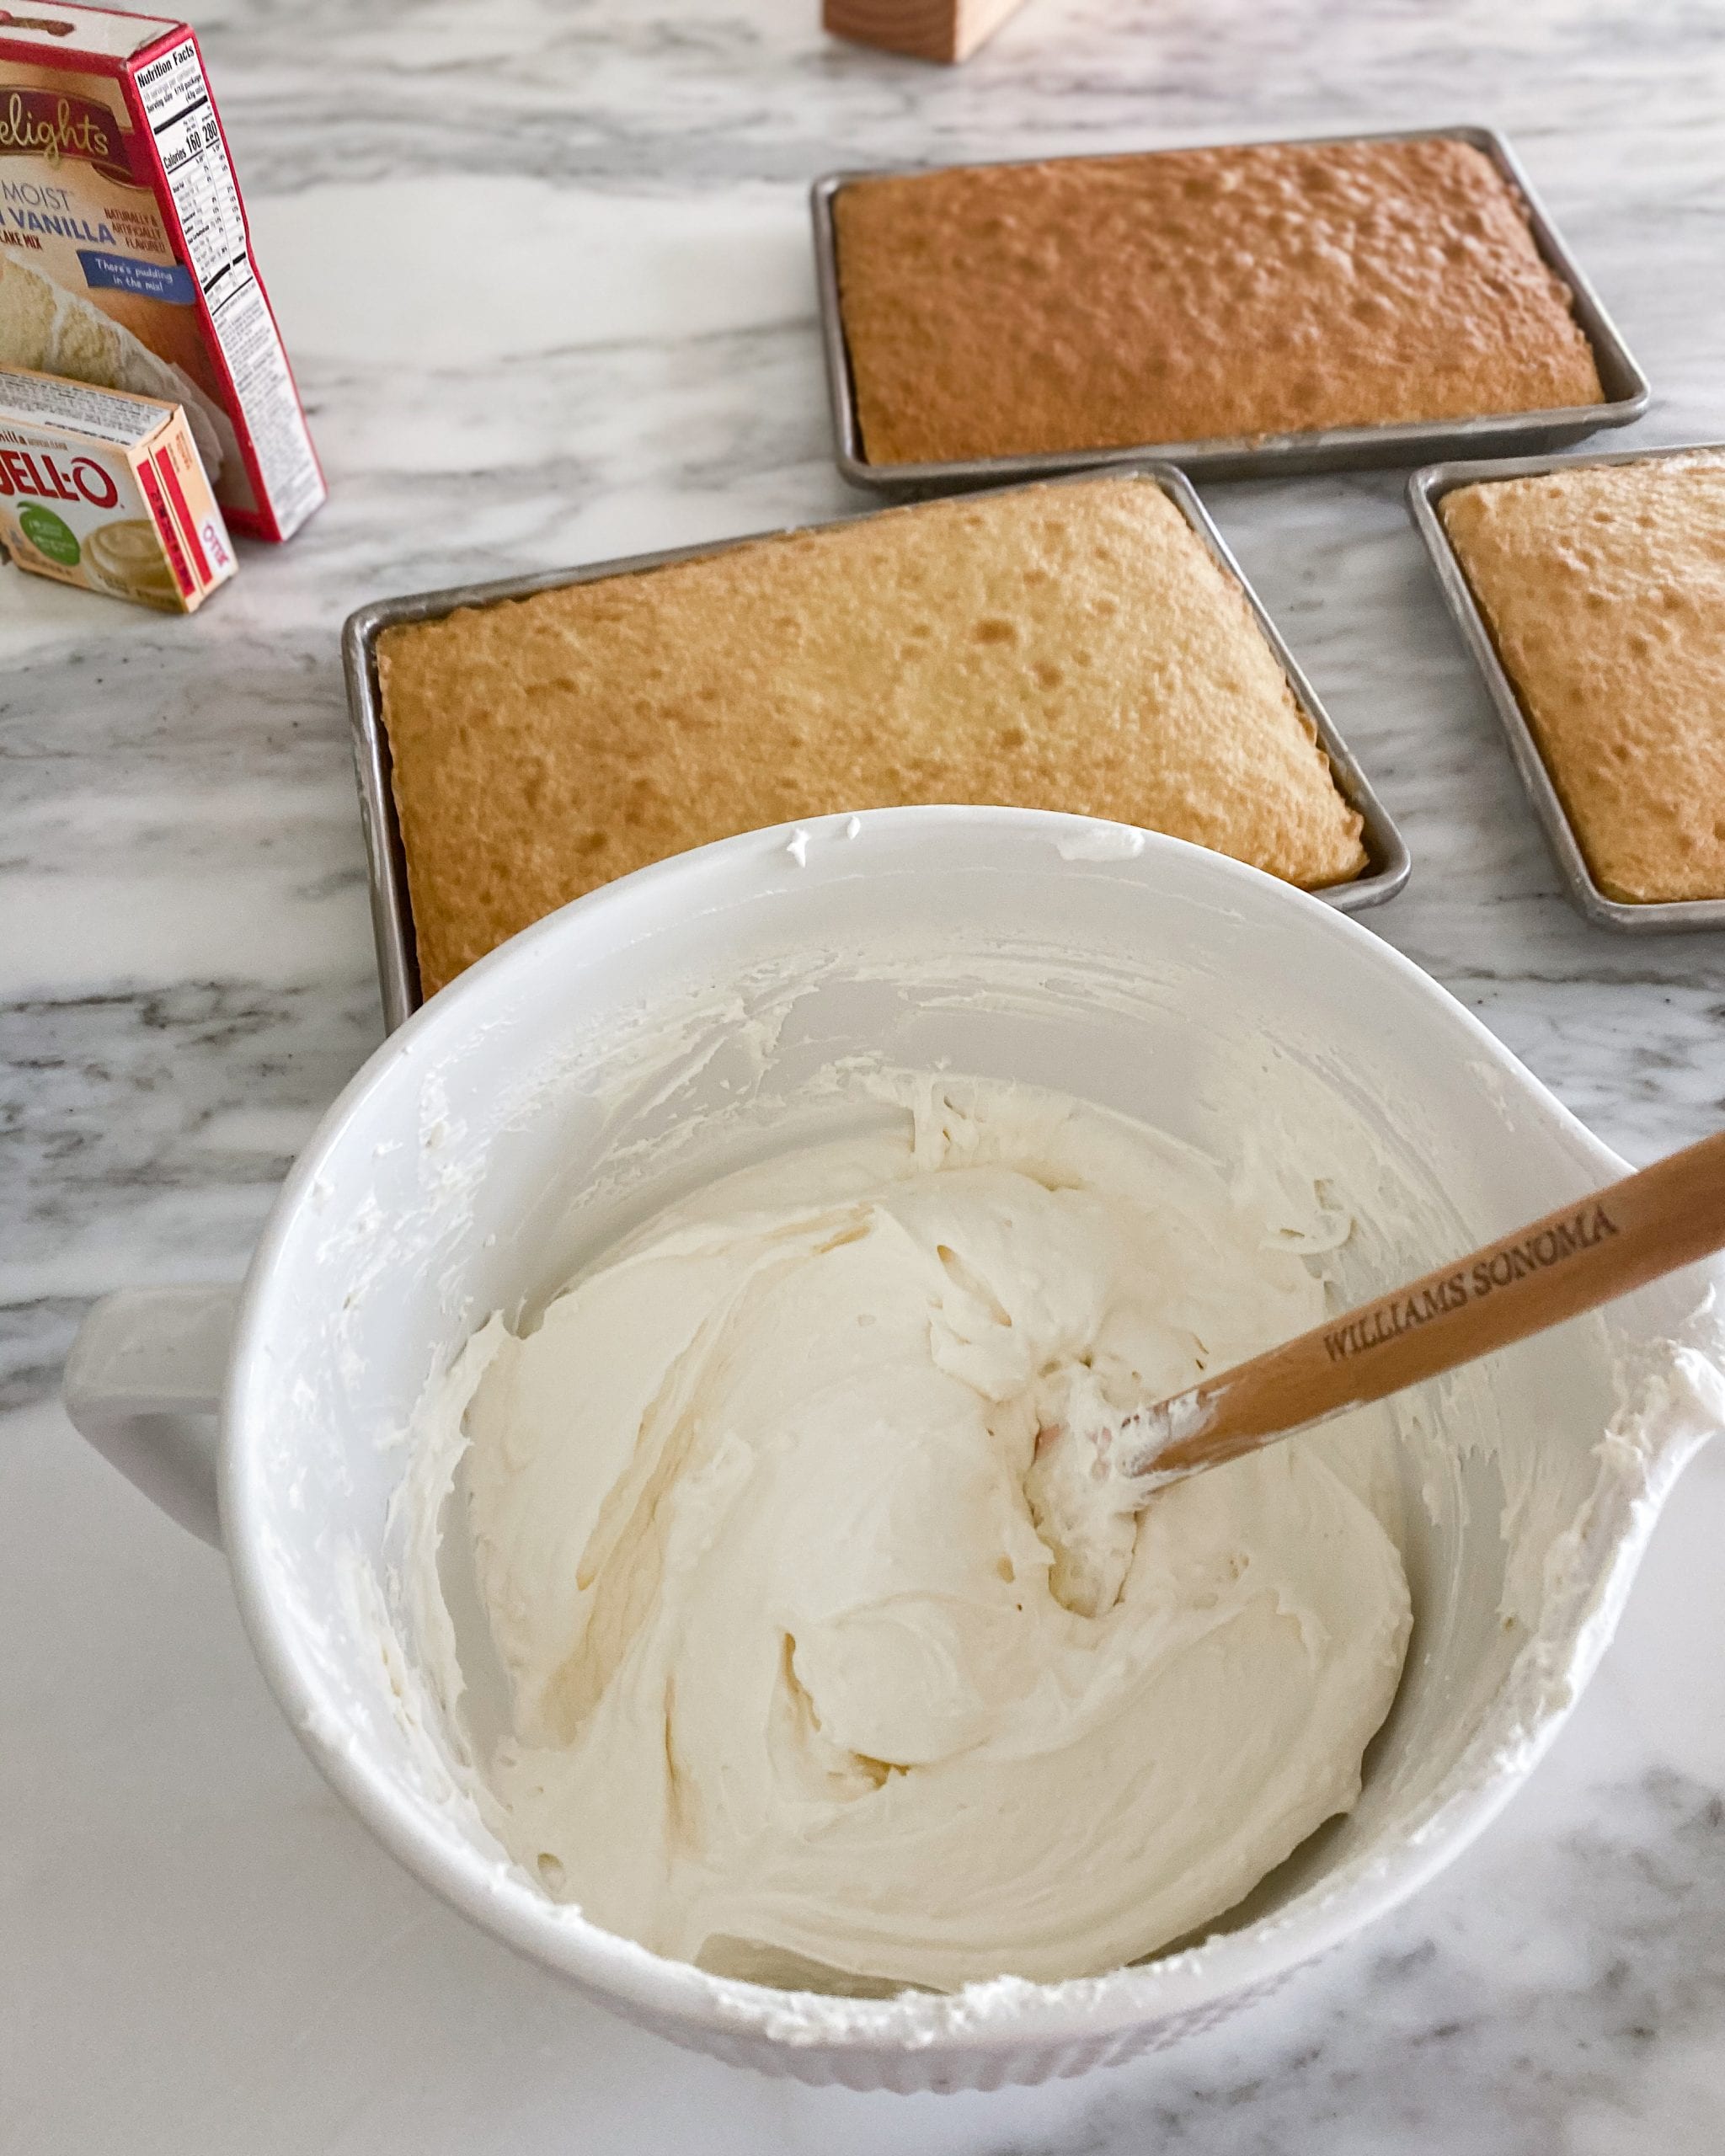
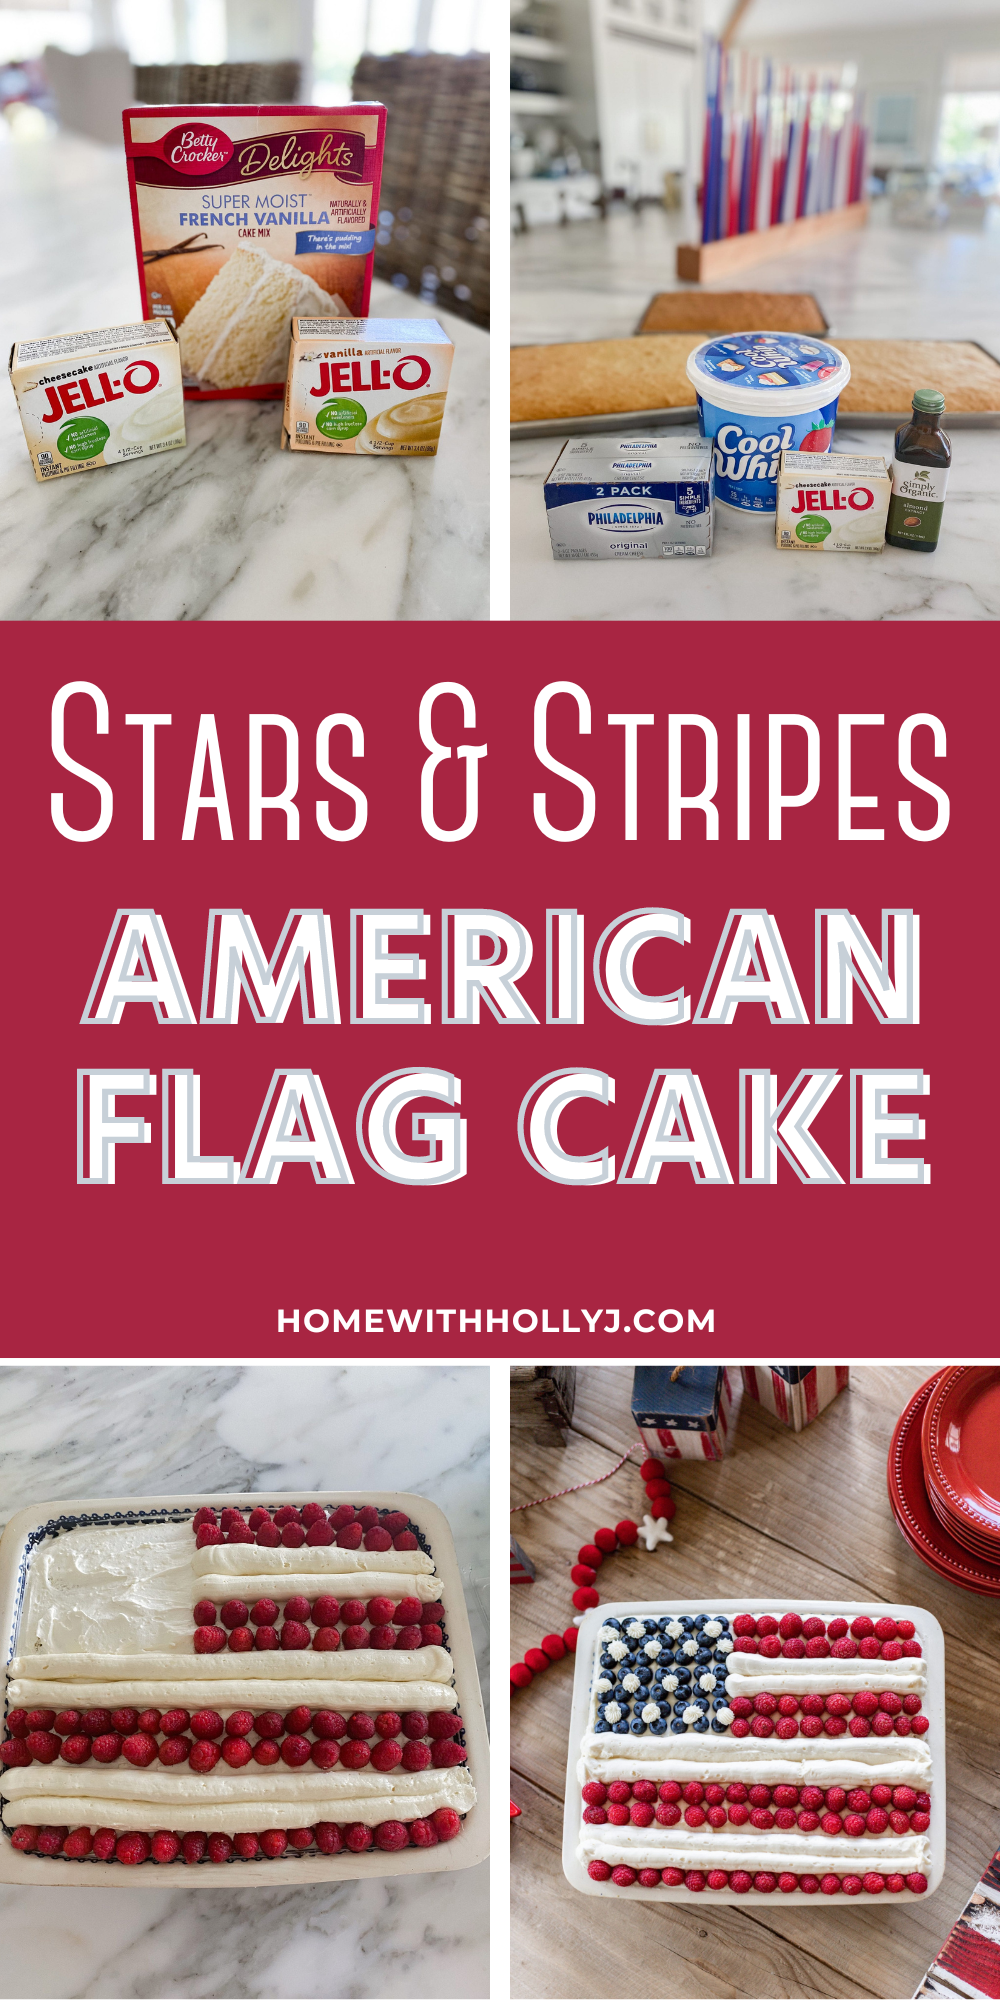
While the cakes are cooling, start making the filling and the frosting. To make the filling, mix two packages of softened cream cheese with one large container of Cool Whip. Then add in a package of cheesecake jello pudding and two teaspoons of almond extract. I mix mine up in a Kitchen Aid stand mixer but you can also use a hand mixer or mix it by hand.
Next, make the vanilla buttercream frosting. You can use store-bought frosting but you’ll need three or four containers. I like to make my own because it’s so easy and it tastes so much better in my opinion.
Vanilla Buttercream Frosting
Vanilla Buttercream Frosting
Equipment
- Stand or Hand Mixer
Ingredients
- 1 pound butter(2 cups) (preferably unsalted)
- 6 ½ cups powdered confectioner sugar
- 1 Tbsp Vanilla
- ¼ tsp salt (eliminate the salt if using salted butter)
- 6 tbsp heavy cream, room temperature
Instructions
- Make sure the butter and heavy cream are at room temperature. The butter should be soft enough to bend without breaking but not so soft that it's melting. Do not warm it in the microwave.1 pound butter(2 cups)
- Whip the butter with an electric or stand mixer until it's creamy and noticeably lighter in color. It should lighten up and become a pale yellow.
- Start adding the powdered confectioner's sugar into the whipped butter, make sure it is sifted and free of lumps, and start the mixer out on low so that the powdered sugar doesn't go everywhere! Gradually increase the speed of the mixer. Add about half of the rest of the powdered sugar then mix it for 3-5 minutes. Then add the remaining powdered sugar and mix it for another 3-5 minutes until it becomes light and fluffy.6 ½ cups powdered confectioner sugar
- Mix the sugar in very well before adding the heavy cream. The frosting will be quite thick but the cream will loosen it up a bit and the frosting will become silky and lighter in color.
- Add in the vanilla, salt, and half of the heavy cream. Beat the frosting for three minutes then give it a stir and test the consistency. Add more cream, if needed, and beat for another 3-5 minutes. If the frosting is too loose and not thick enough, add in more powdered sugar until it's the right consistency.1 Tbsp Vanilla, ¼ tsp salt, 6 tbsp heavy cream, room temperature
- The frosting should be soft and spreadable but not so loose that it doesn't hold its shape.
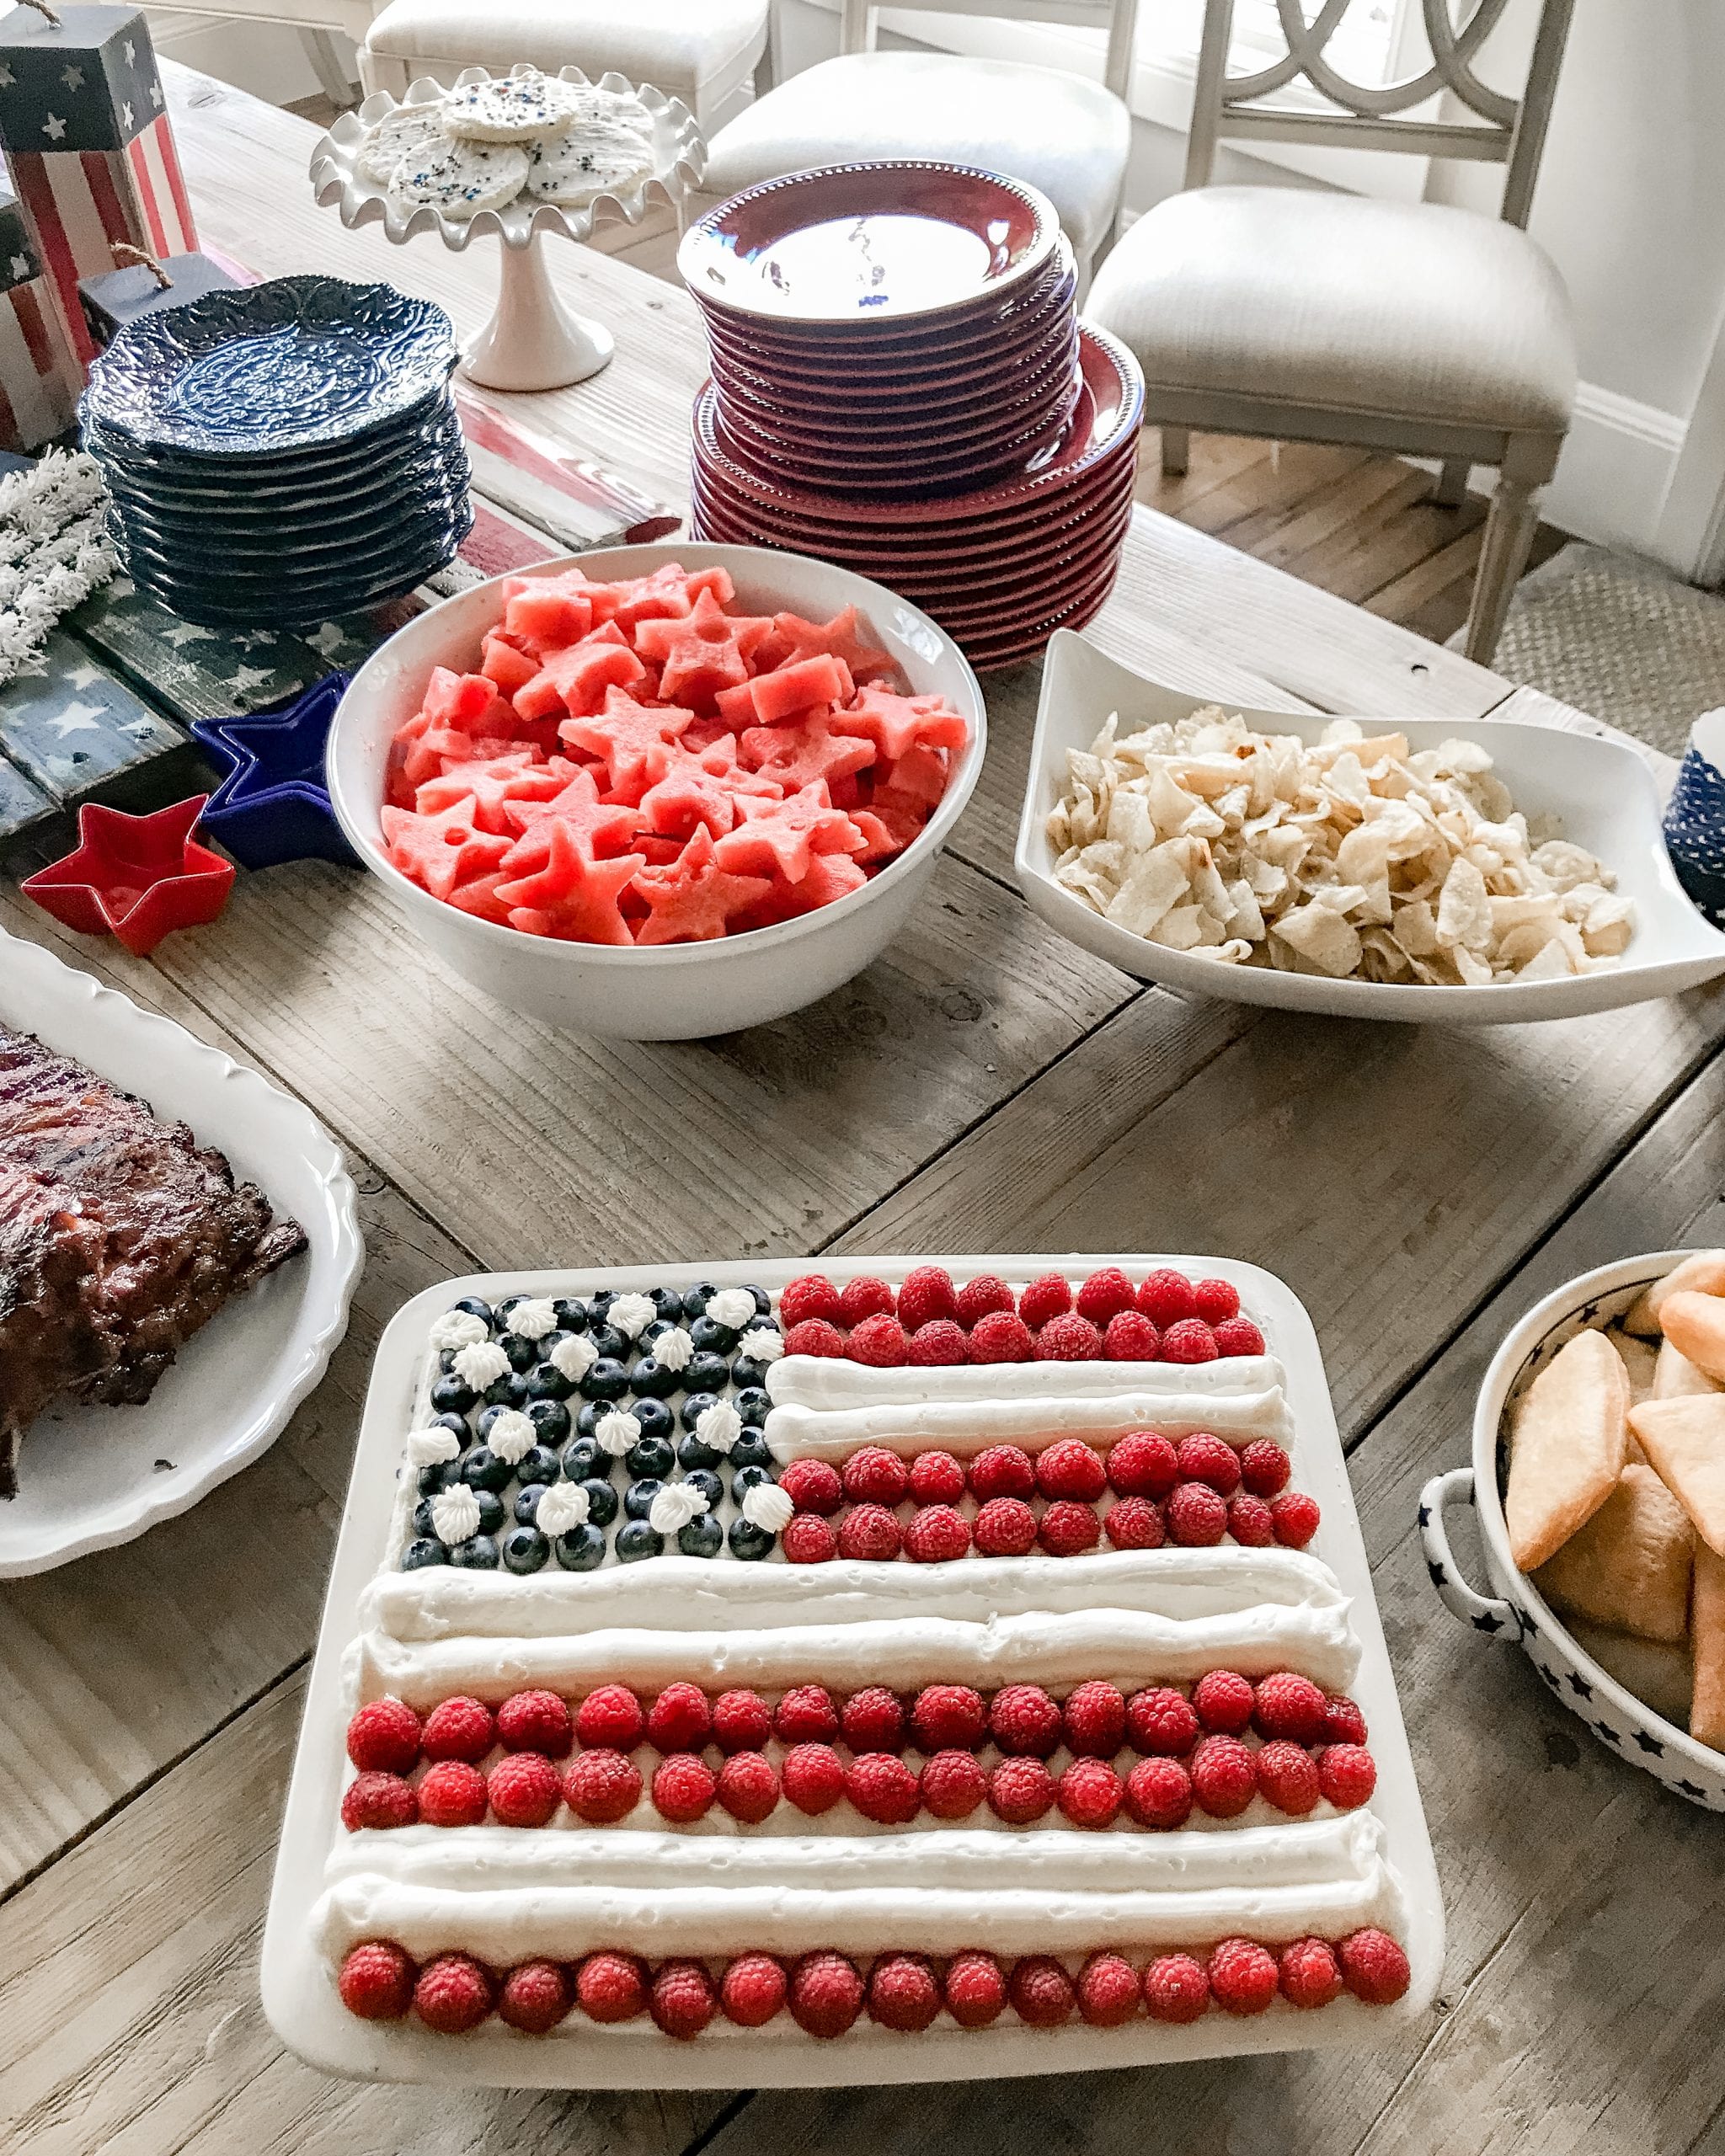
Set the buttercream frosting aside while you assemble the cakes.
Tips and Tricks for Making the Best Vanilla Buttercream Frosting Ever!
- Make sure the butter isn’t too soft. If it’s oily, it’s too soft and will cause the buttercream to curdle. Put it in the refrigerator for a few minutes to cool it off a bit if it’s too soft.
- If you can find it, try using confectioners’ sugar that has cornstarch in it.
- Don’t be afraid to let the frosting whip for a while! The more air you add, the lighter the frosting will be, which in turn makes it taste less sweet. It also helps it to become white, so turn your mixer up and let it whip on medium-high for 5 minutes.
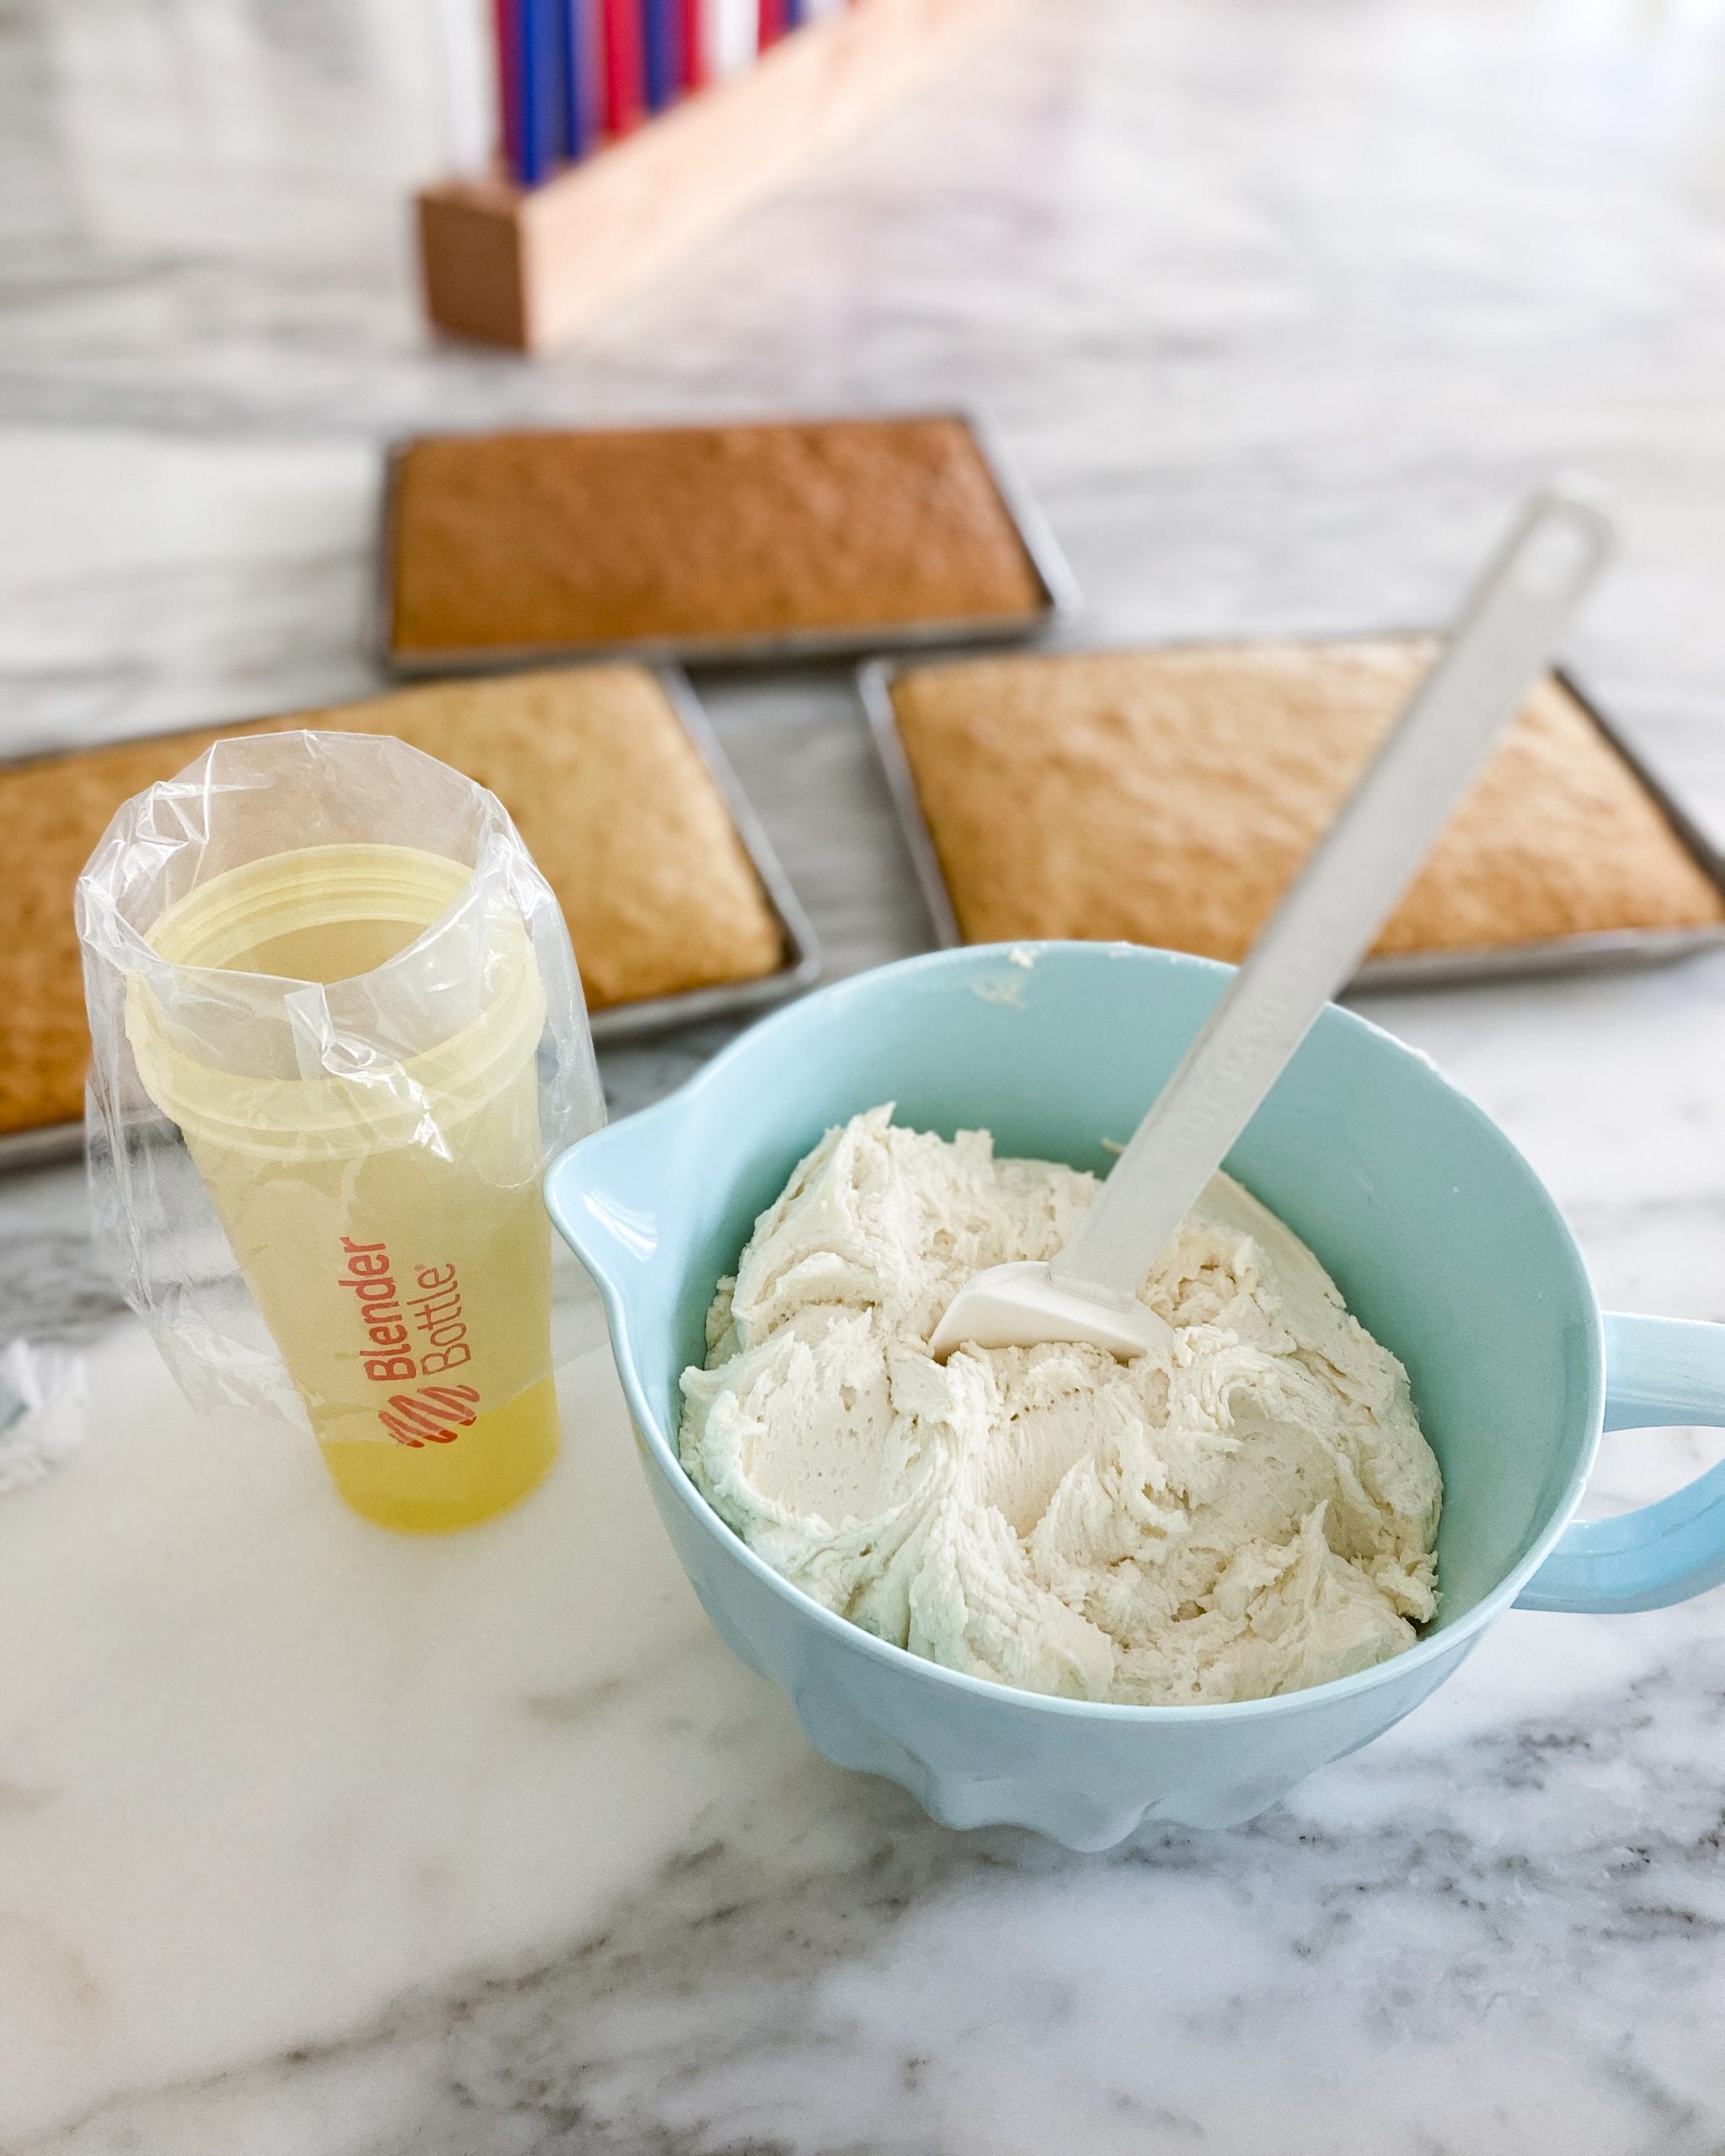
Use a tall cup and place the parchment bag inside the cup. This makes it easier when filling the piping bag with frosting. I use disposable piping bags but you can use a gallon zip lock bag or a pastry bag as well.
Assembling the Cake
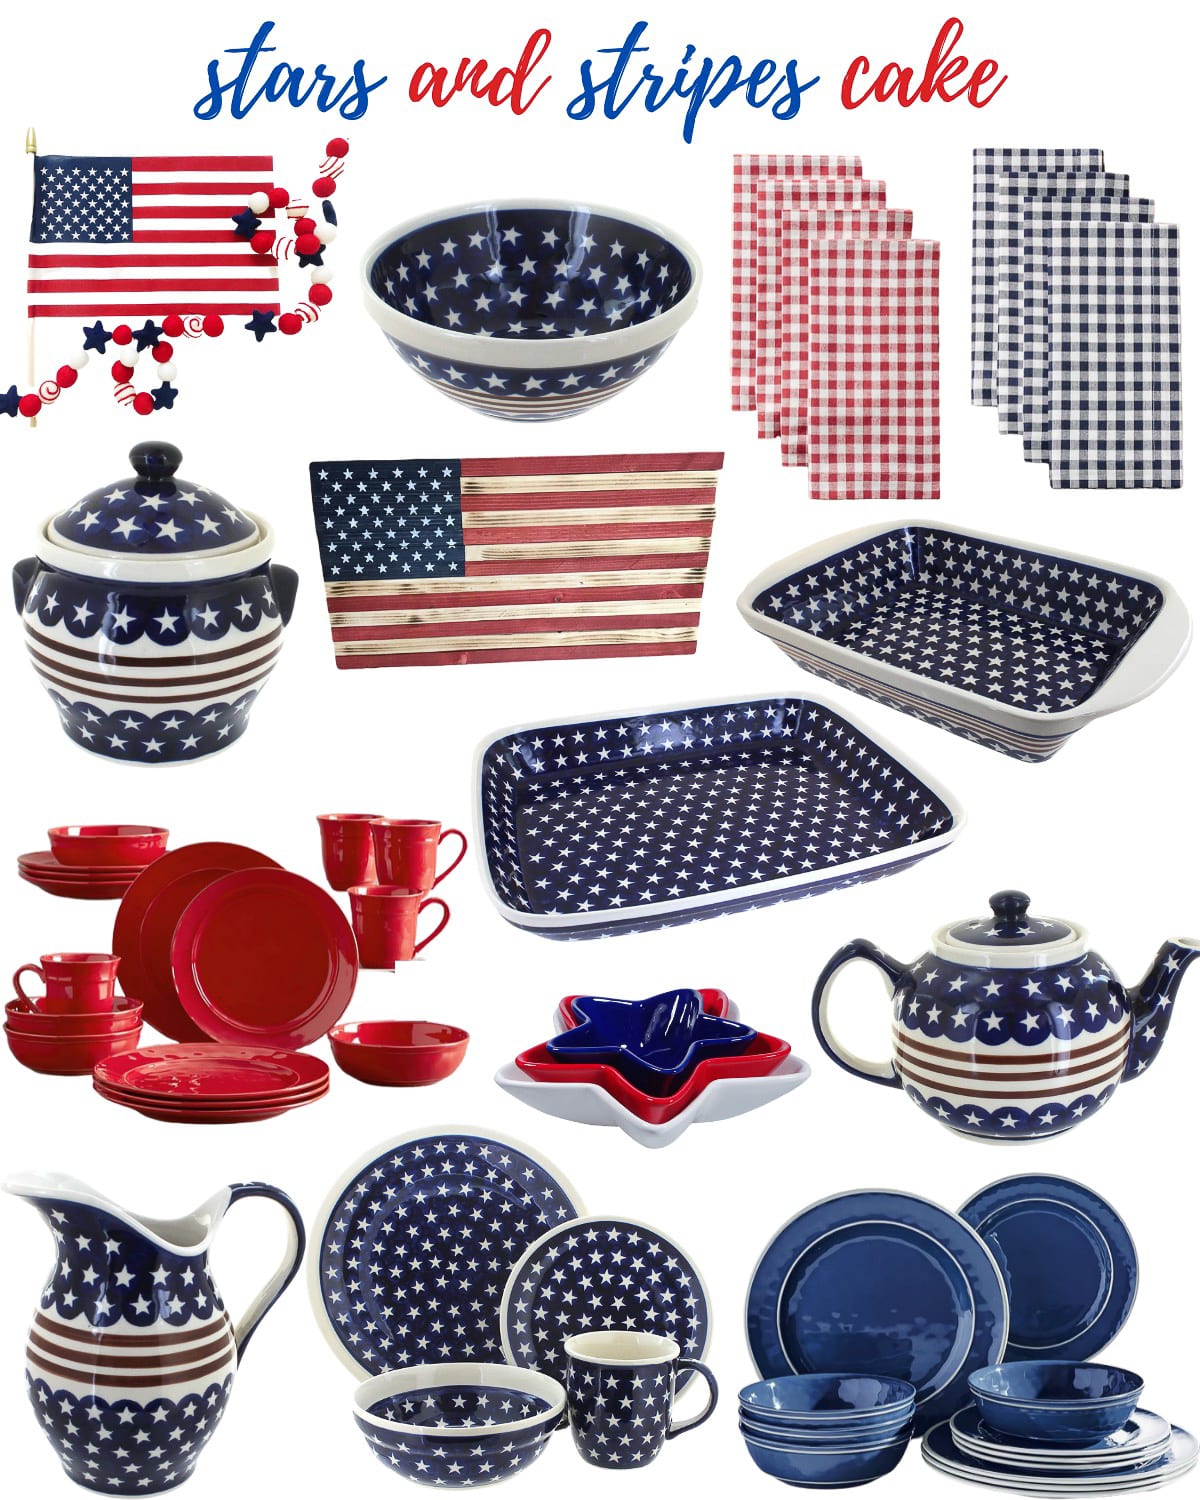
I like serving my cake in a large rectangular baker. The one I have is Polish pottery and it has little blue stars on it. I’ve linked some of my favorite Seeing Stars Polish Pottery below so you can replicate the look. I can’t find any links to the white and blue stars (like I have here) but I’ve linked some similar ones below. I’ve had mine for over 20 years and they last forever!
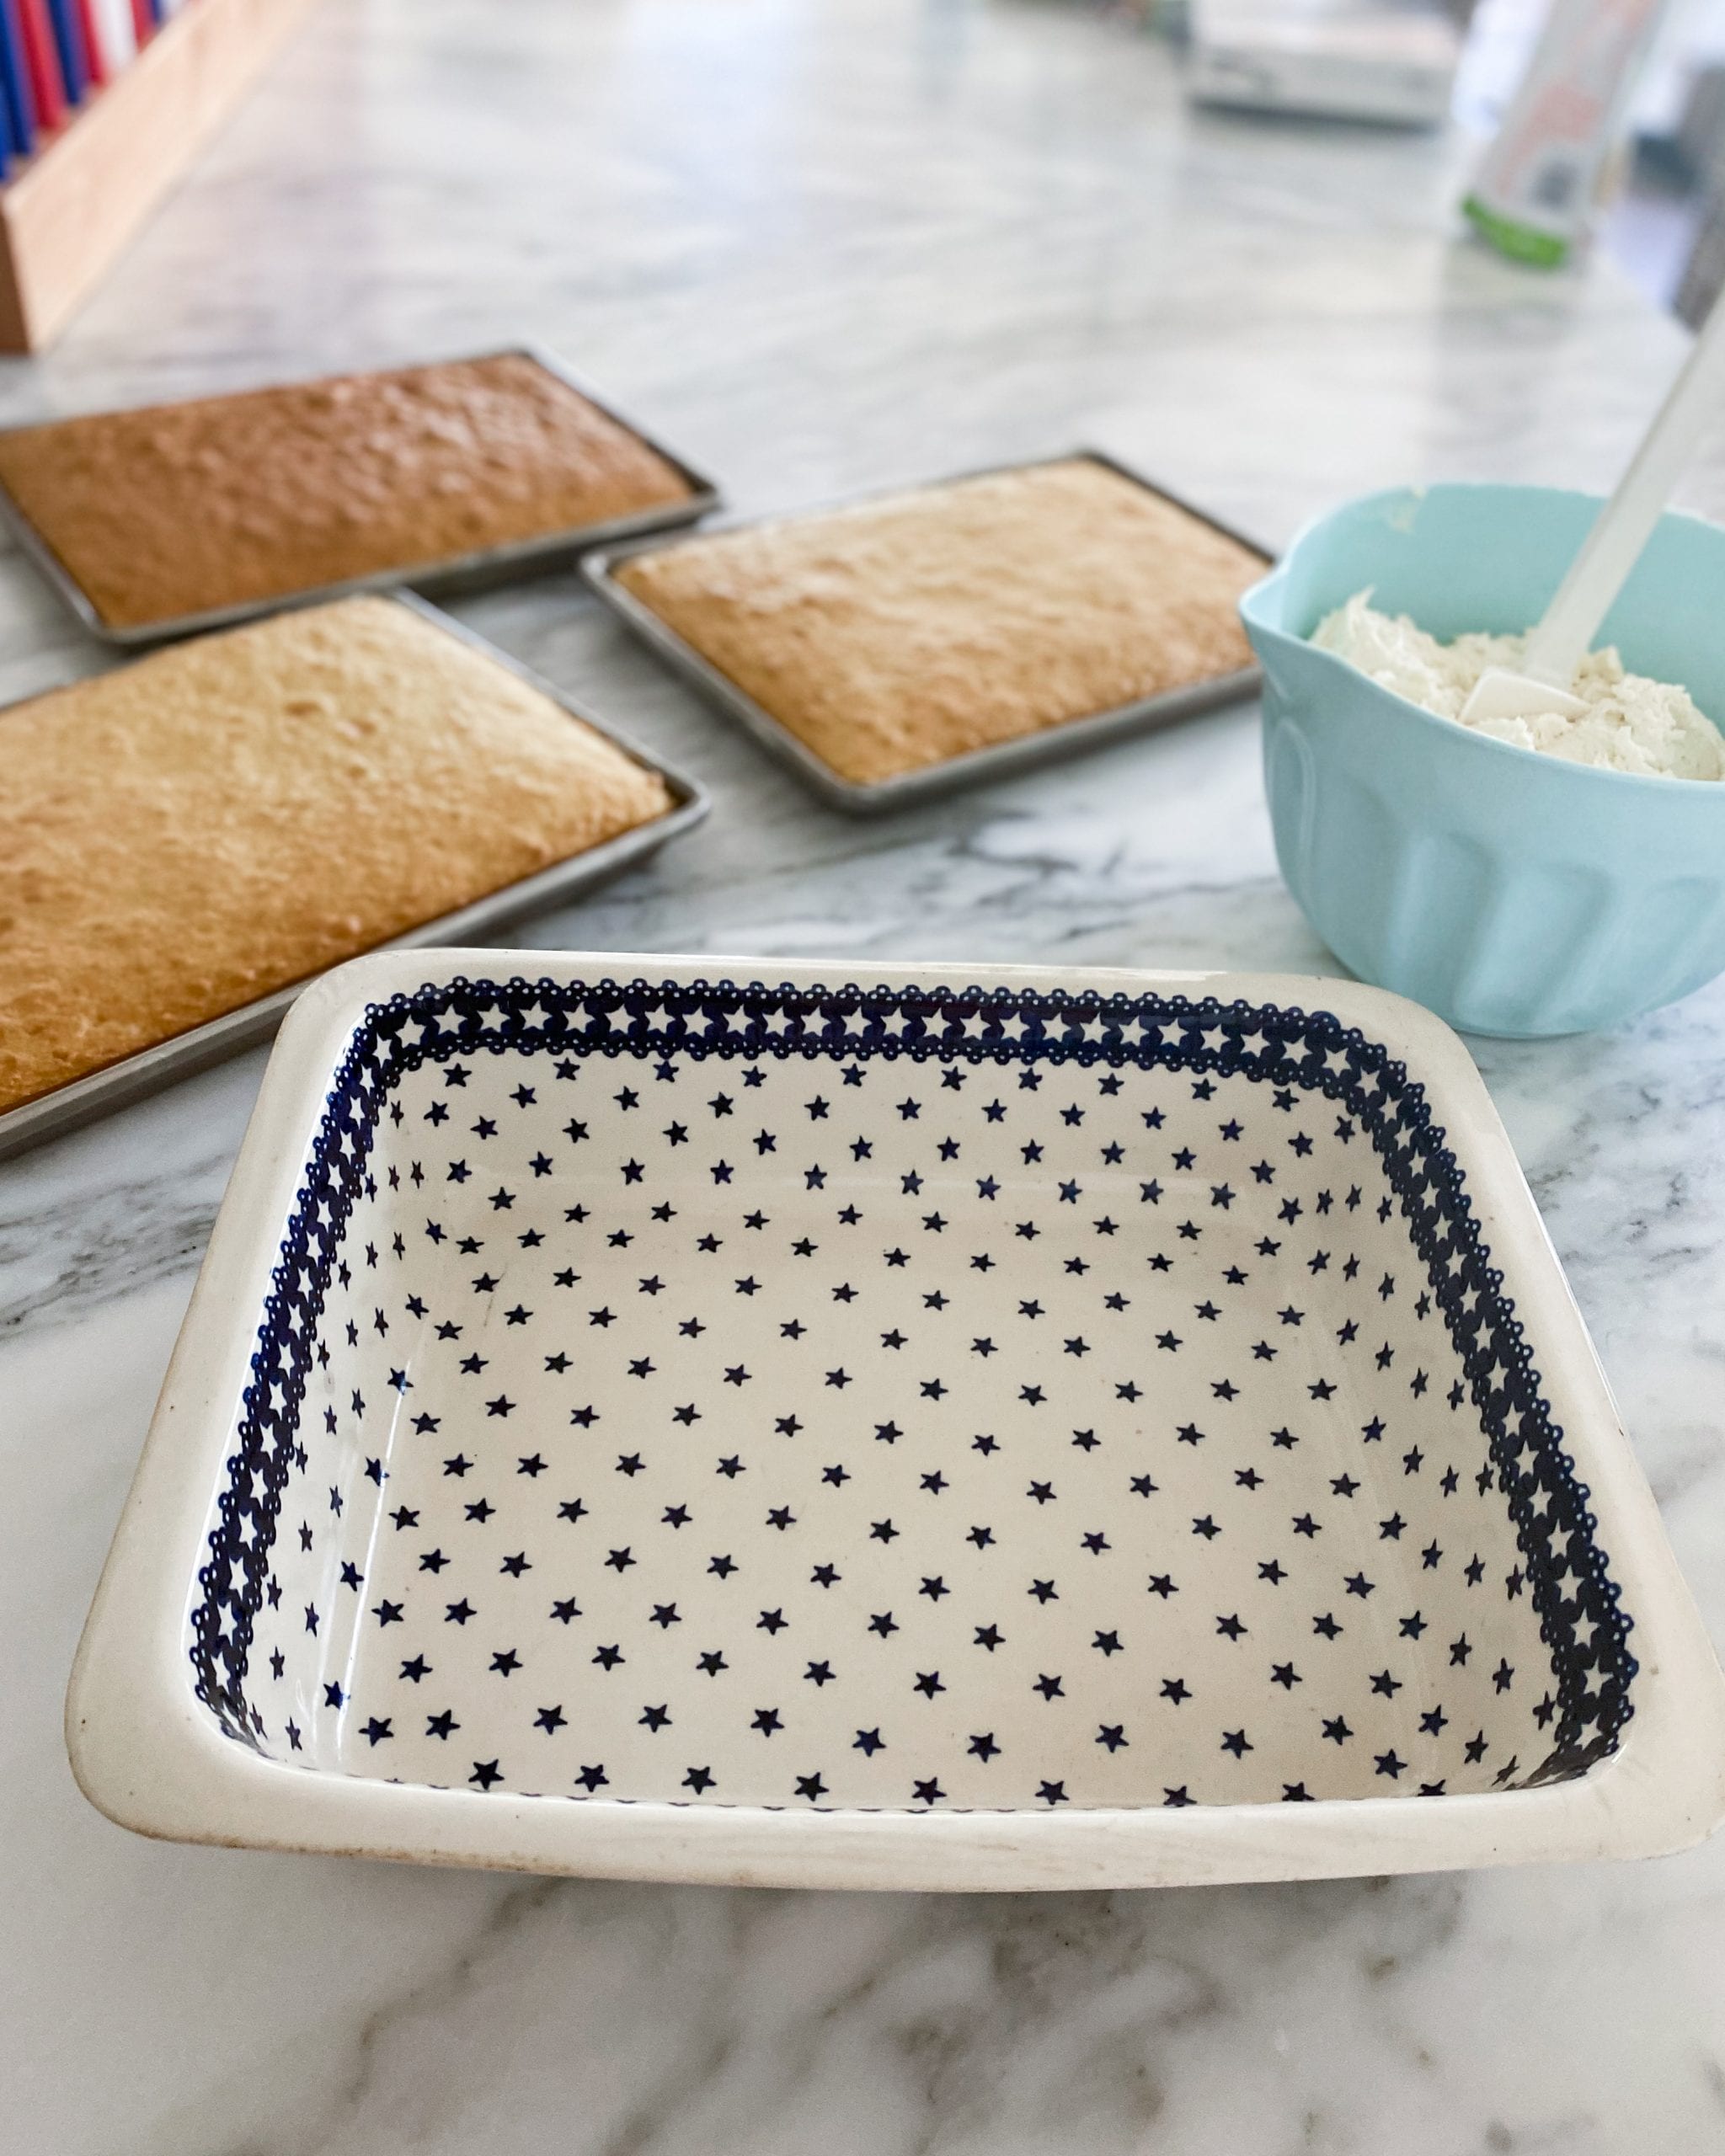
When the cakes are cooled, lift the first cake out of the pan and set it inside a large baking dish or pan that is 9″x13″ or larger and place it in the bottom of the baking dish. Peel off the parchment paper.
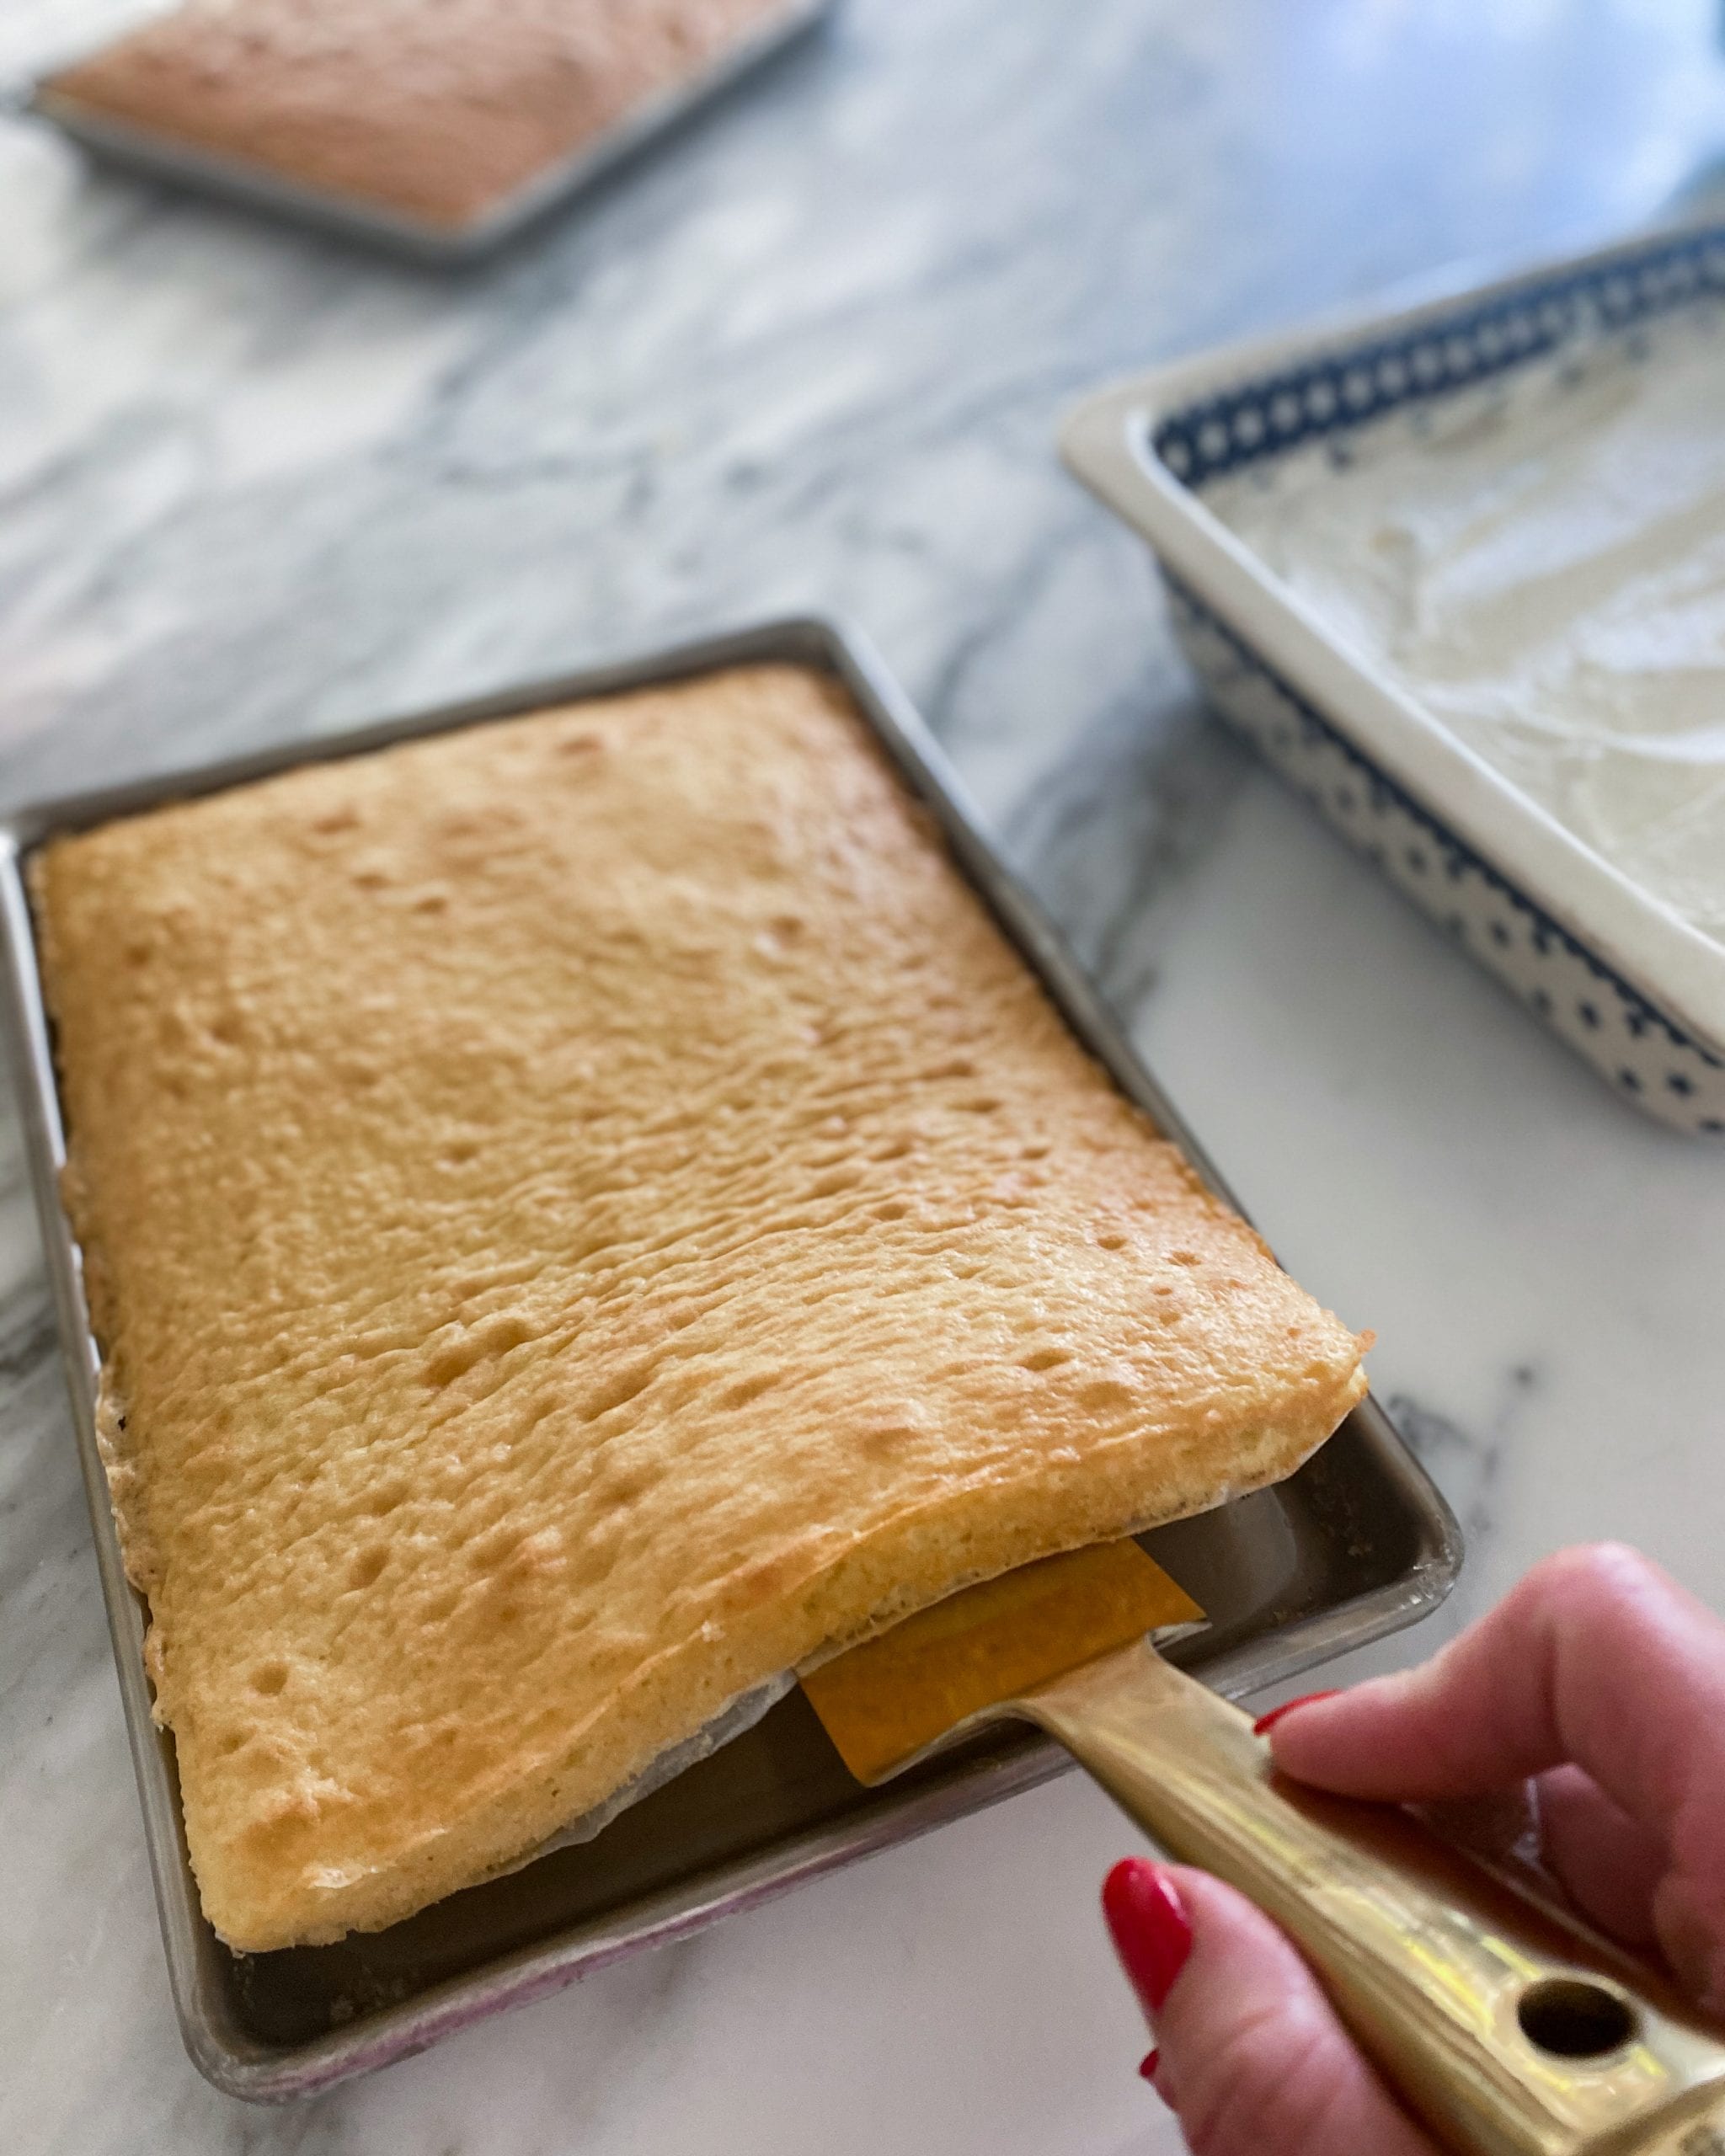
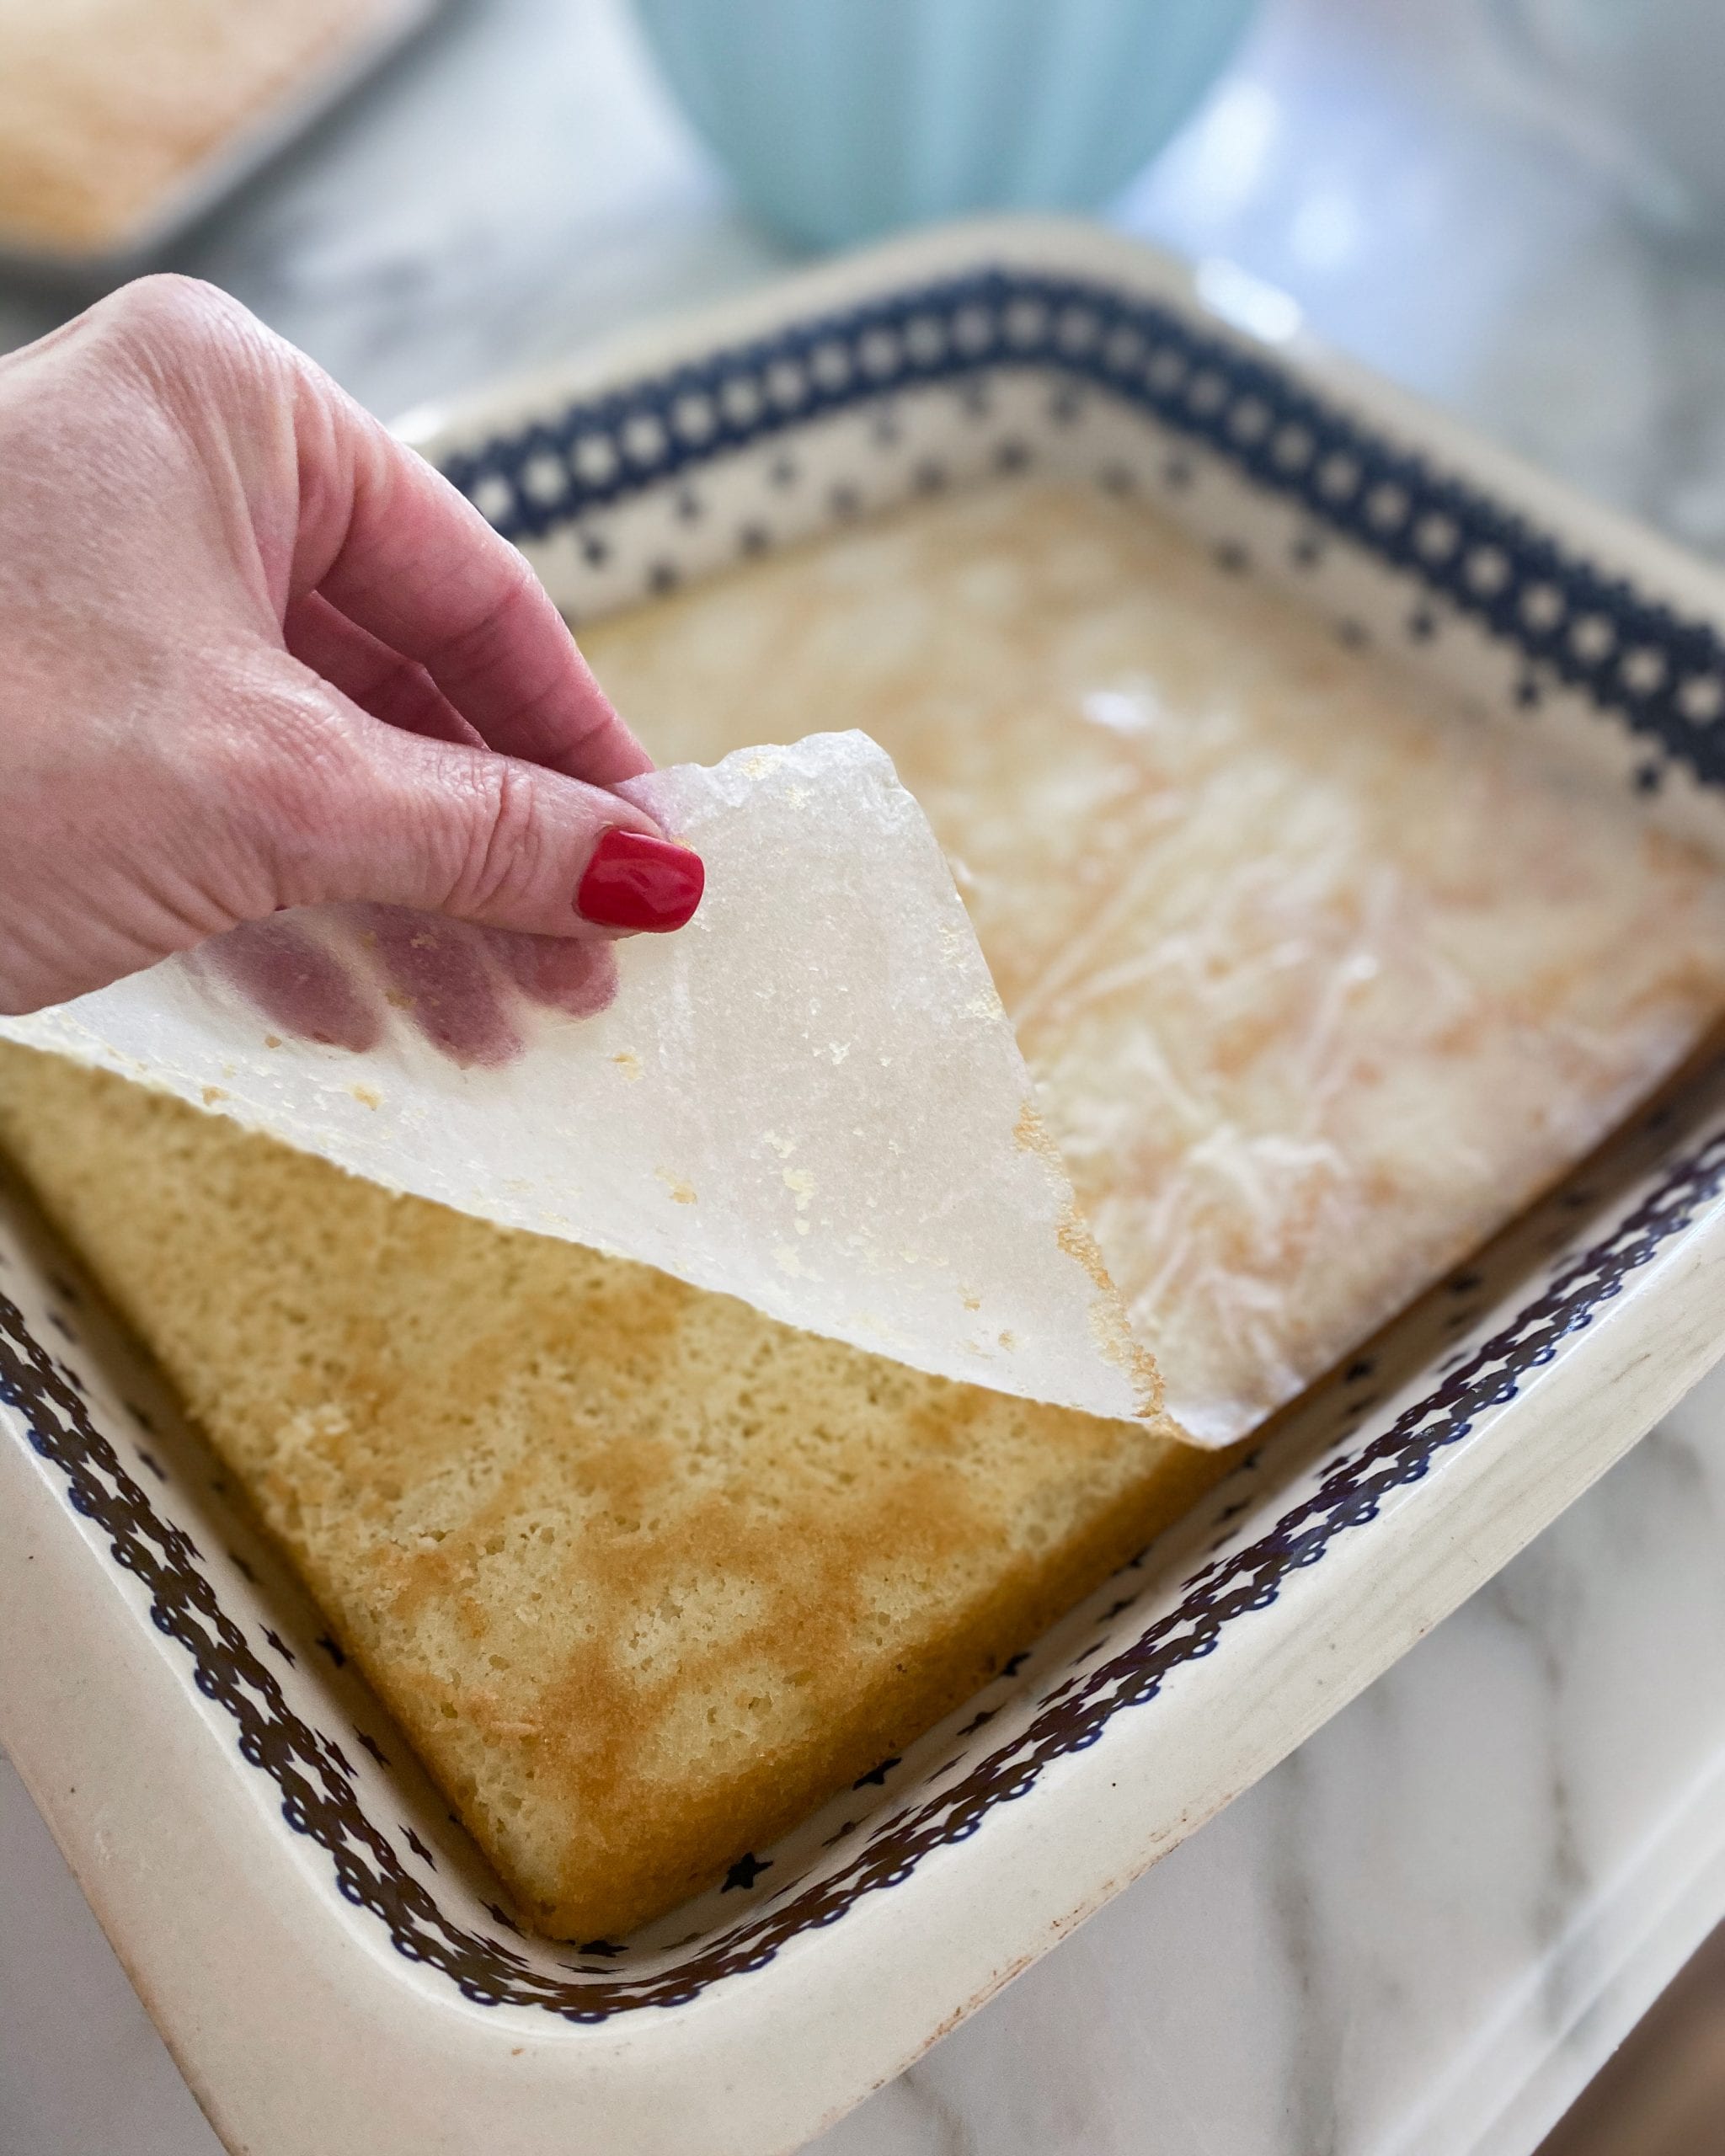
Spread a generous layer of the cream cheese filling.
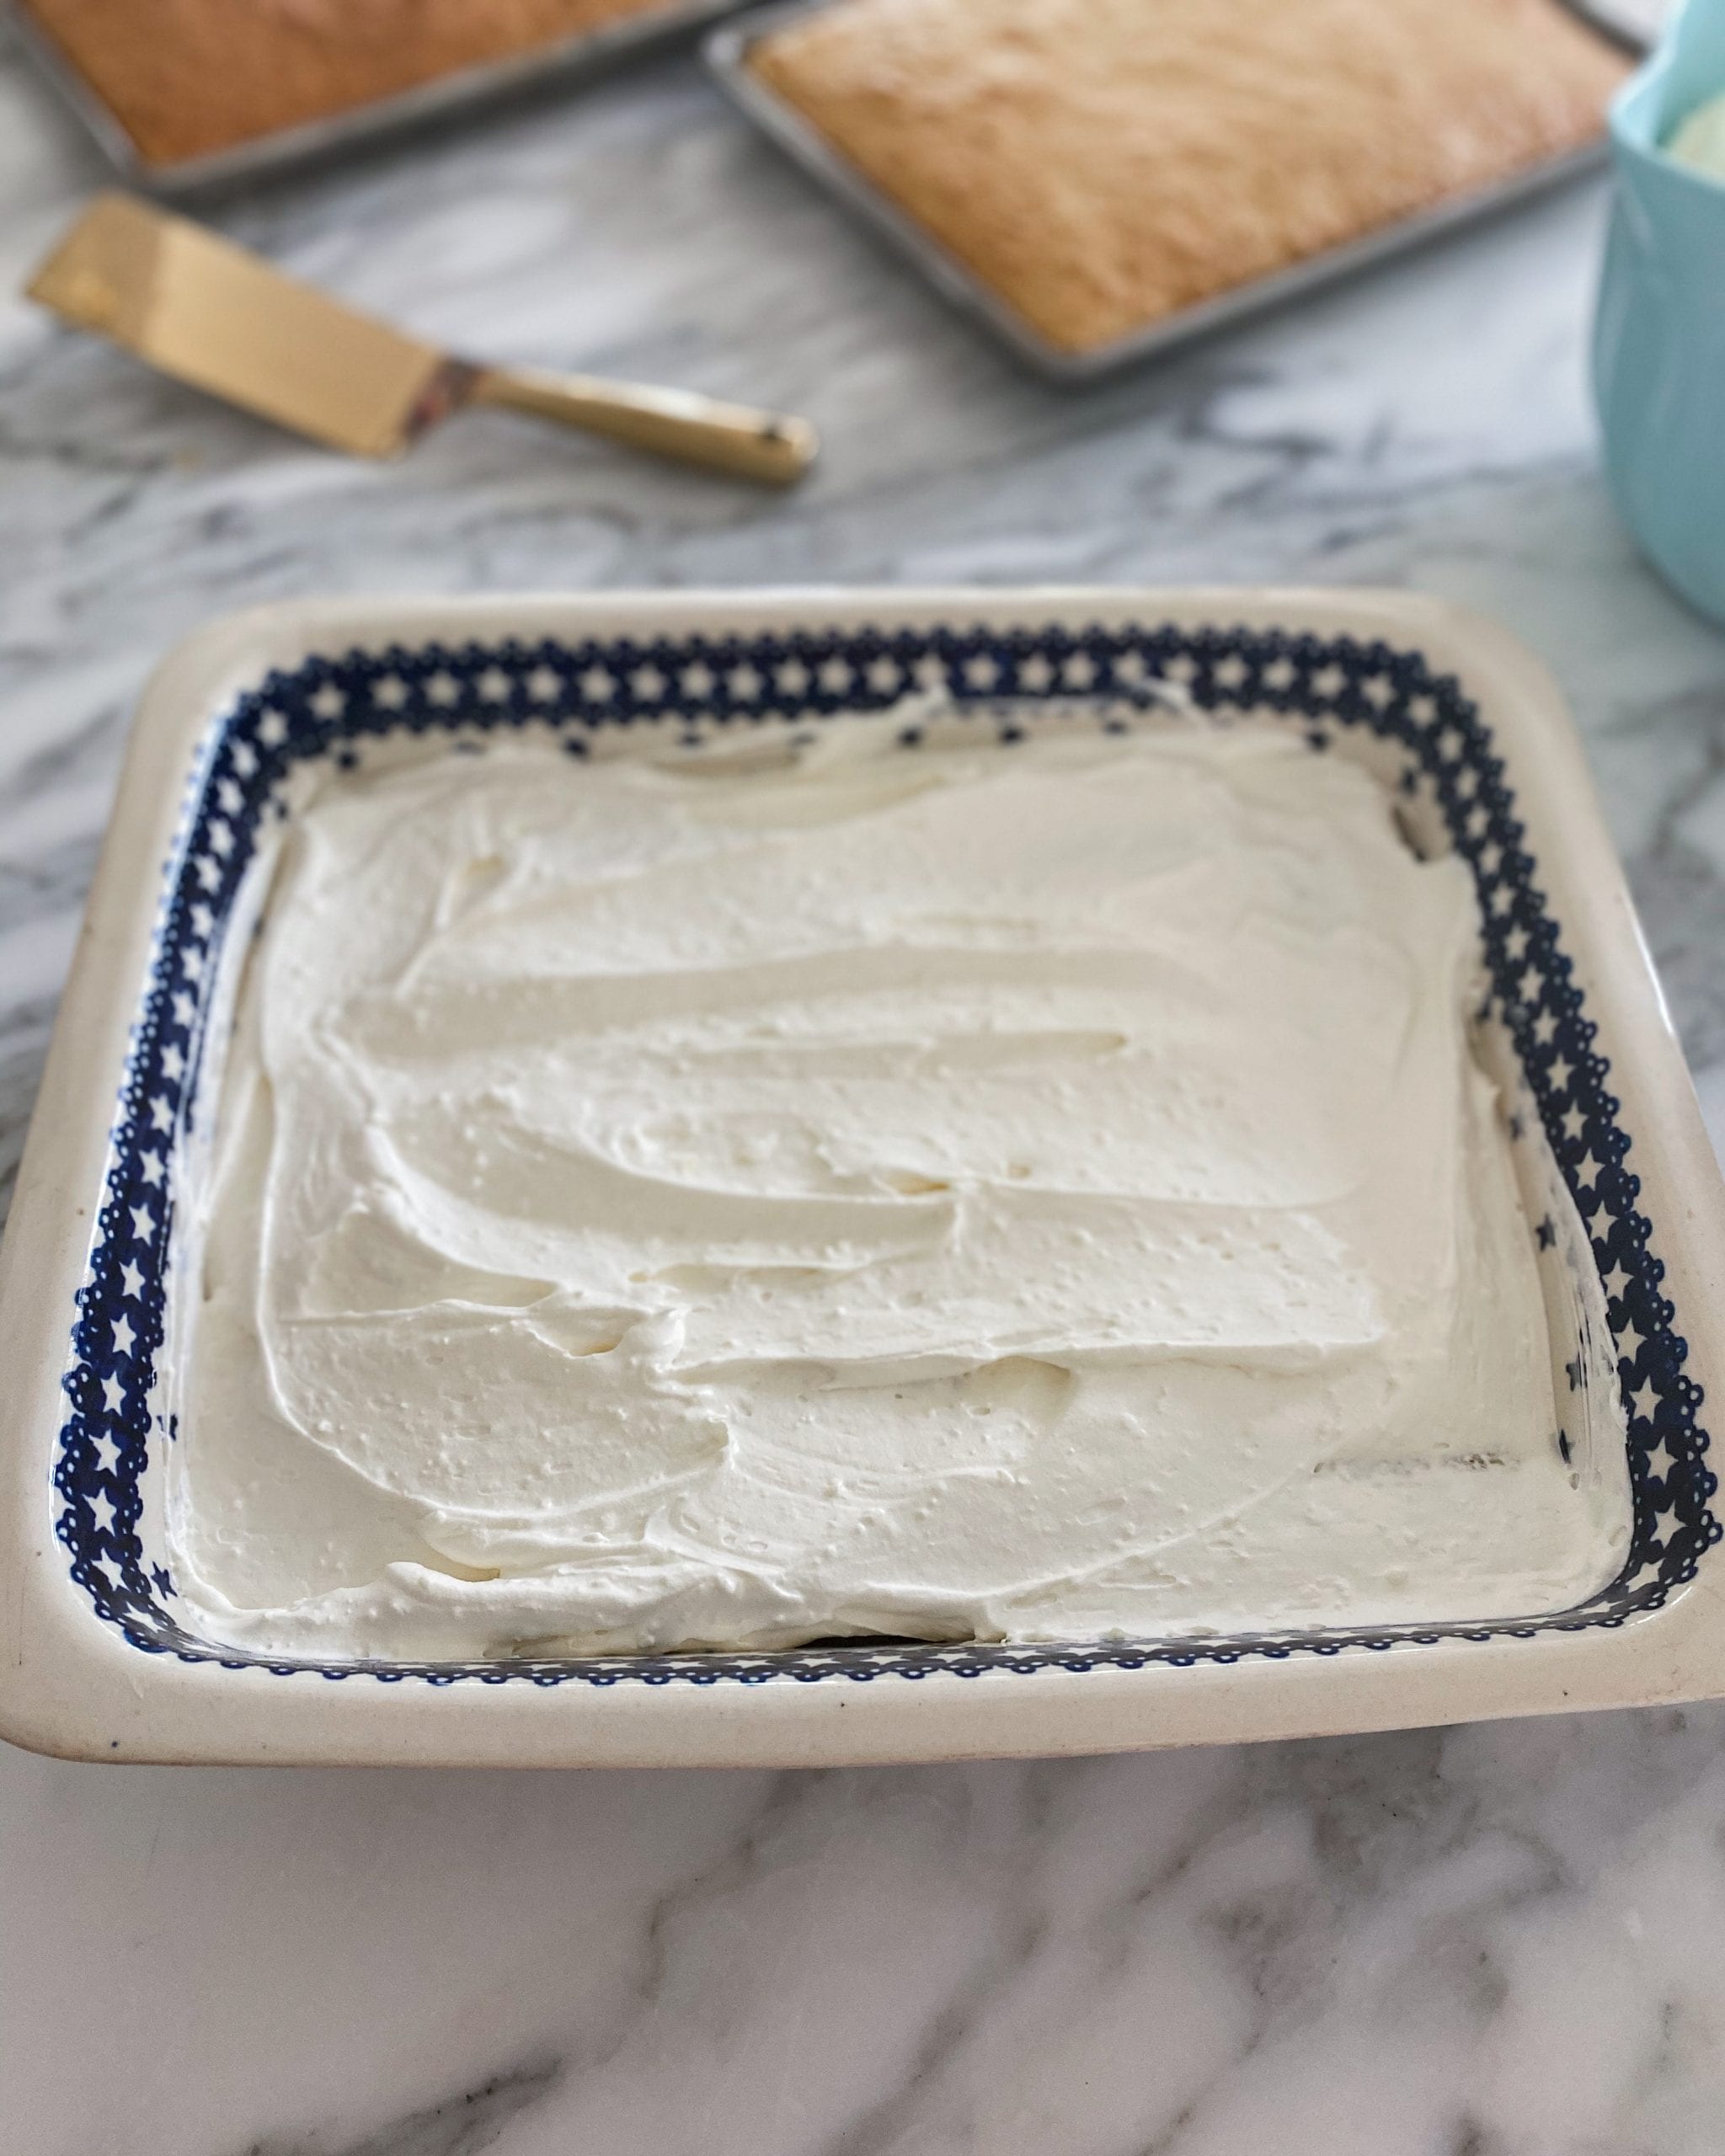
Layer another one of the cakes and another layer of cream cheese filling.
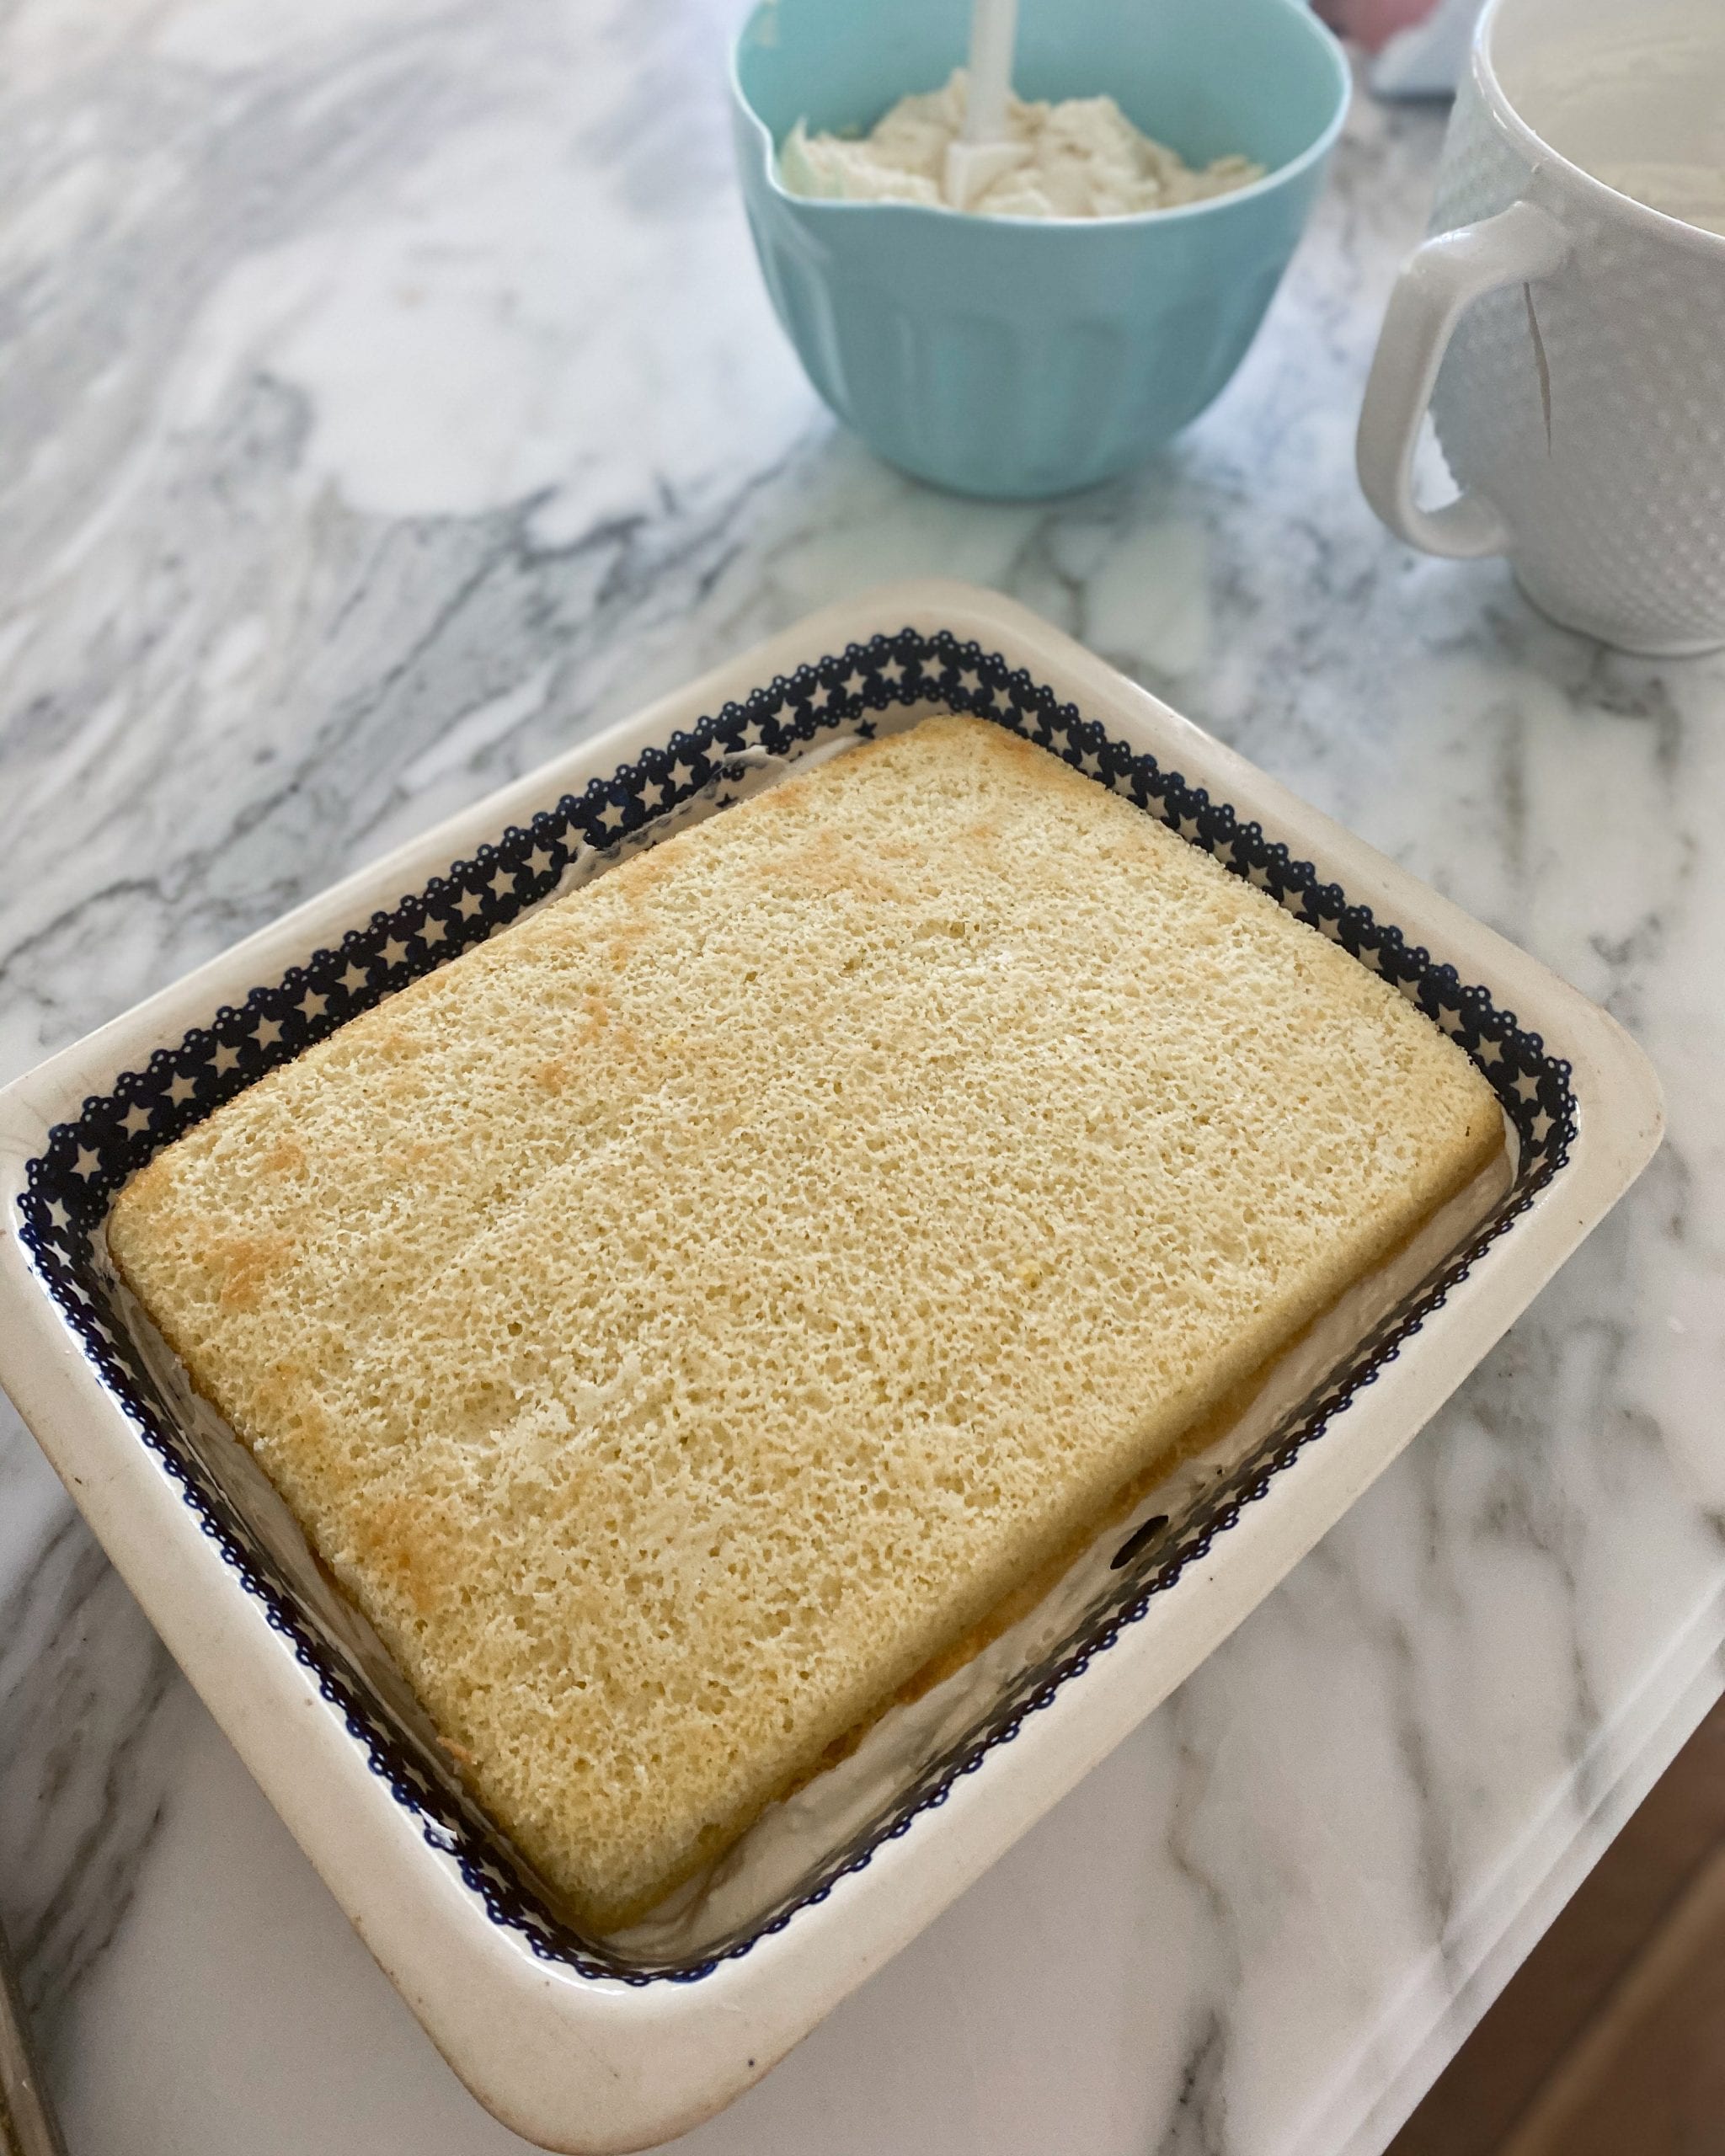
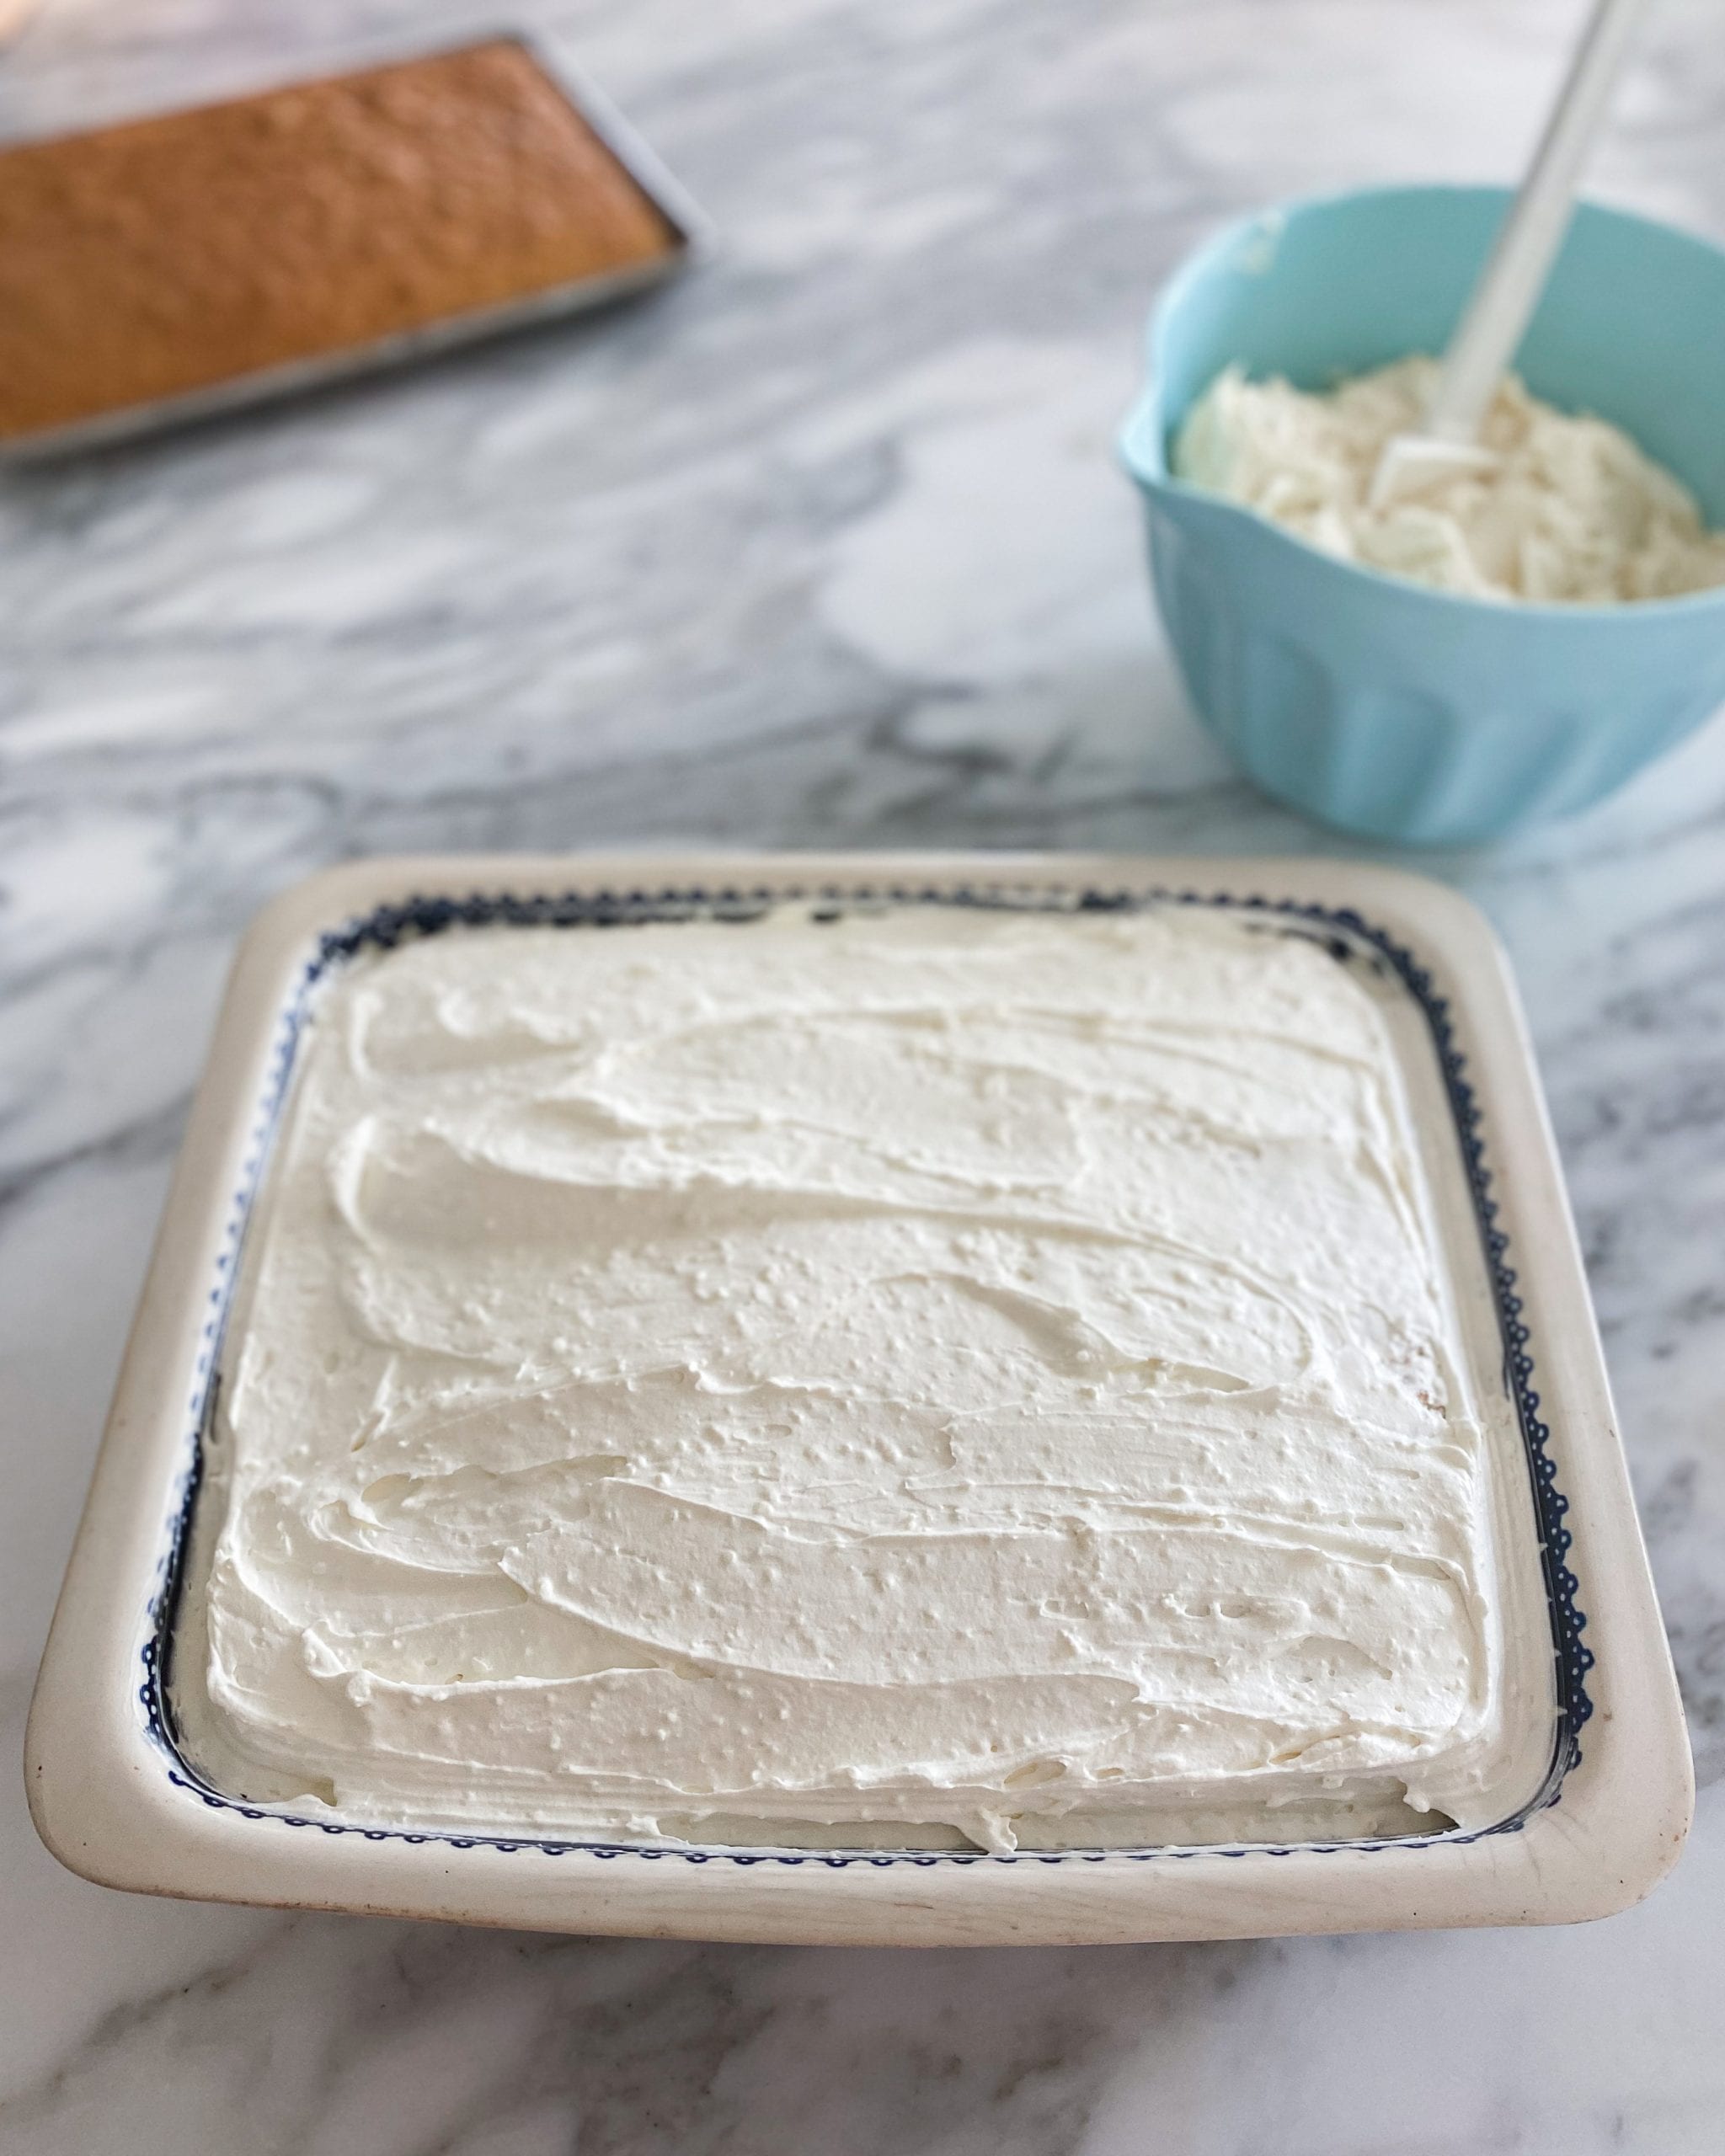
Add one last layer of cake if your pan is large enough to hold three layers. If not, just use two of the cakes. Use the remaining cream cheese filling to cover the top of the cake.
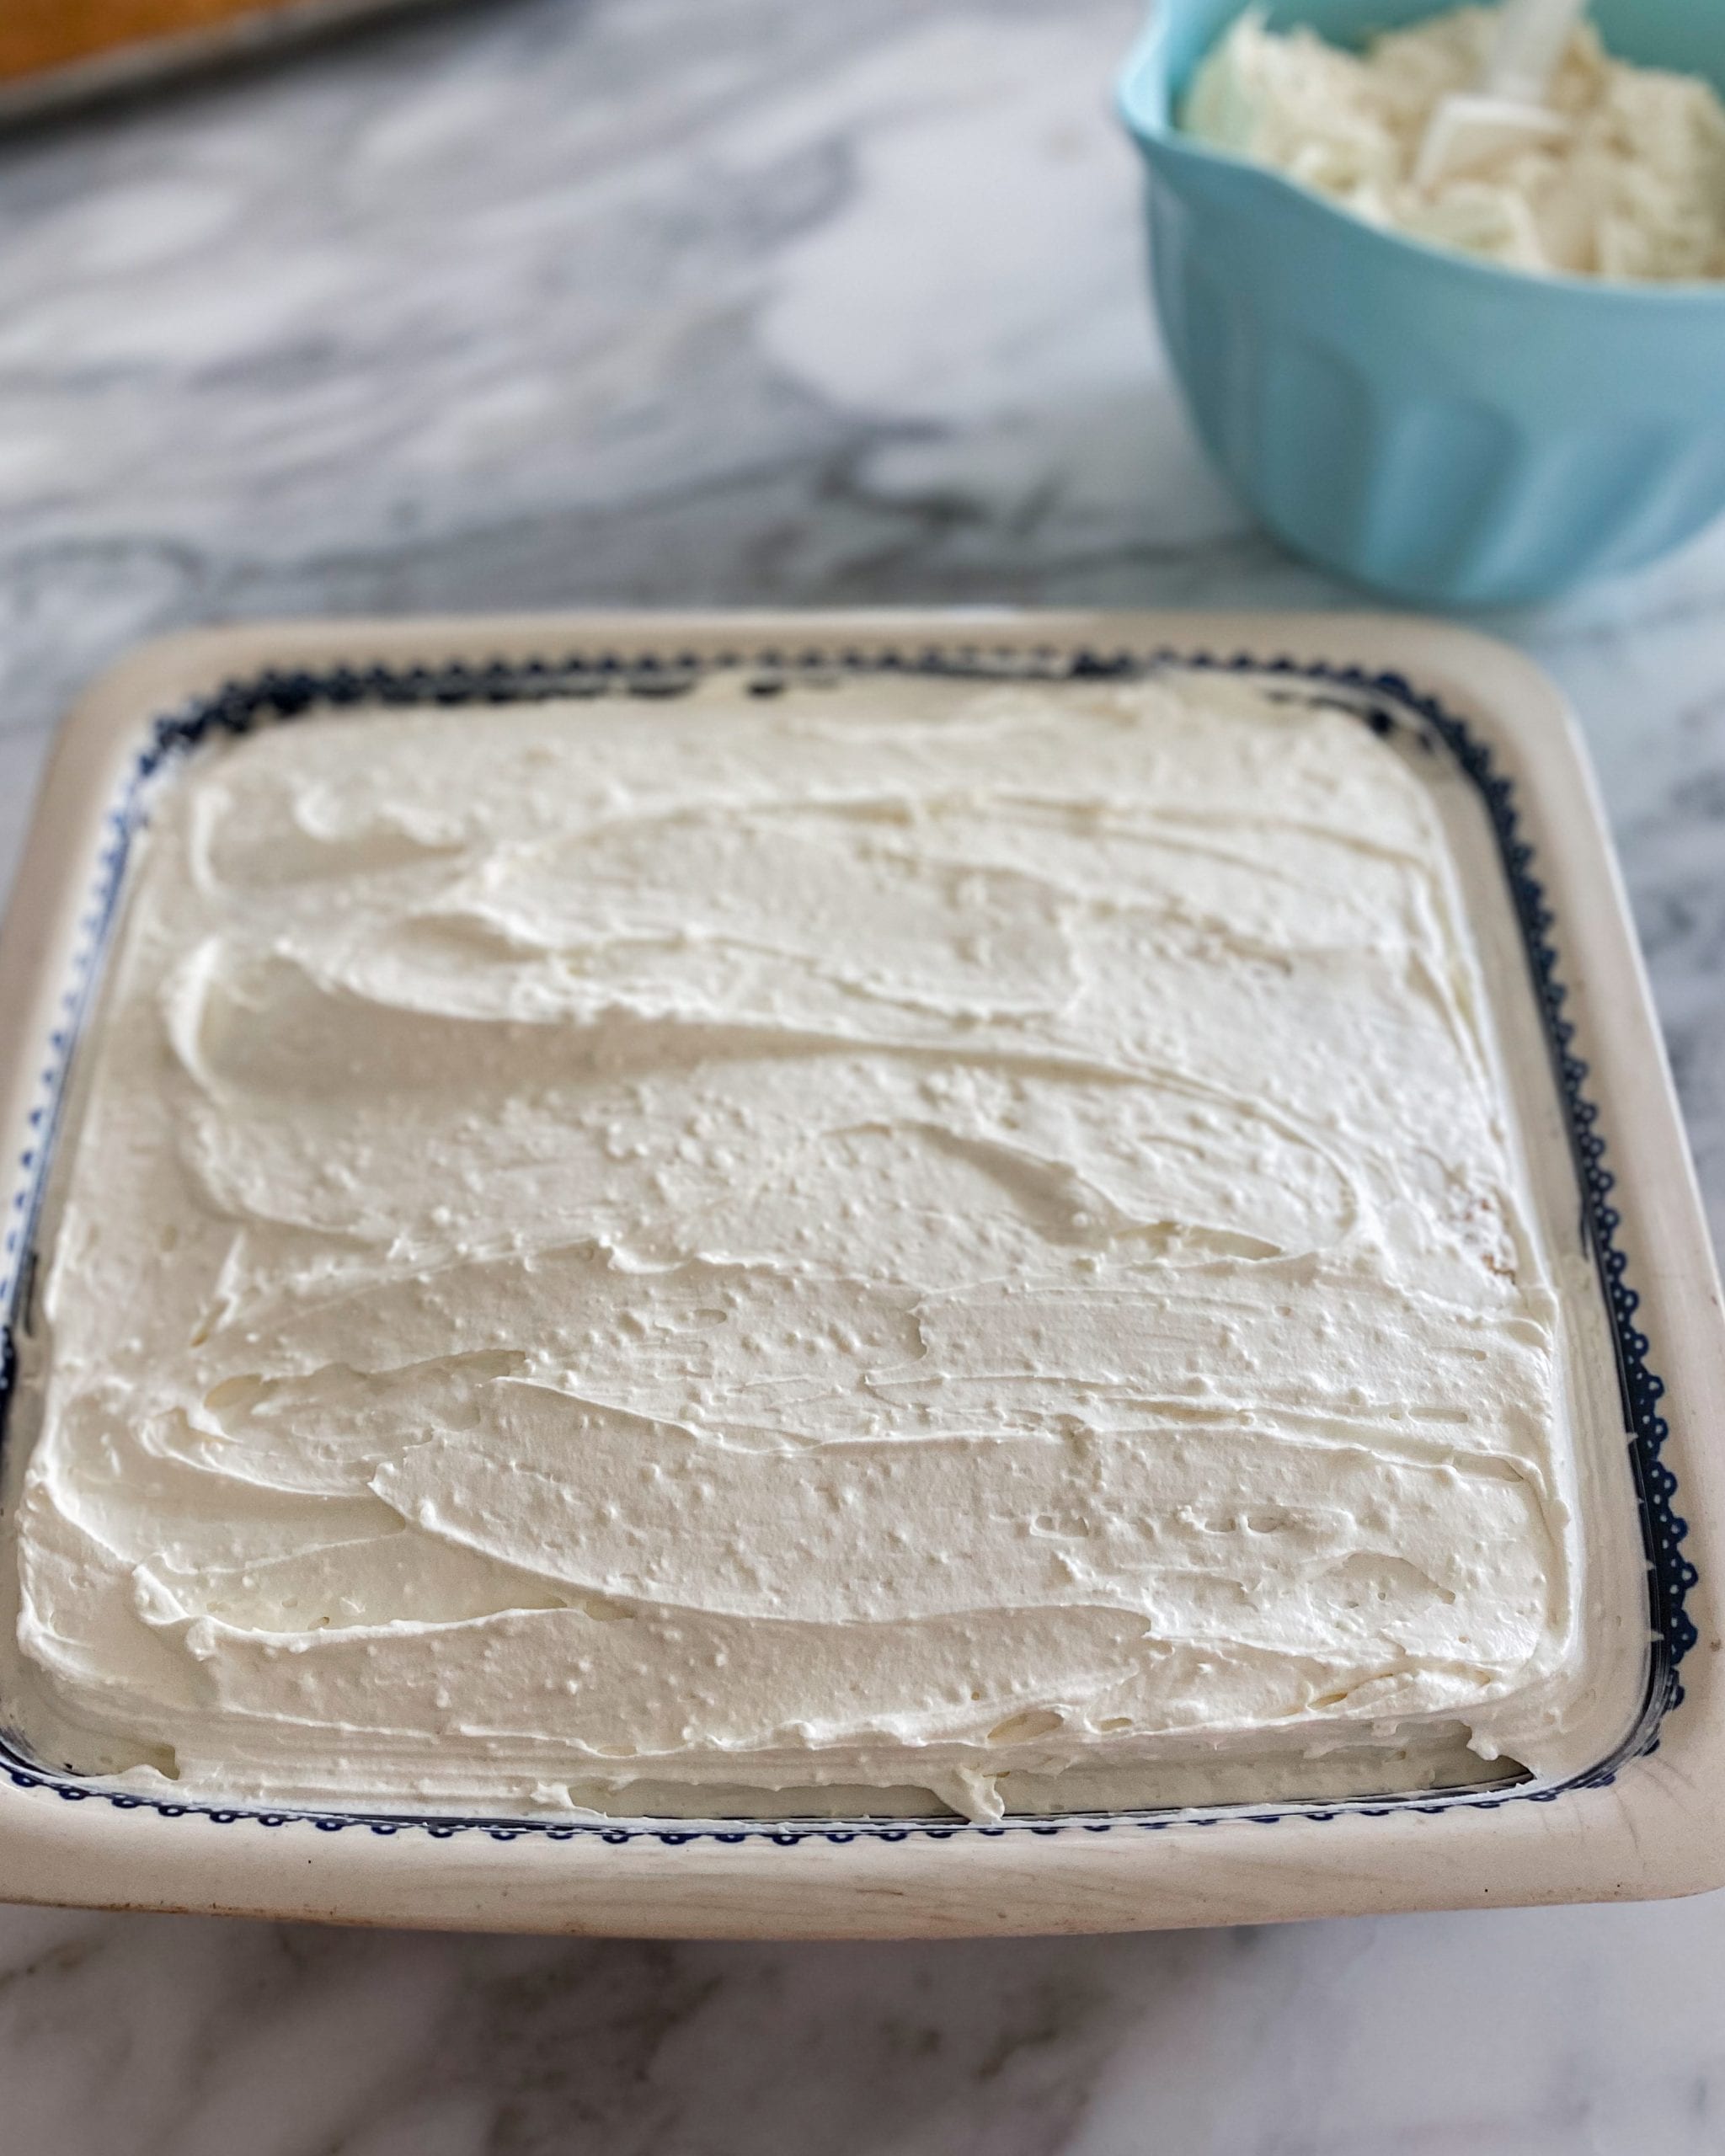
Decorating the Top of the Cake With Stars and Stripes
Fill a piping bag or gallon zip lock bag with the buttercream frosting then cut off a small amount of the bottom of the piping bag. If you want to use a large piping tip you can but I didn’t.
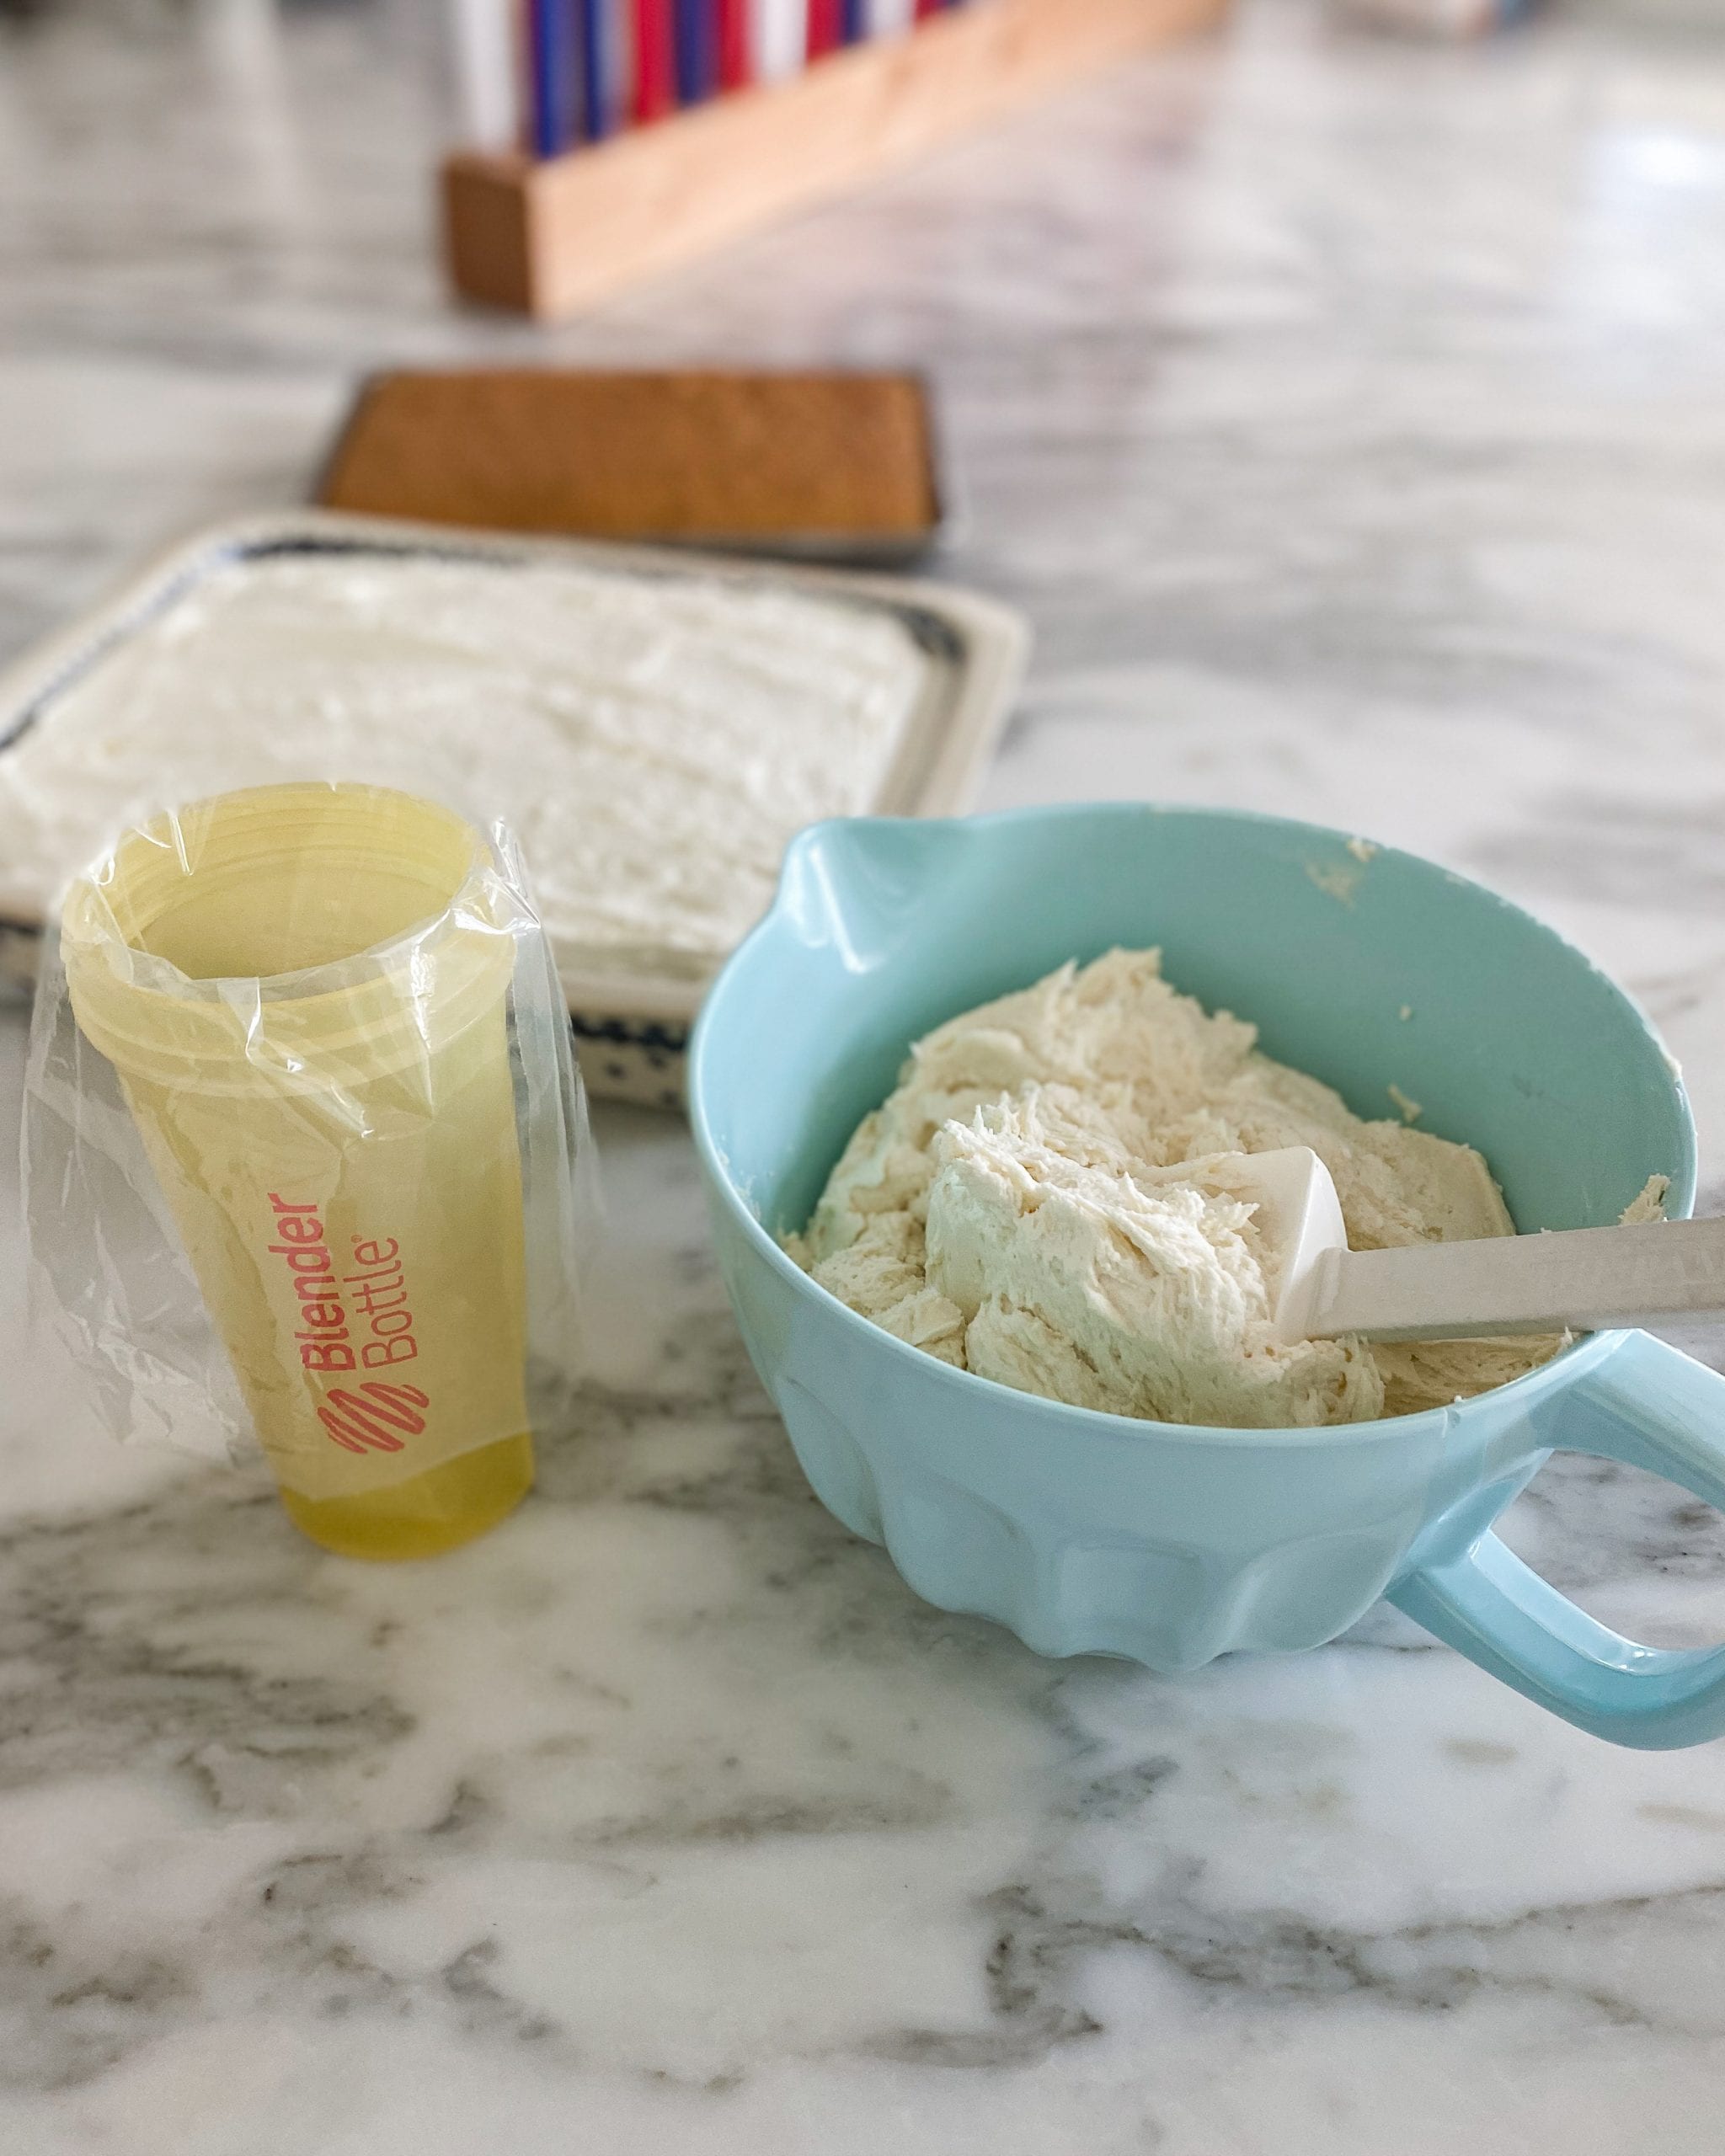
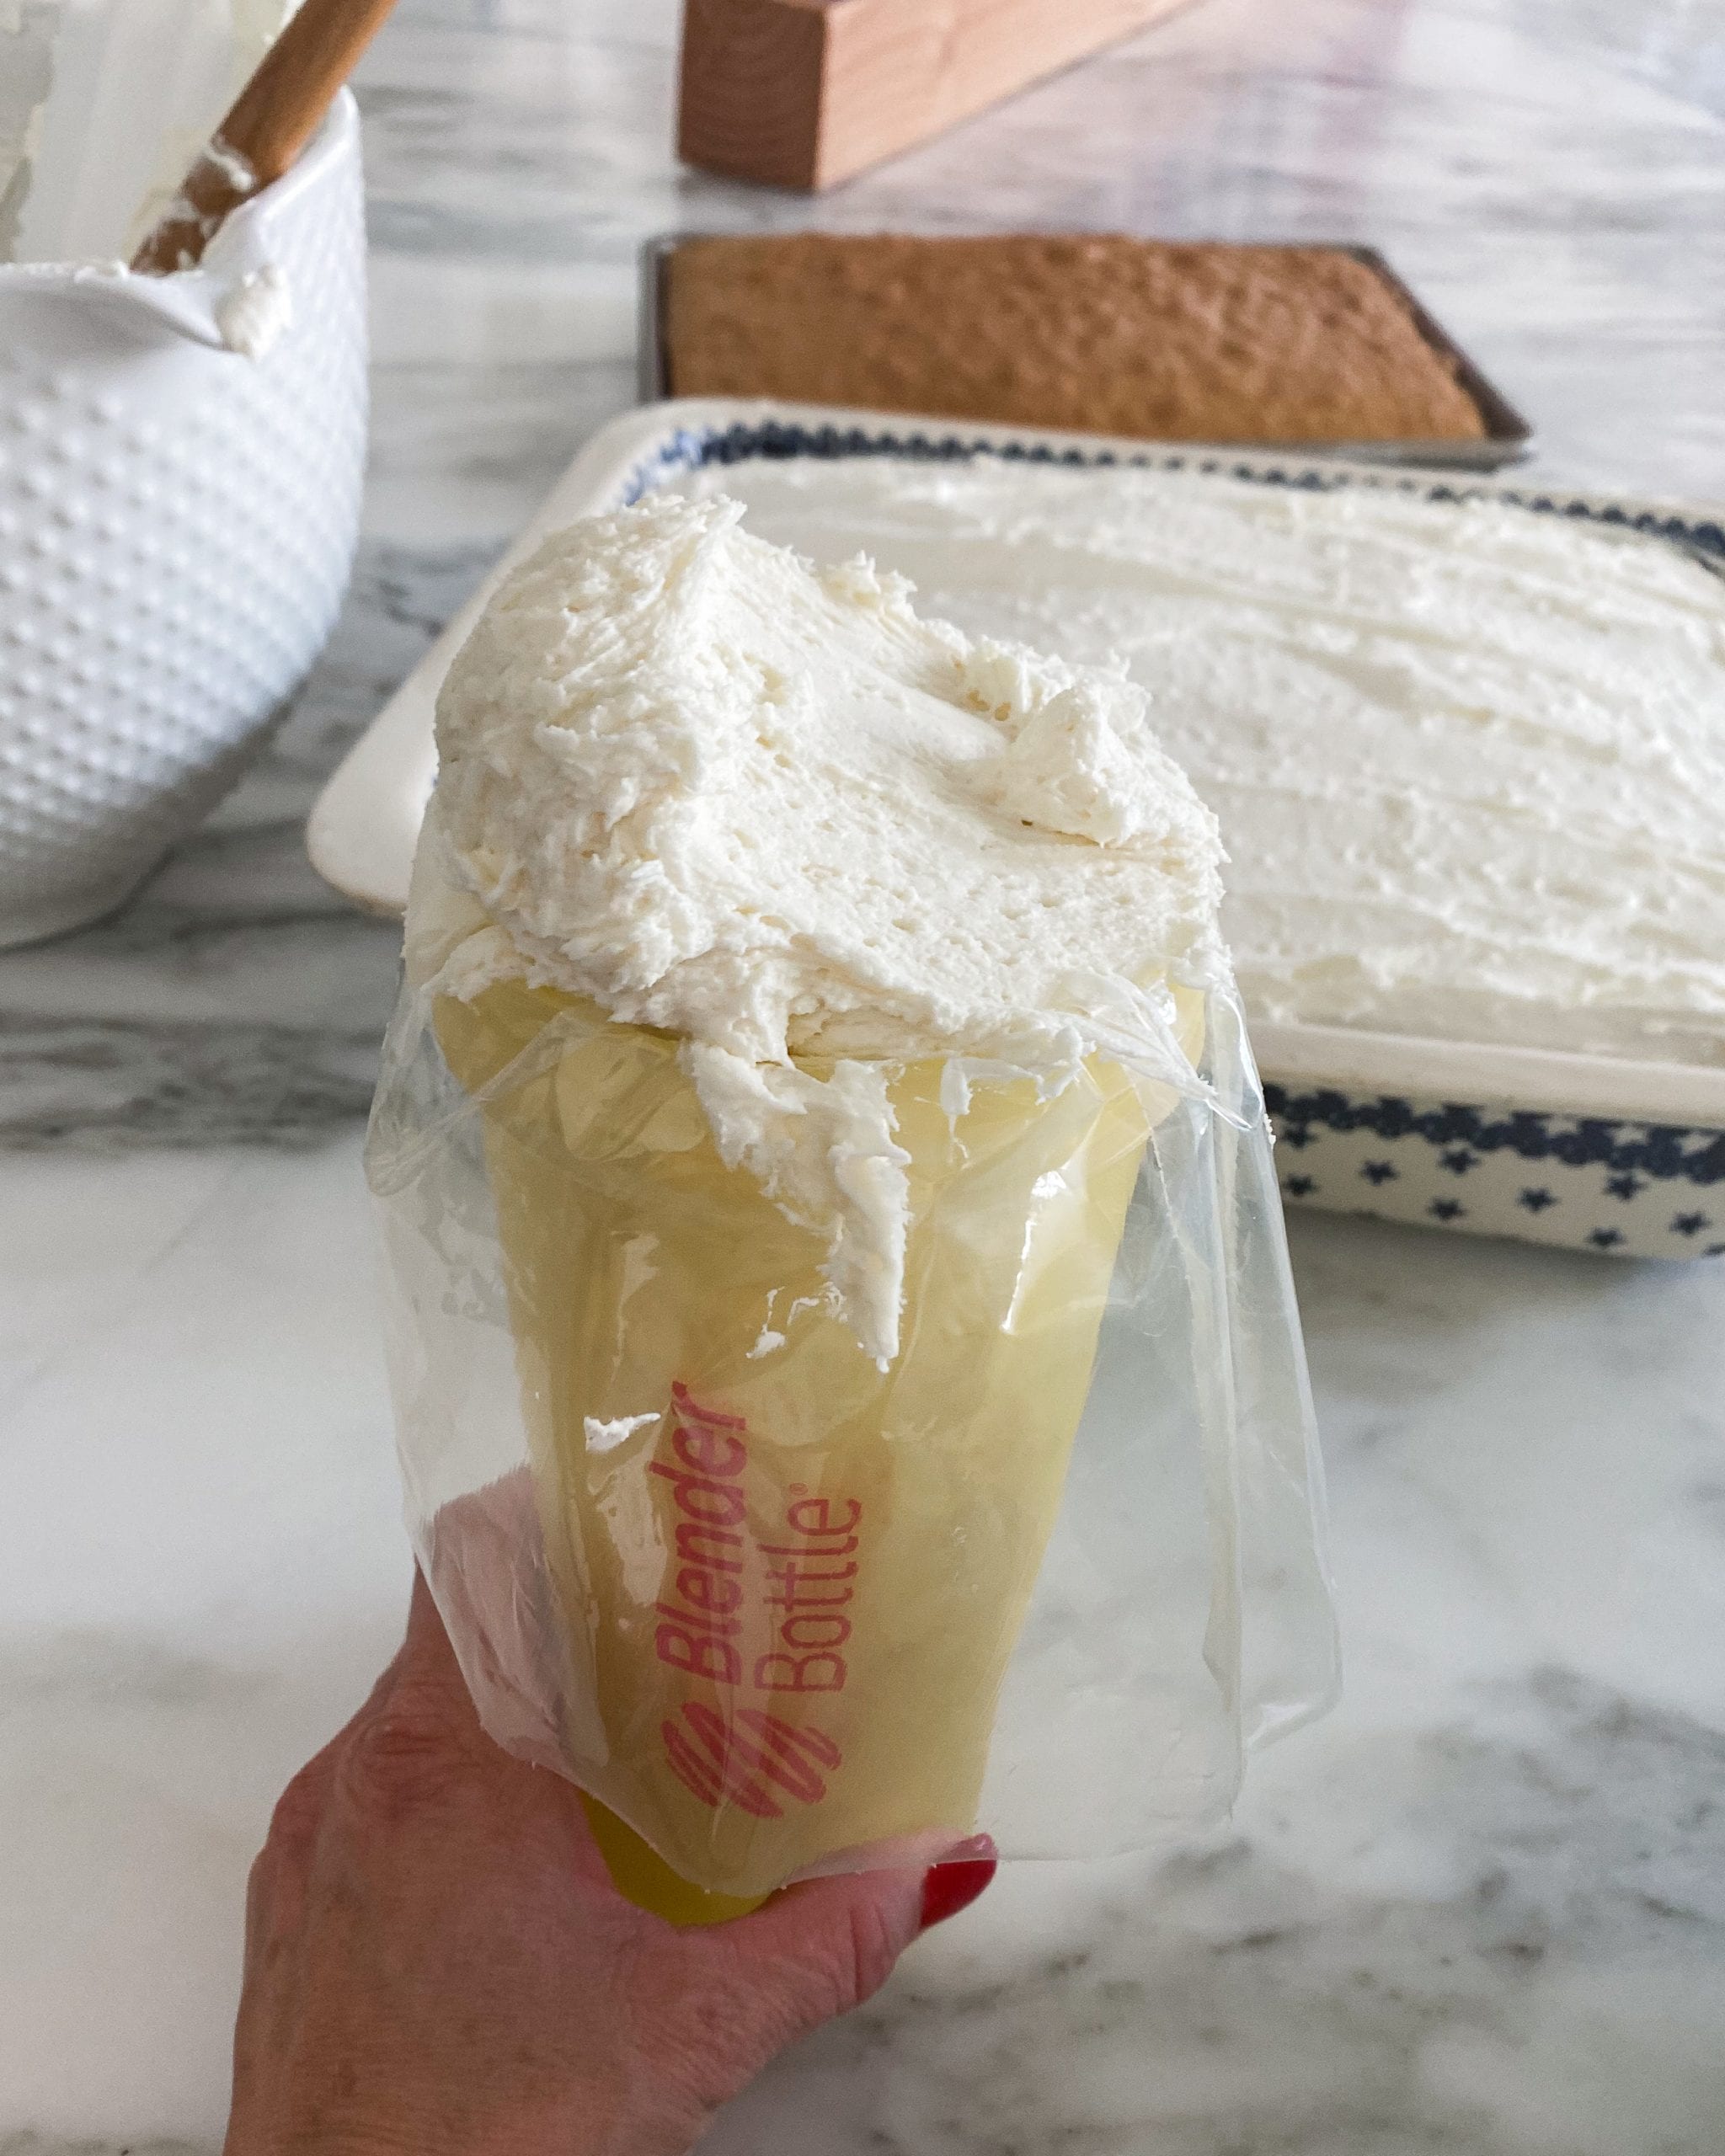
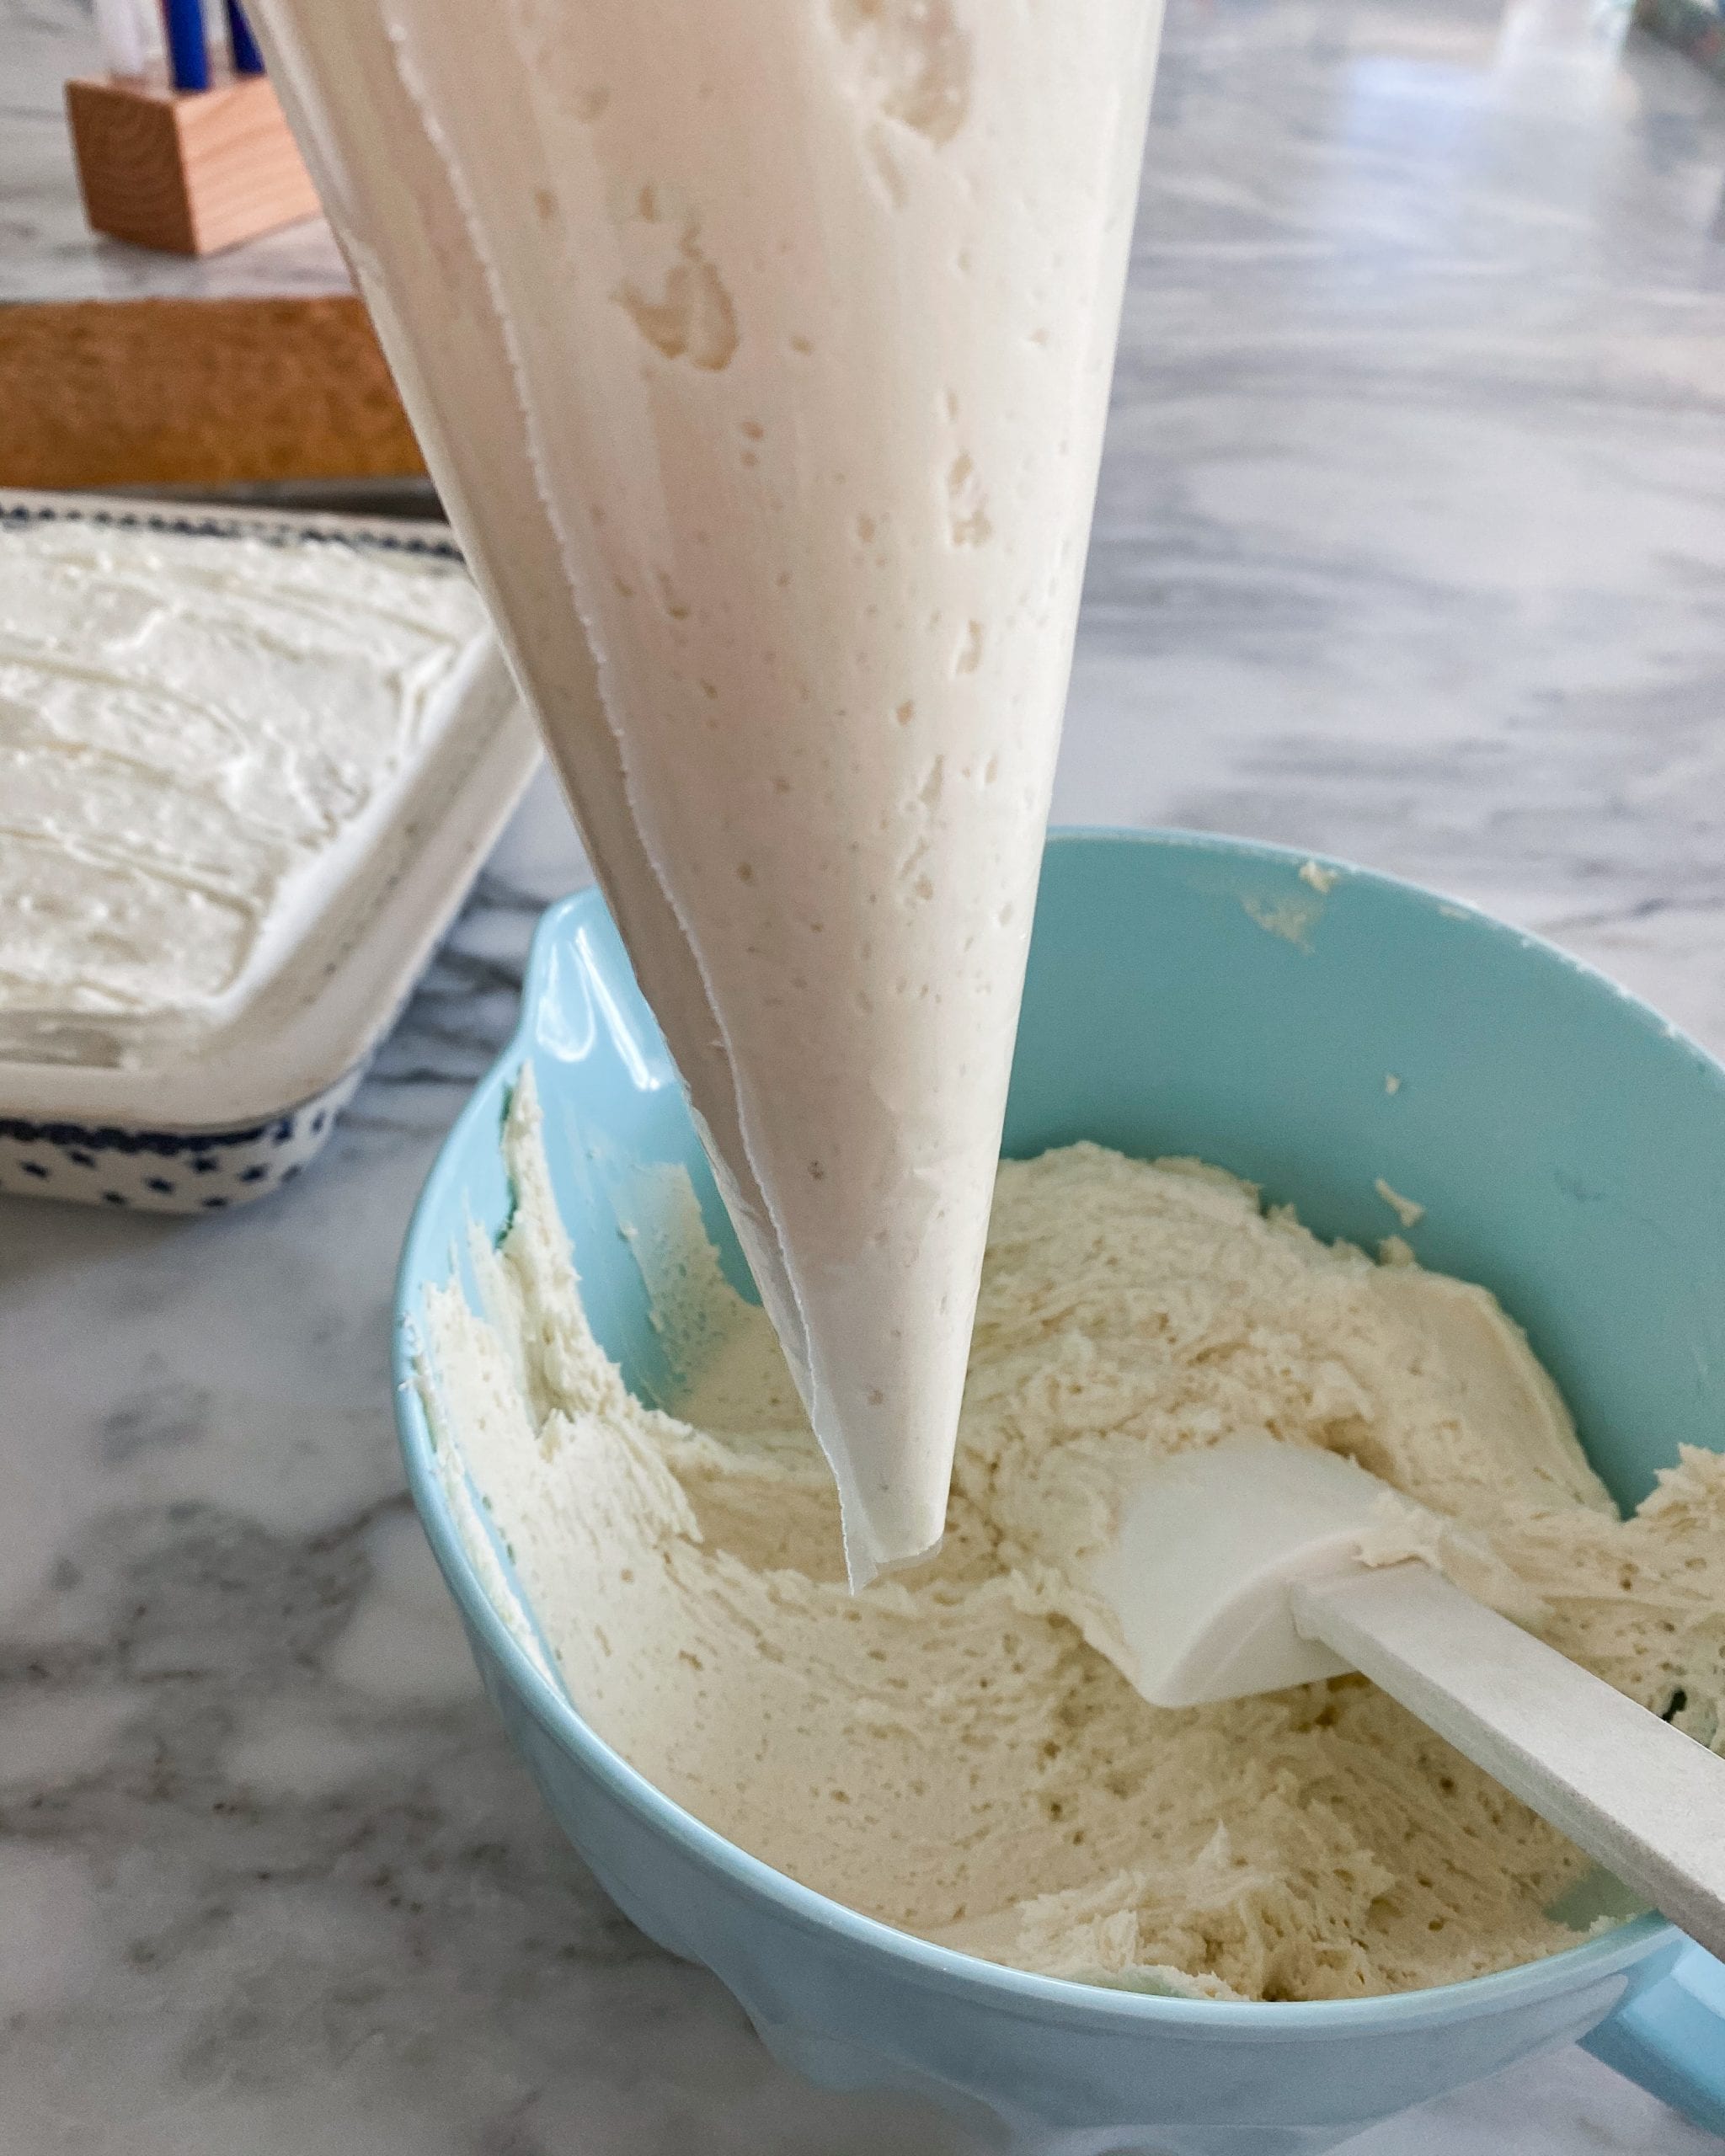
Squeeze a little out into the bowl to make sure you made the hole big enough. You are going to want it to be big enough. Test it out until you’re comfortable with piping your rows. This is not a fancy cake so its okay if it’s not perfect! Just have fun and don’t stress when making it!
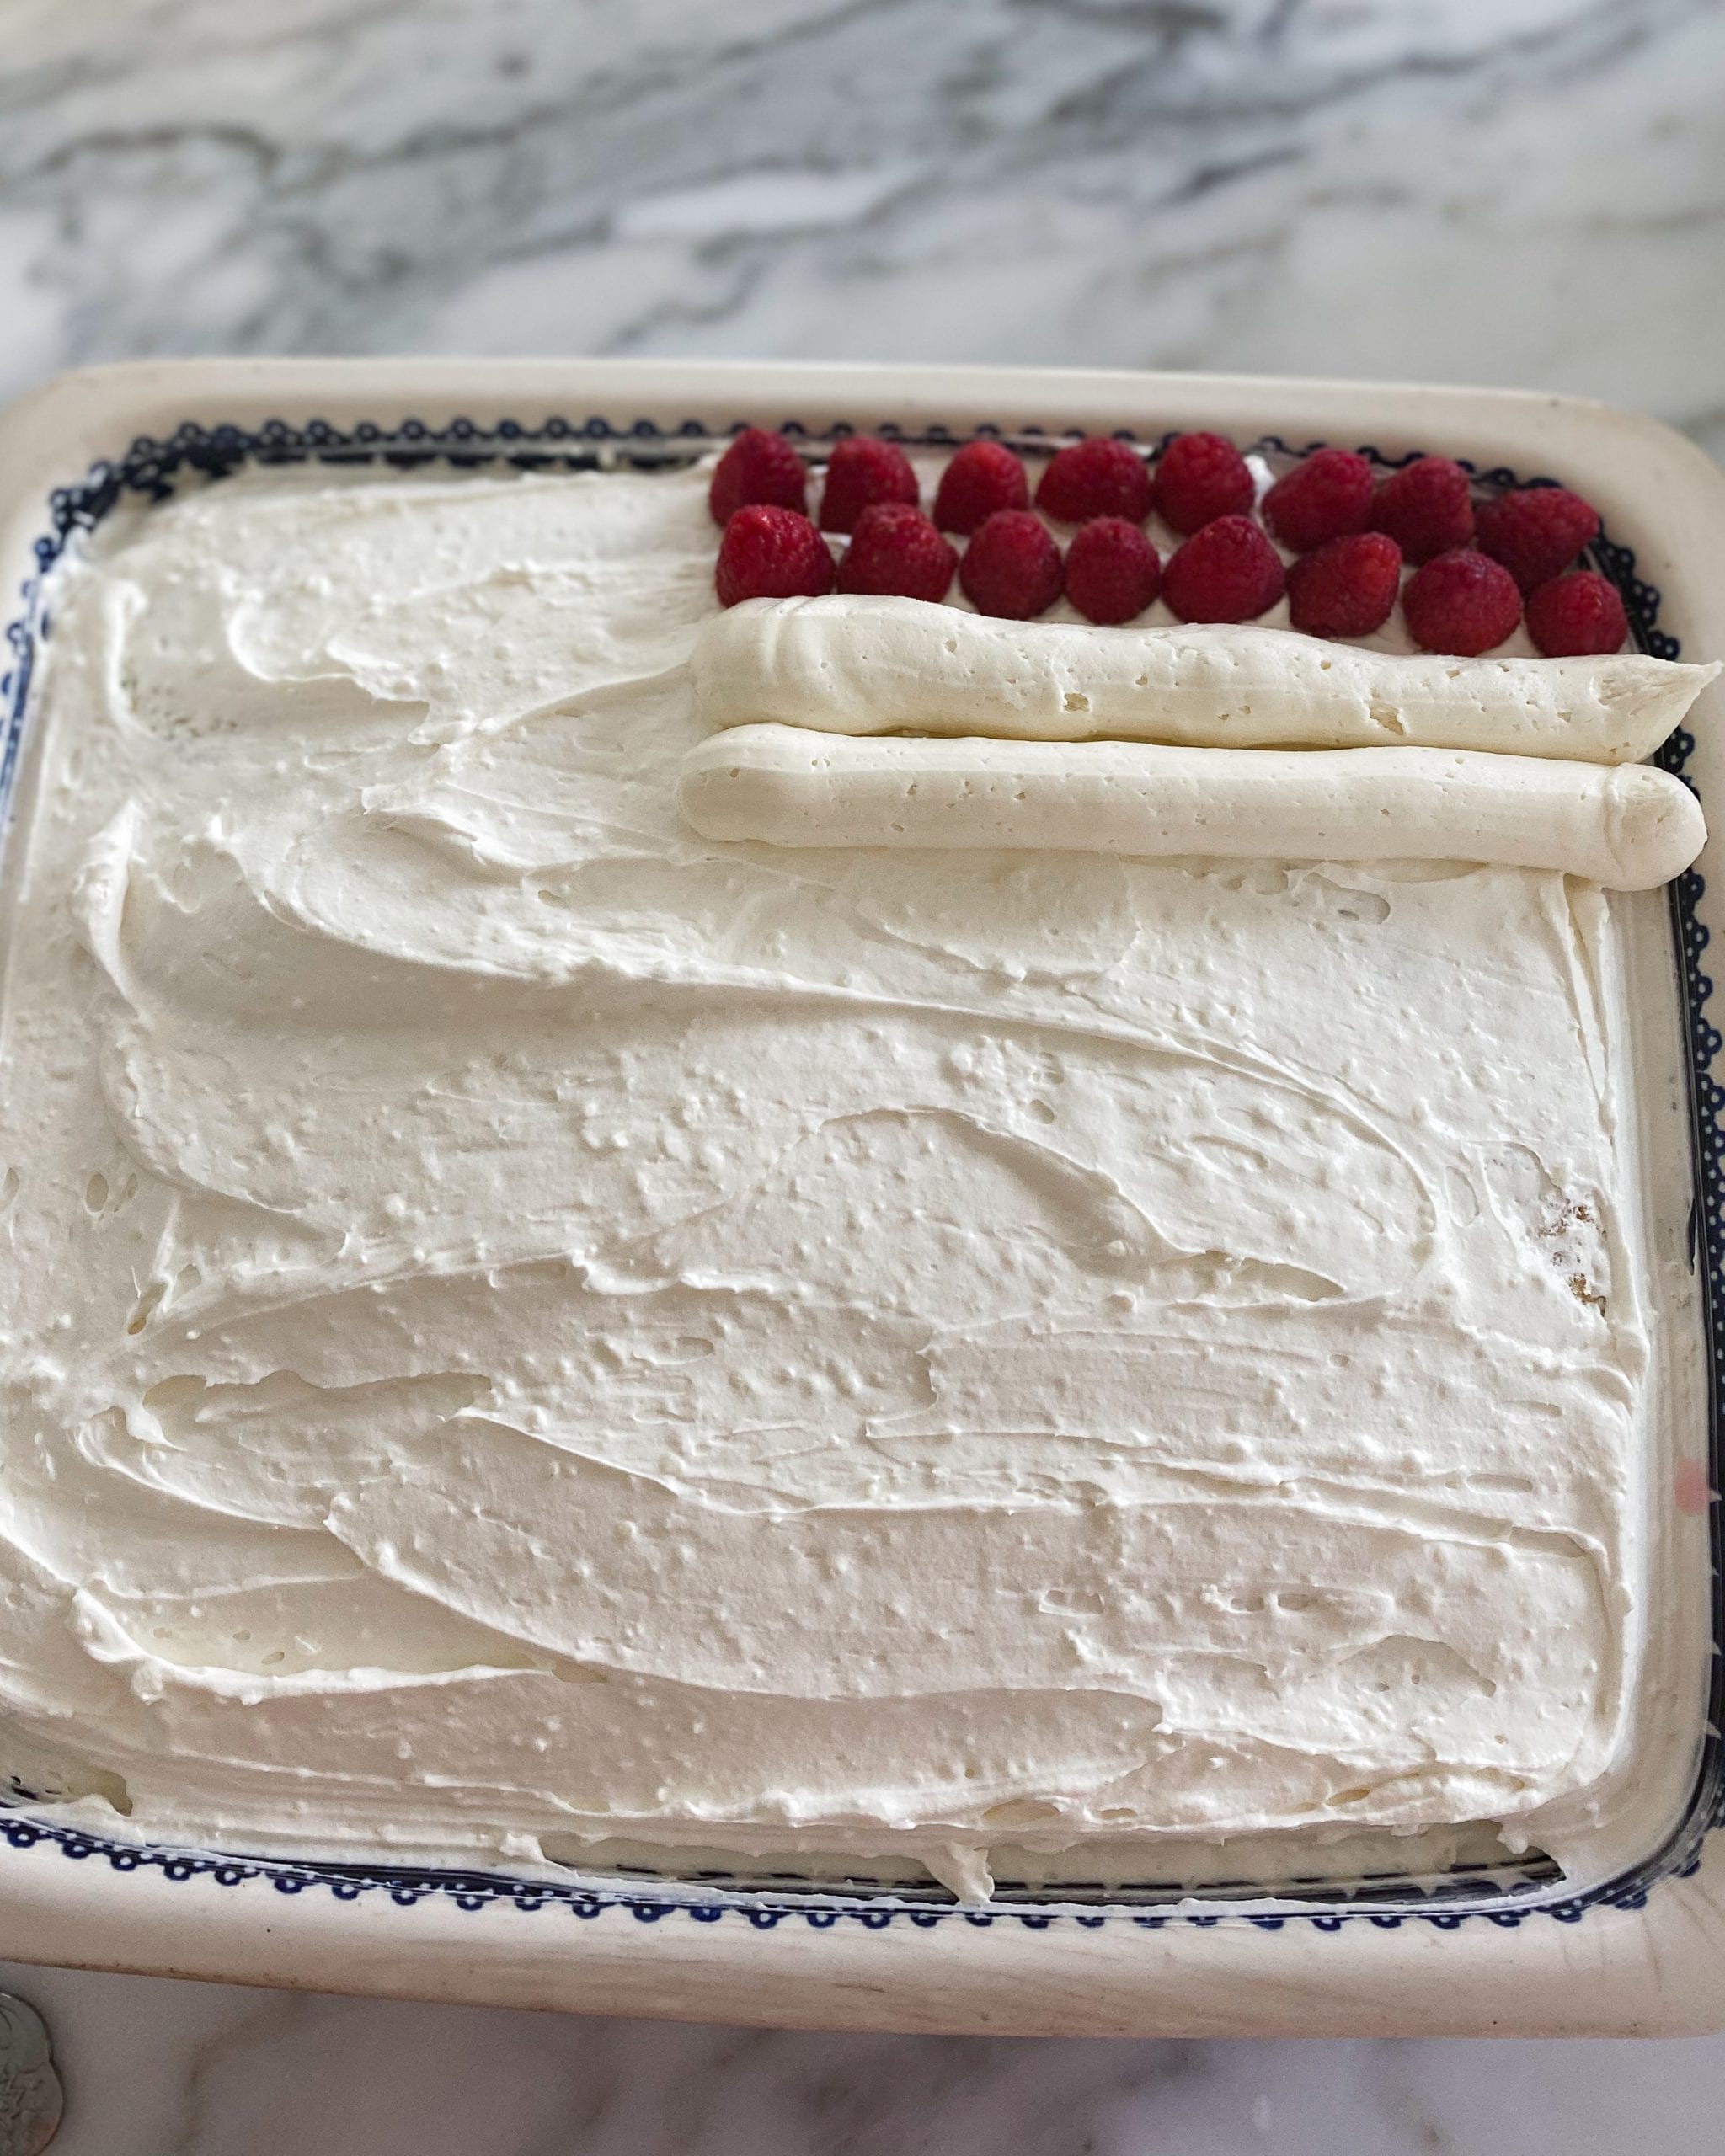
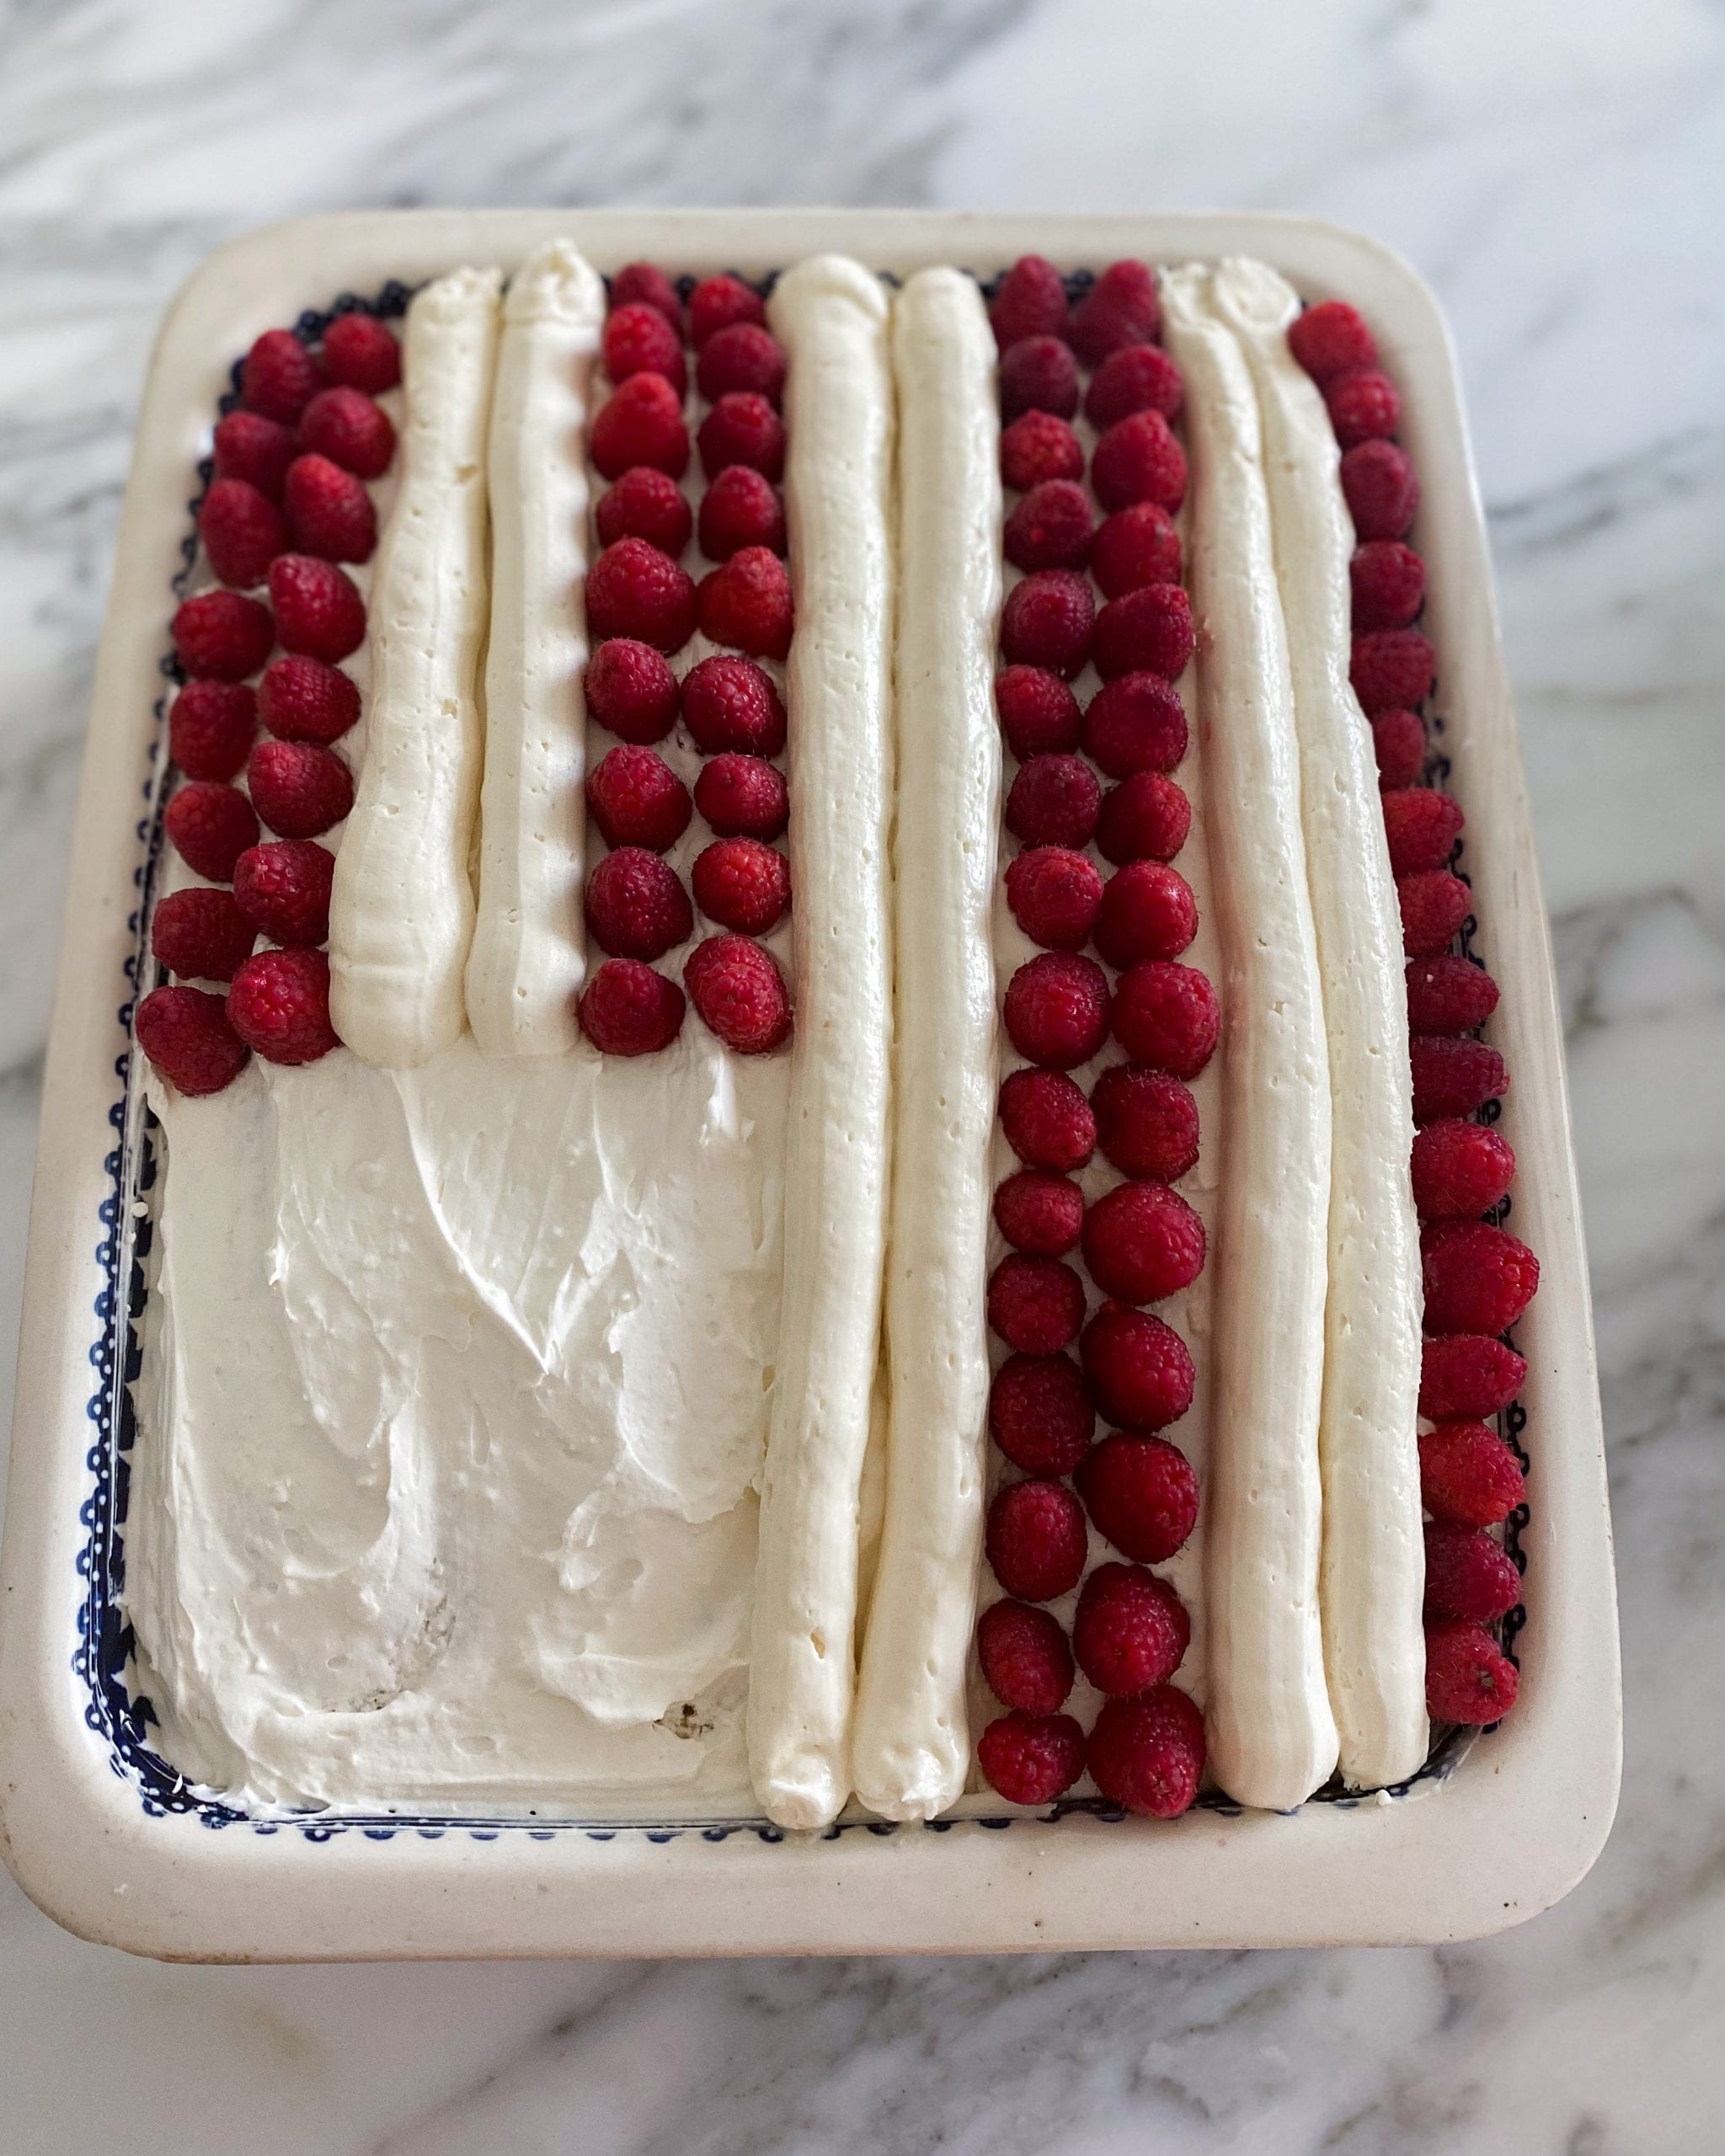
Add two rows of raspberries to start the stripes. Try to use large ones that are about the same size if you can. Then add two rows of buttercream frosting with your piping bag.
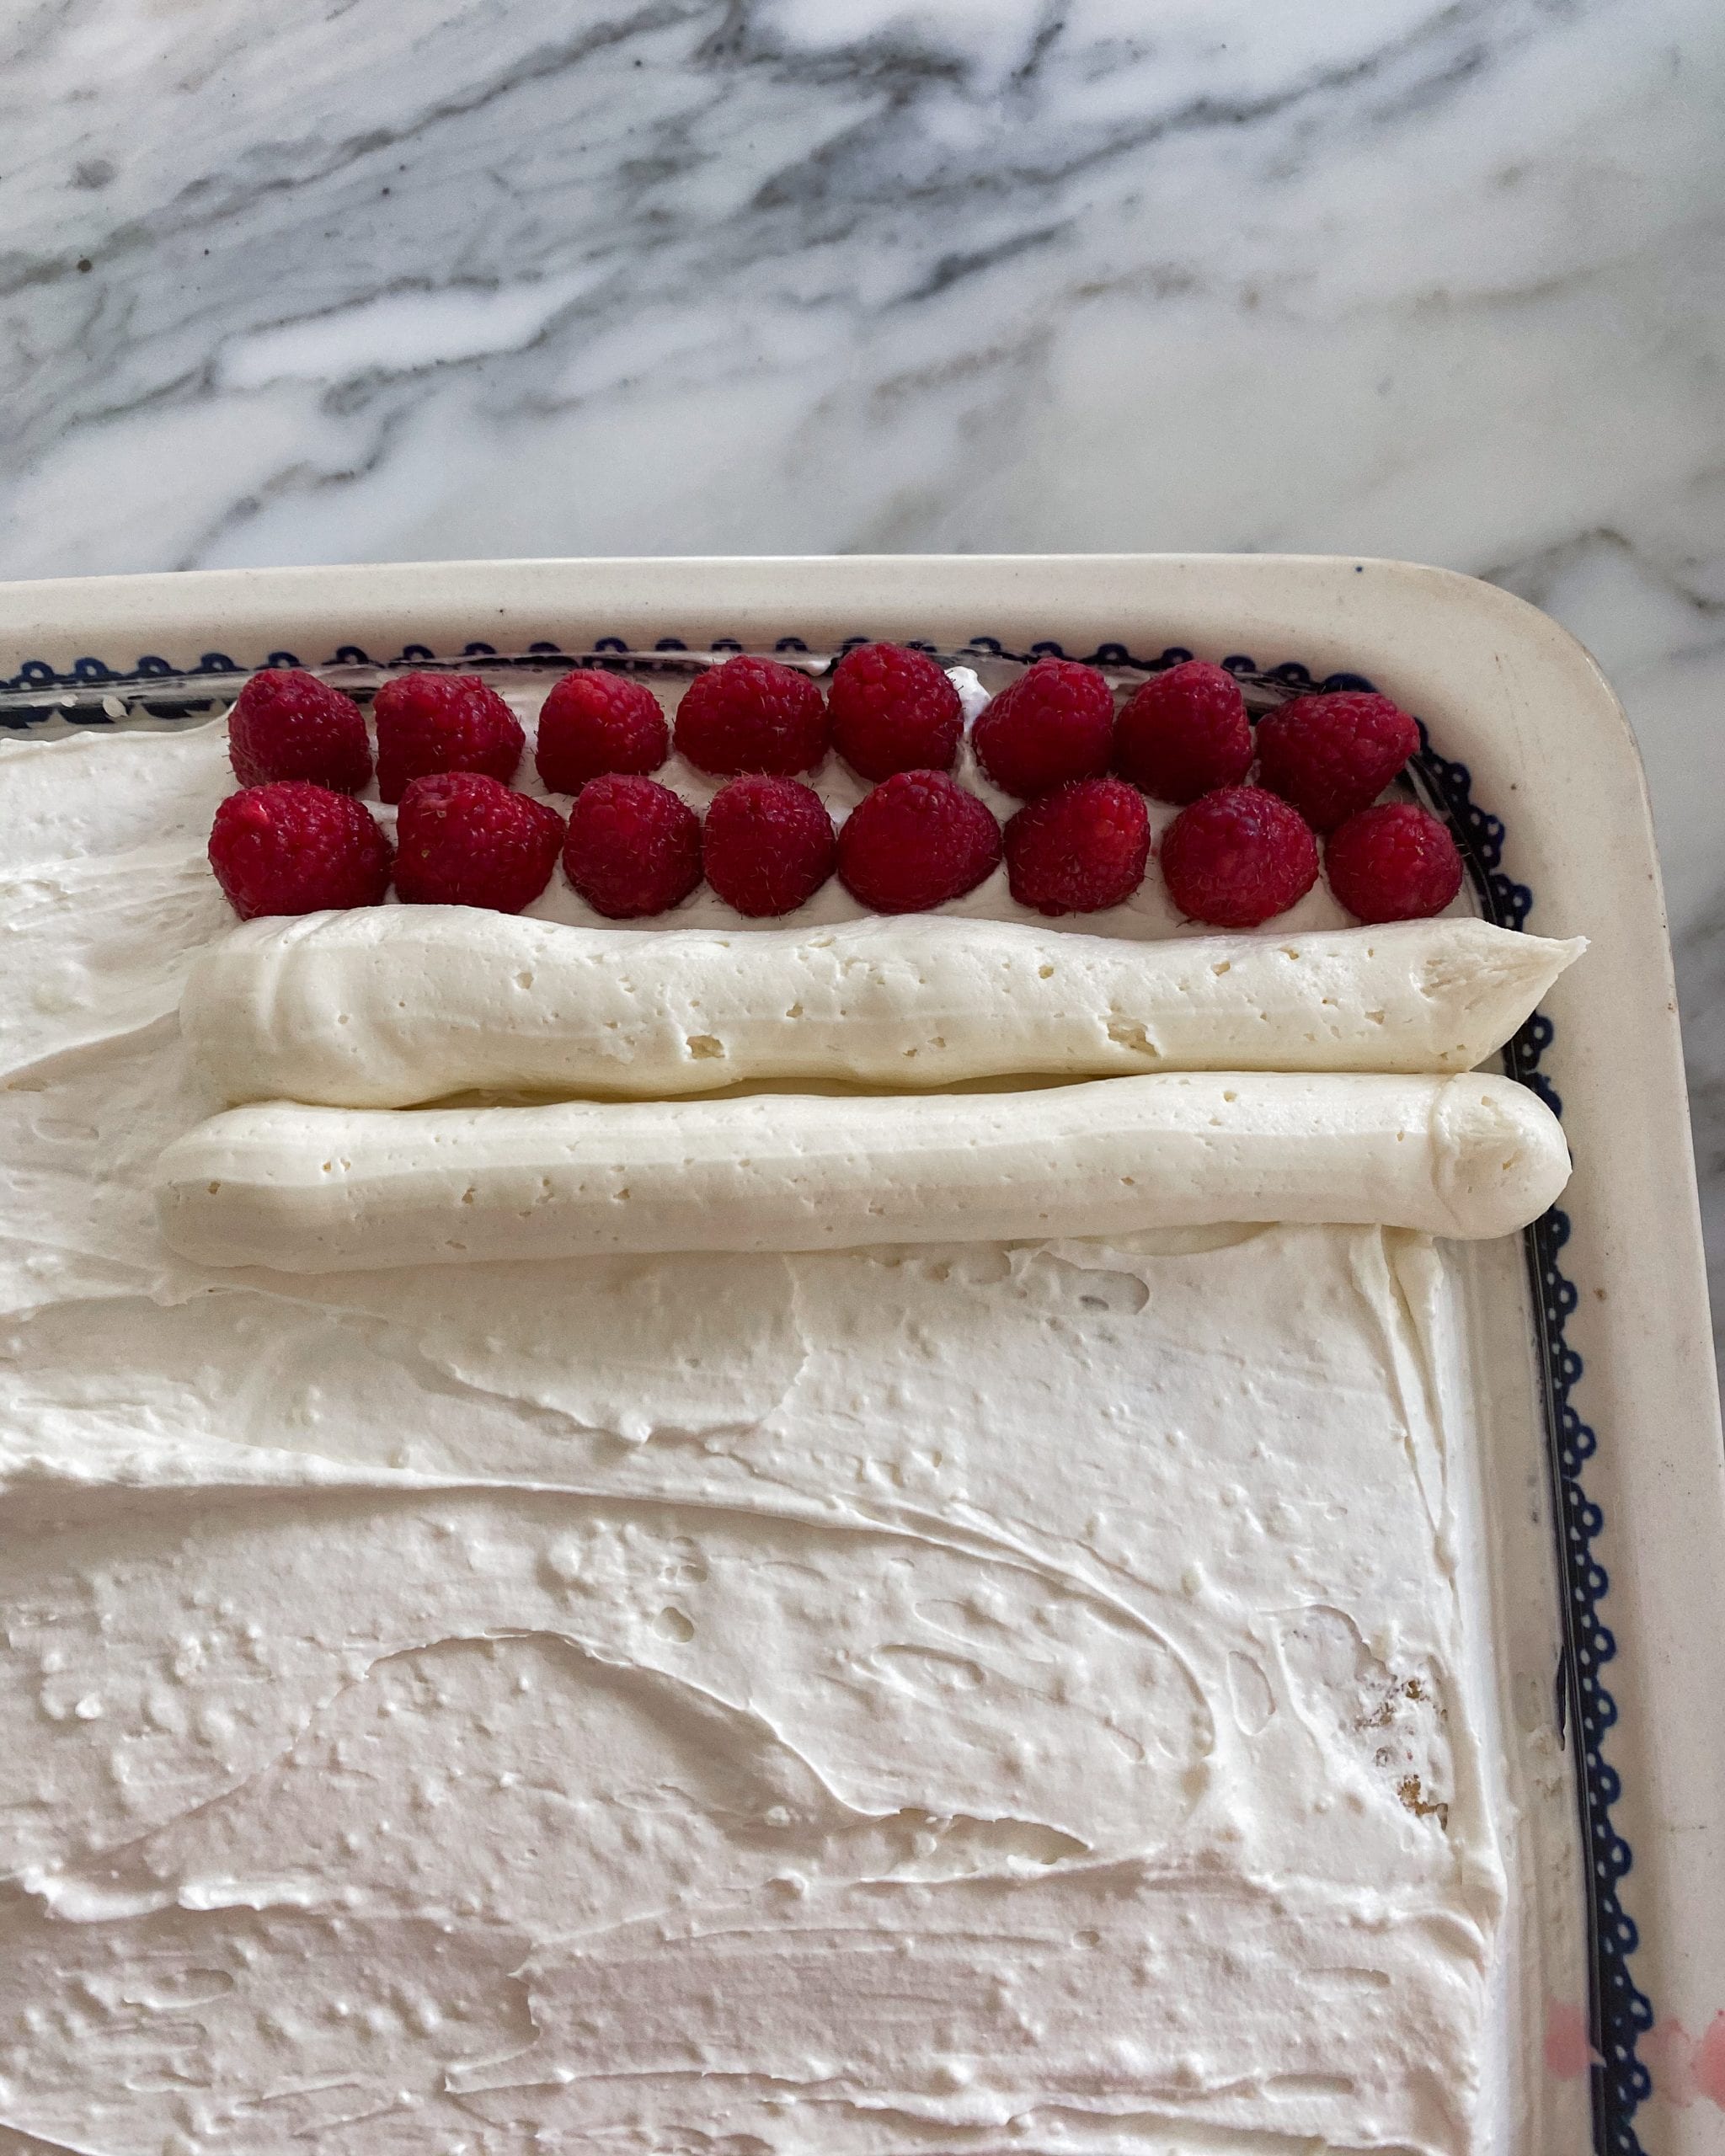
Continue with another two rows of raspberries to finish off the shorter section of the stripes. Then add two full rows of piped buttercream and so forth.
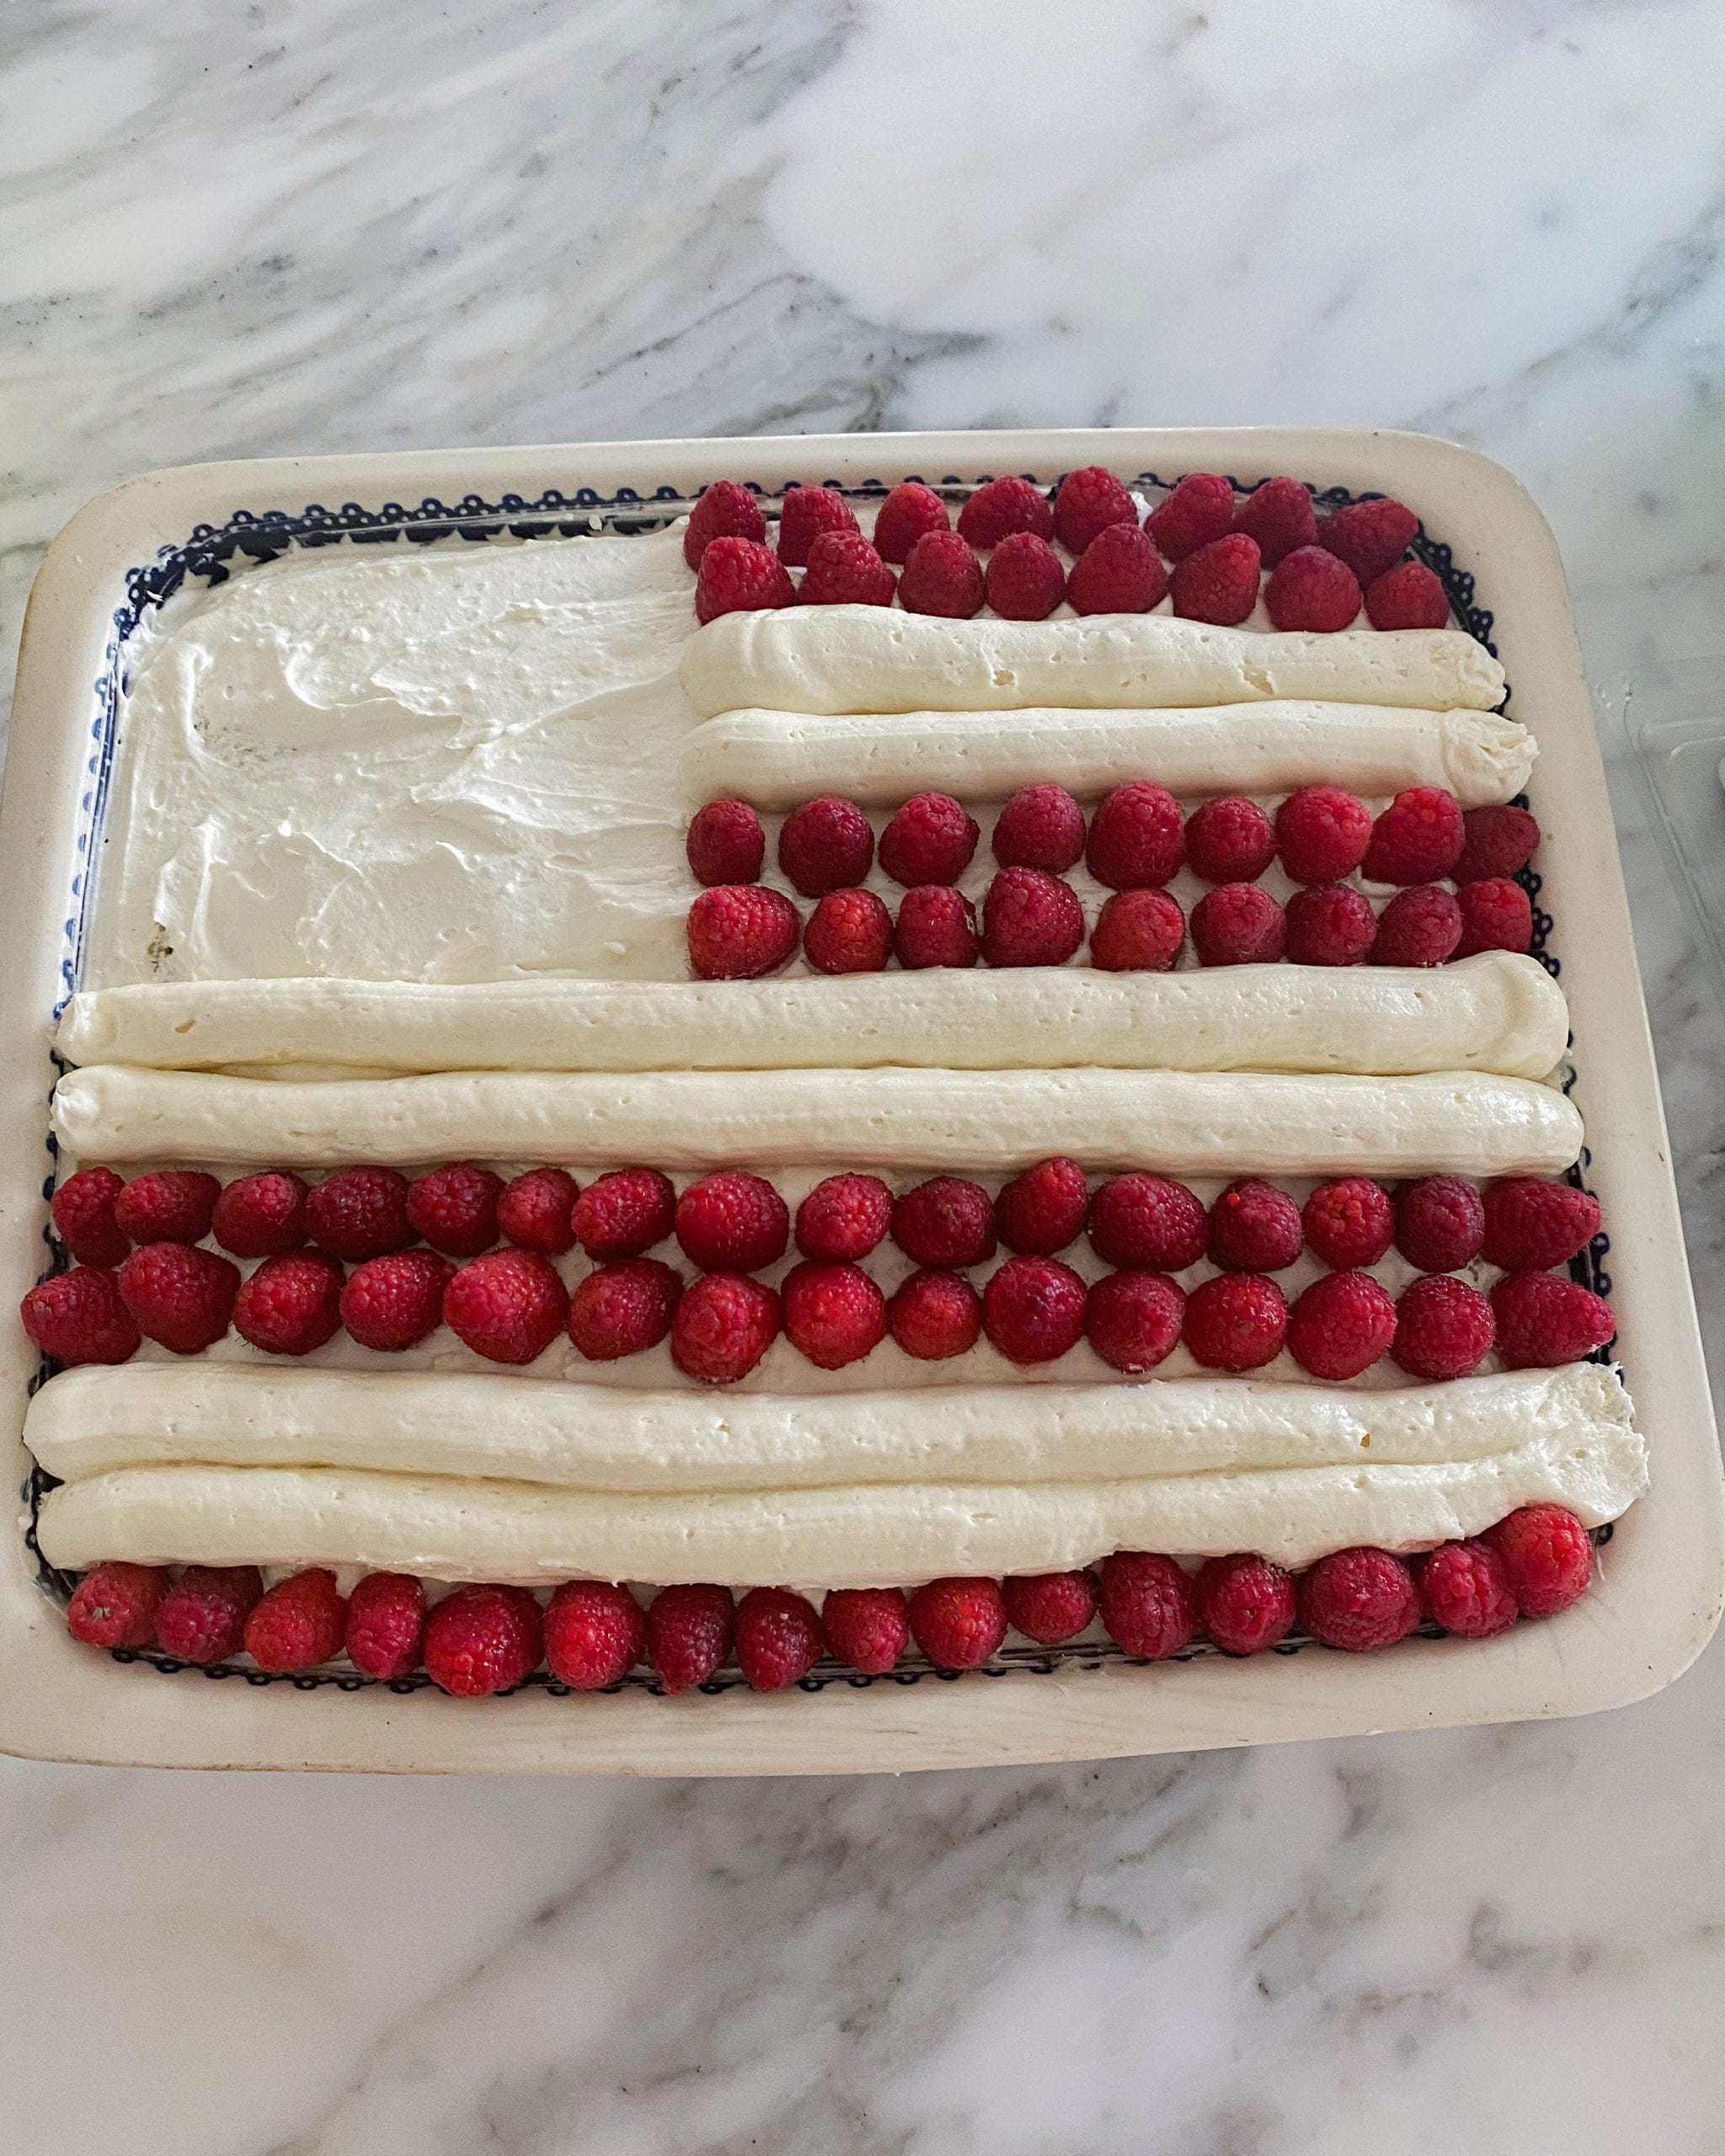
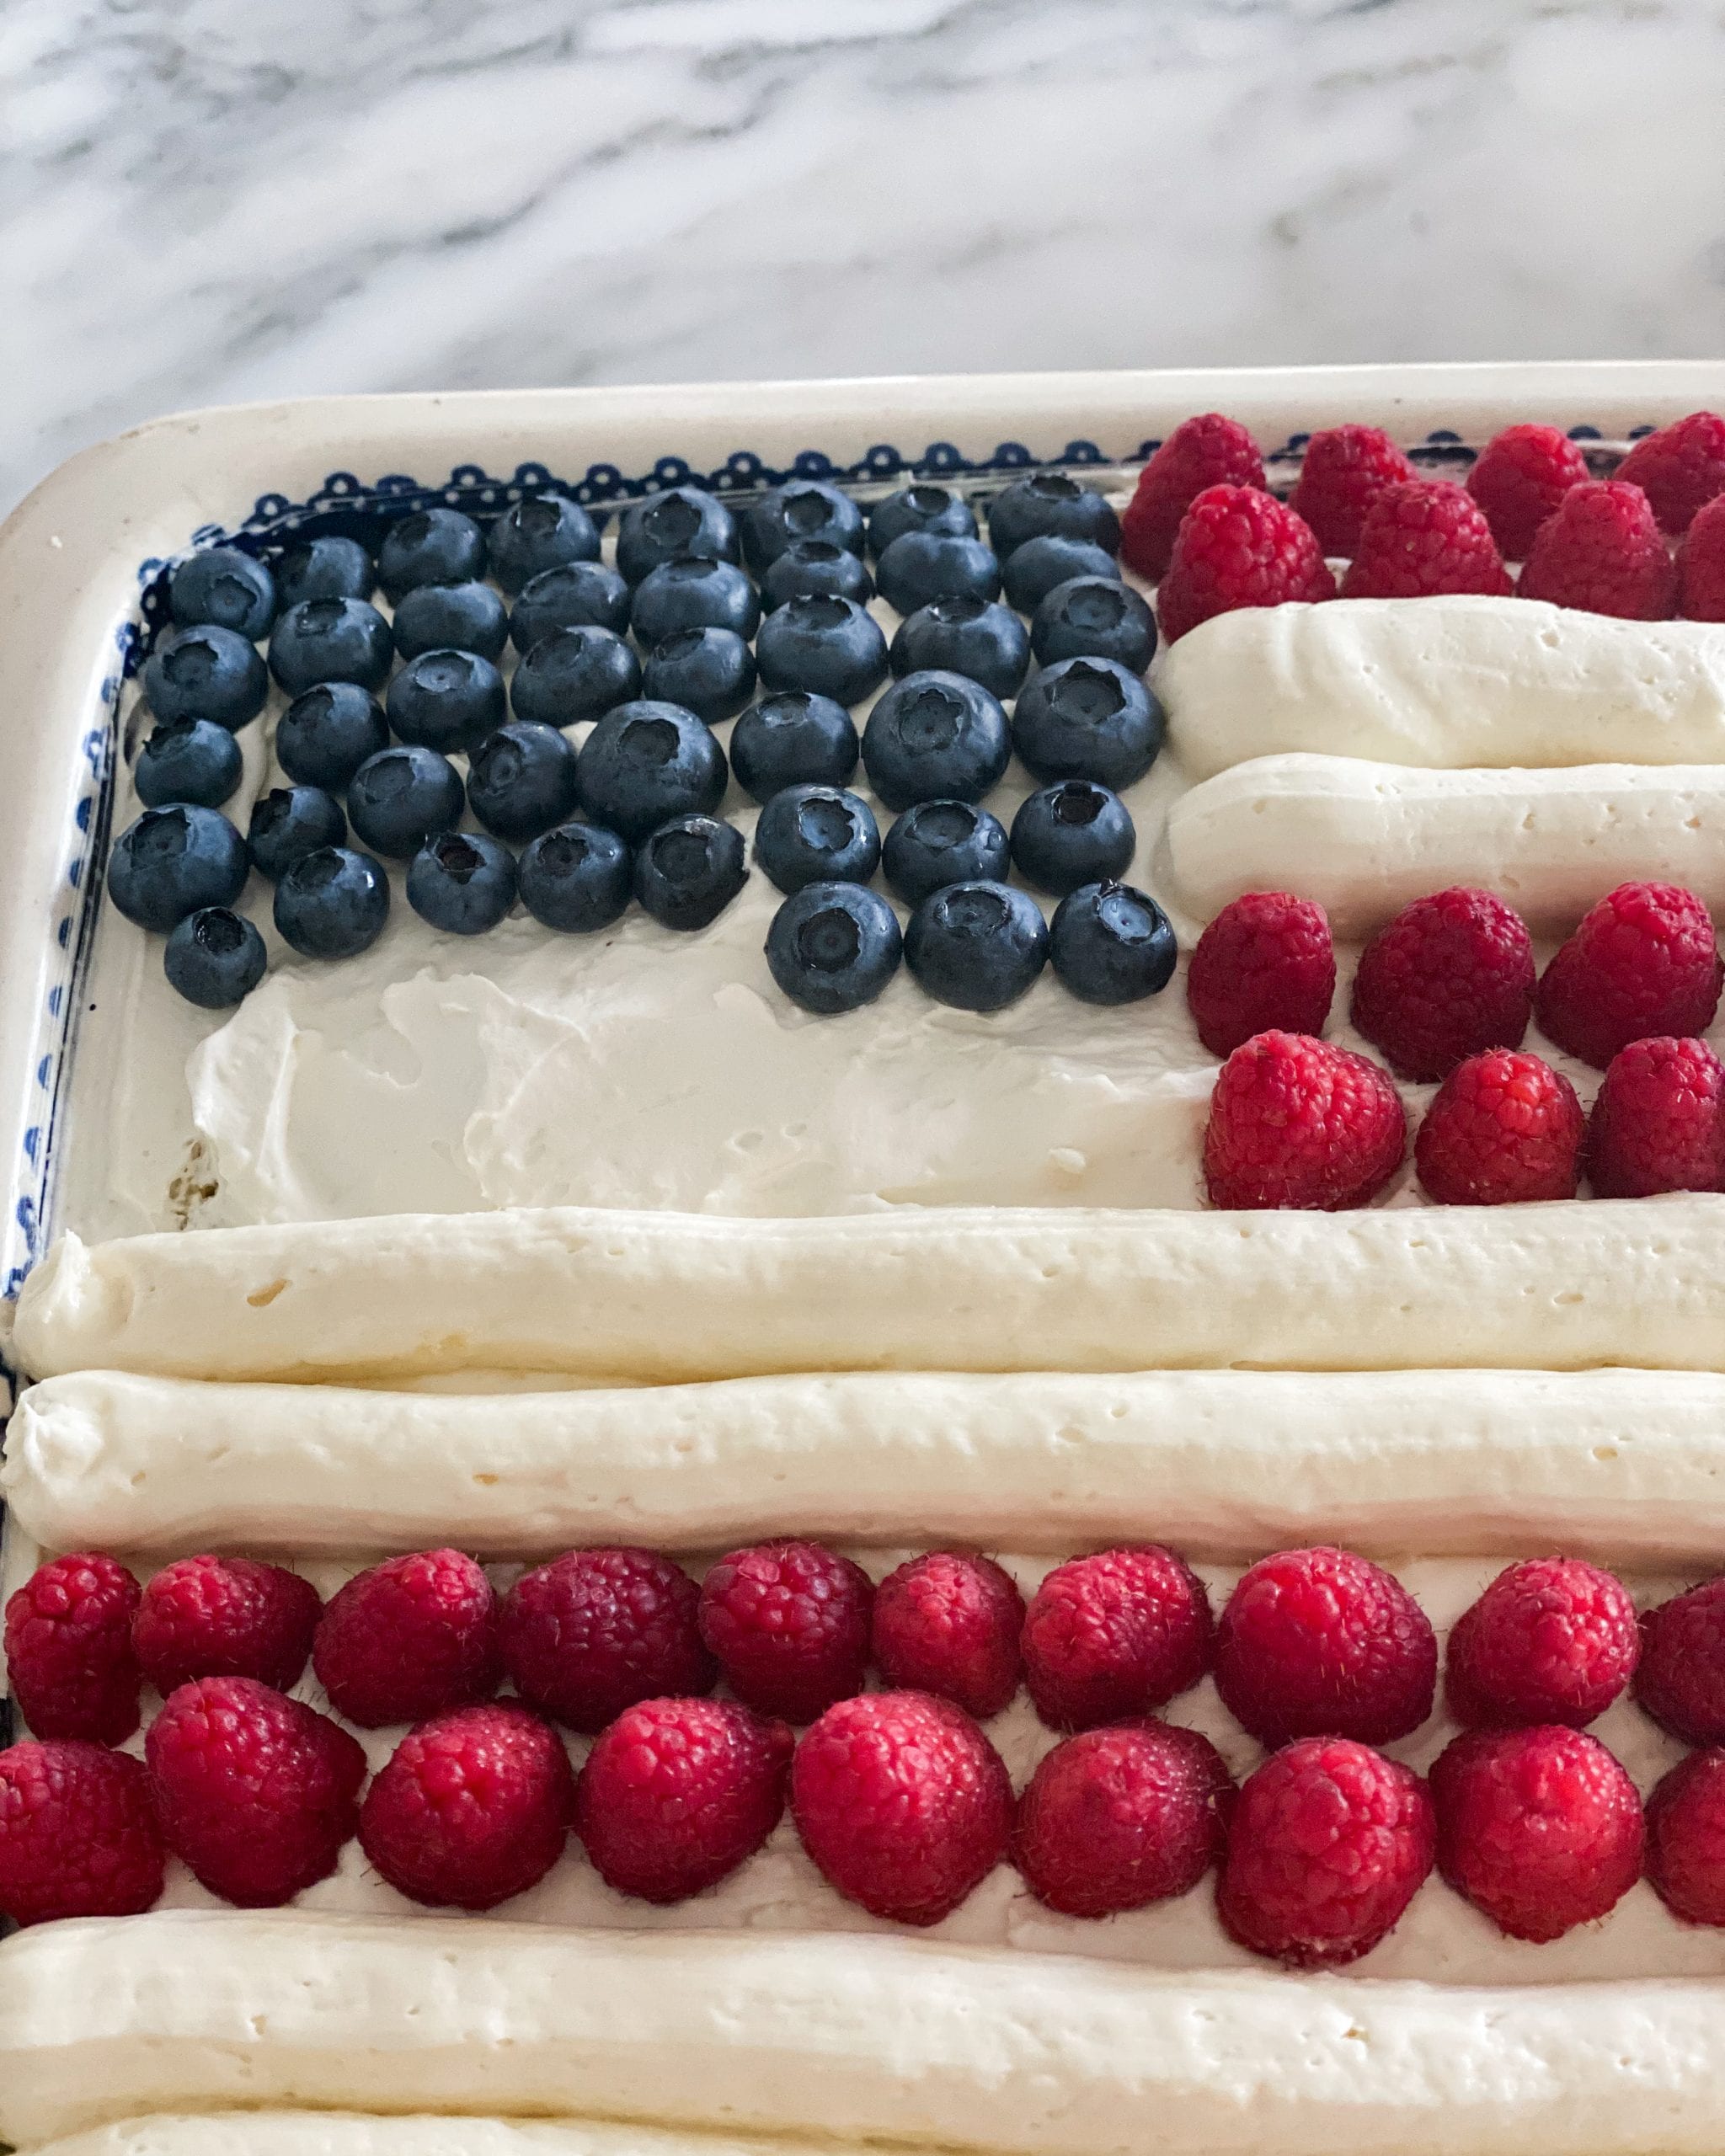
Next, add the blueberries in the stars section.
Get another piping bag or small ziplock bag, put a star tip or any tip you have, and add some white buttercream stars on top of the blueberries.
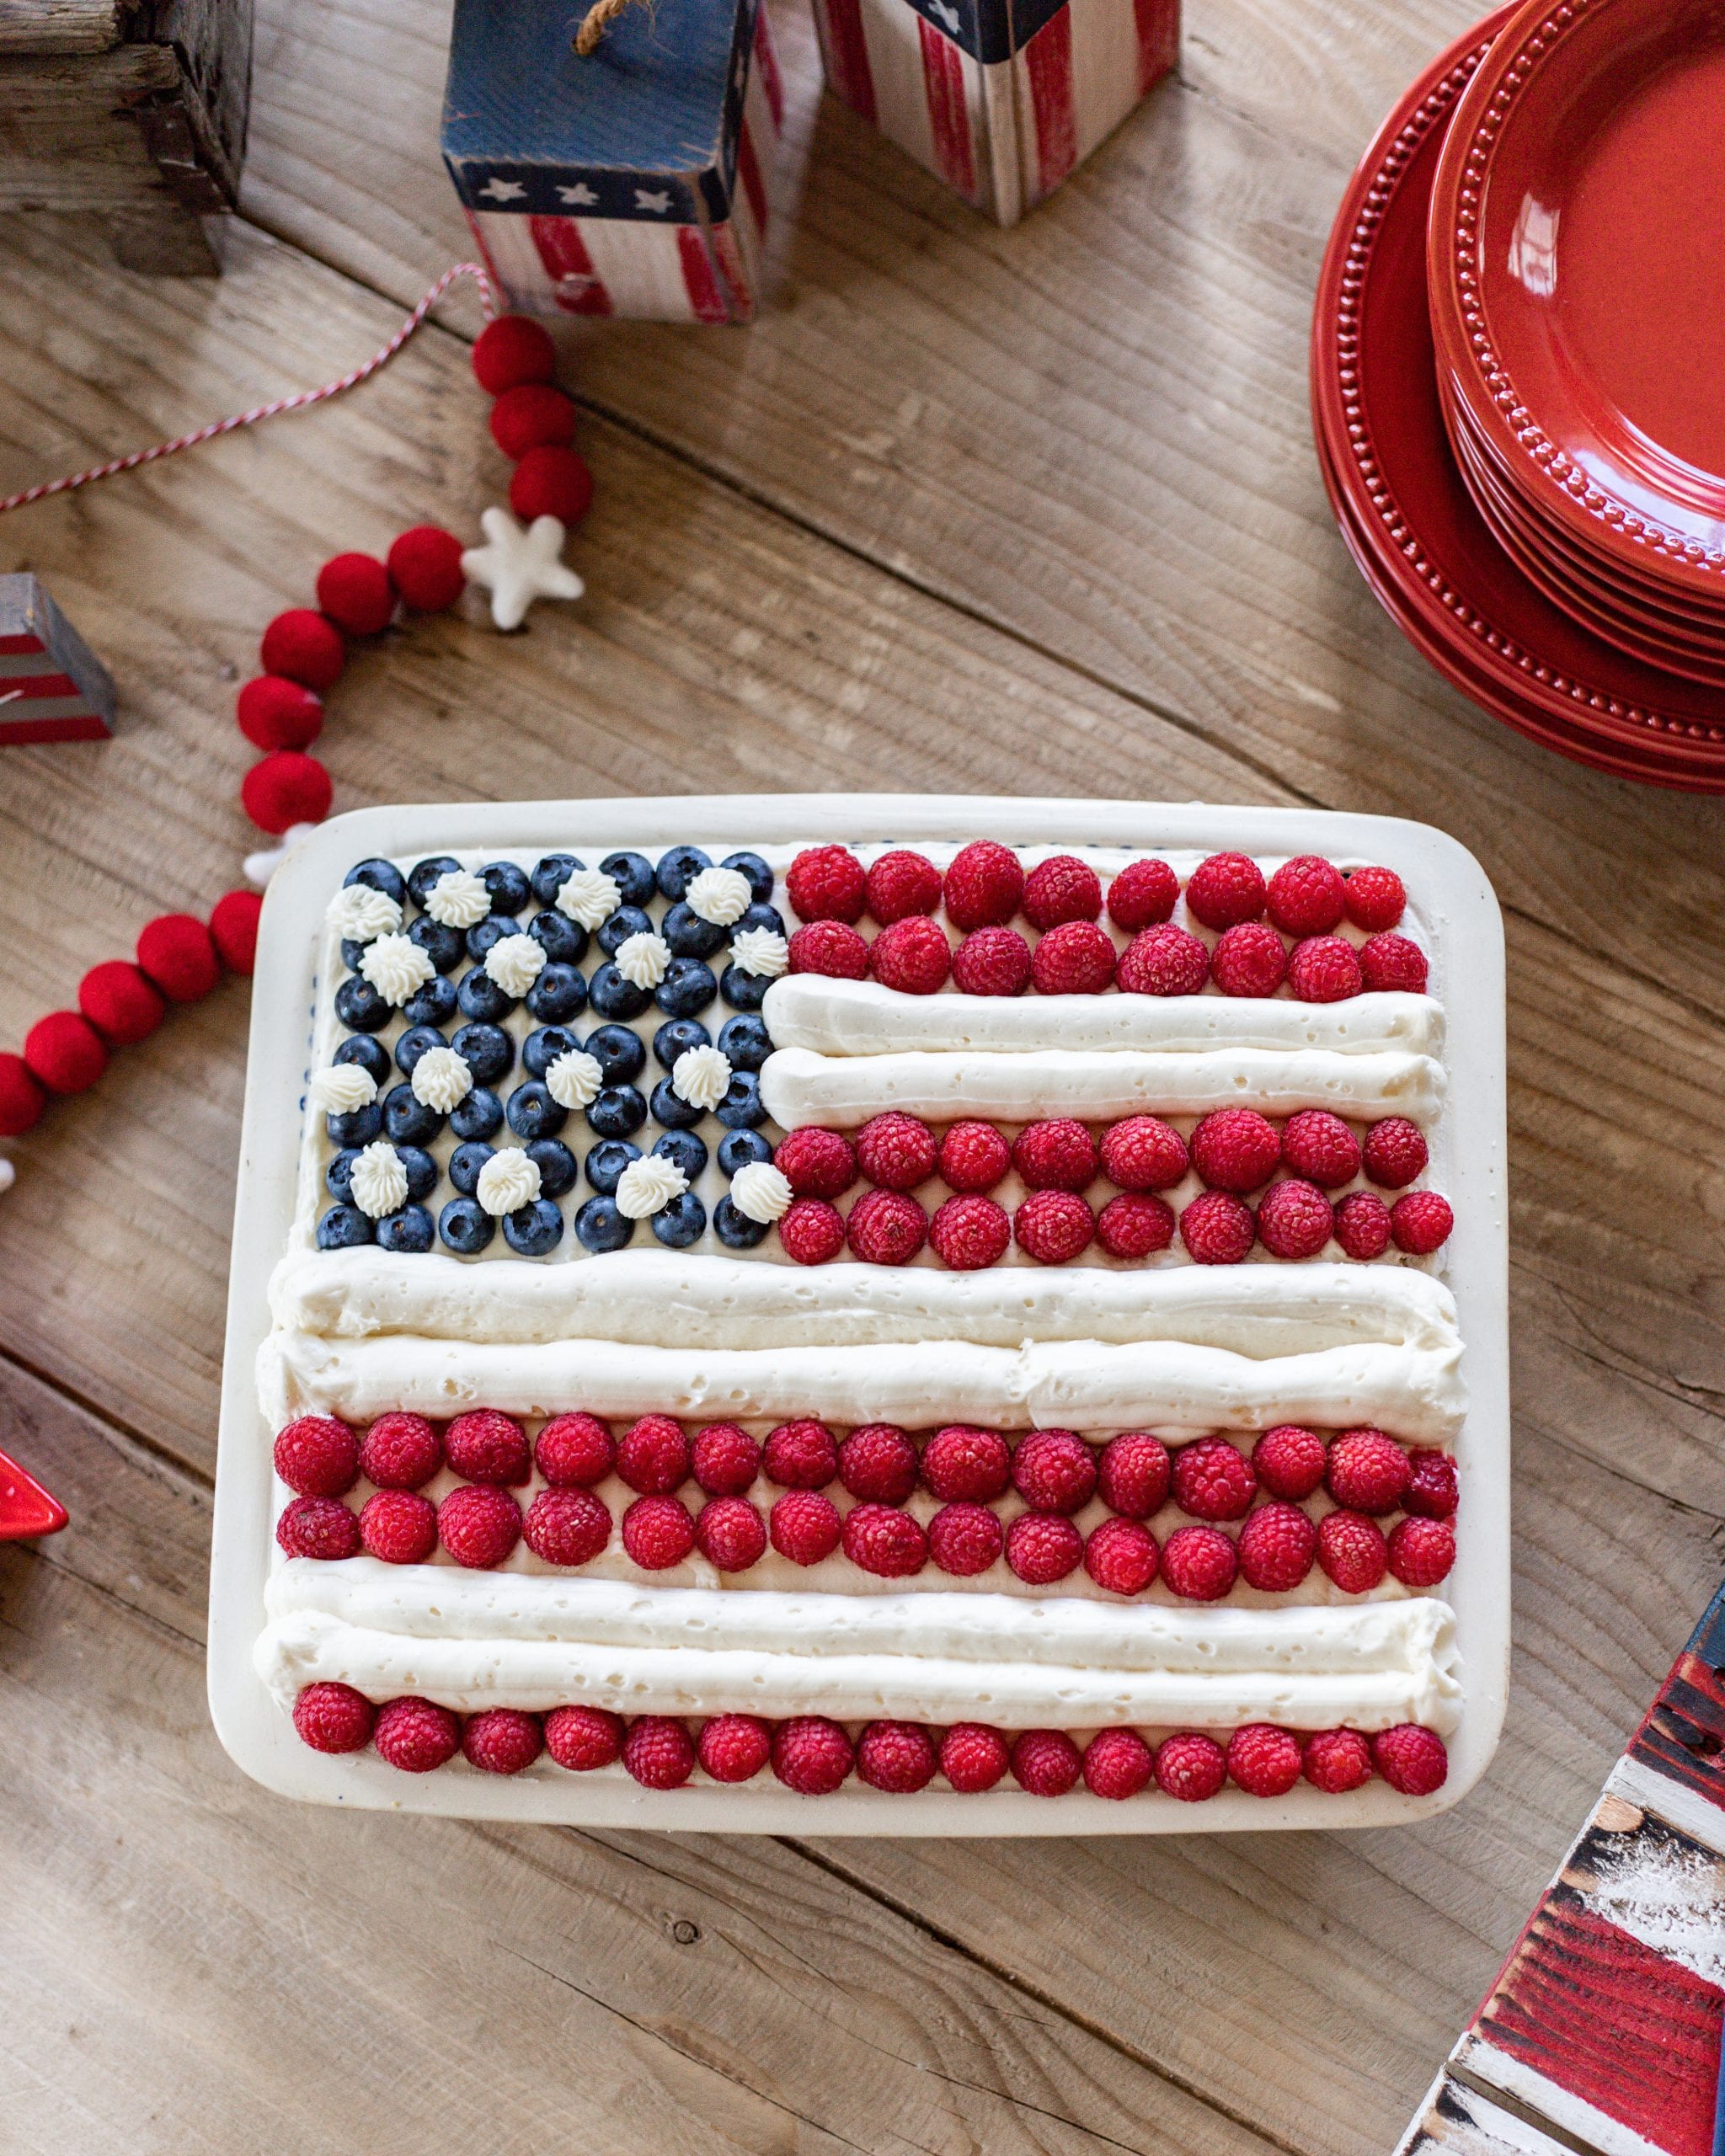
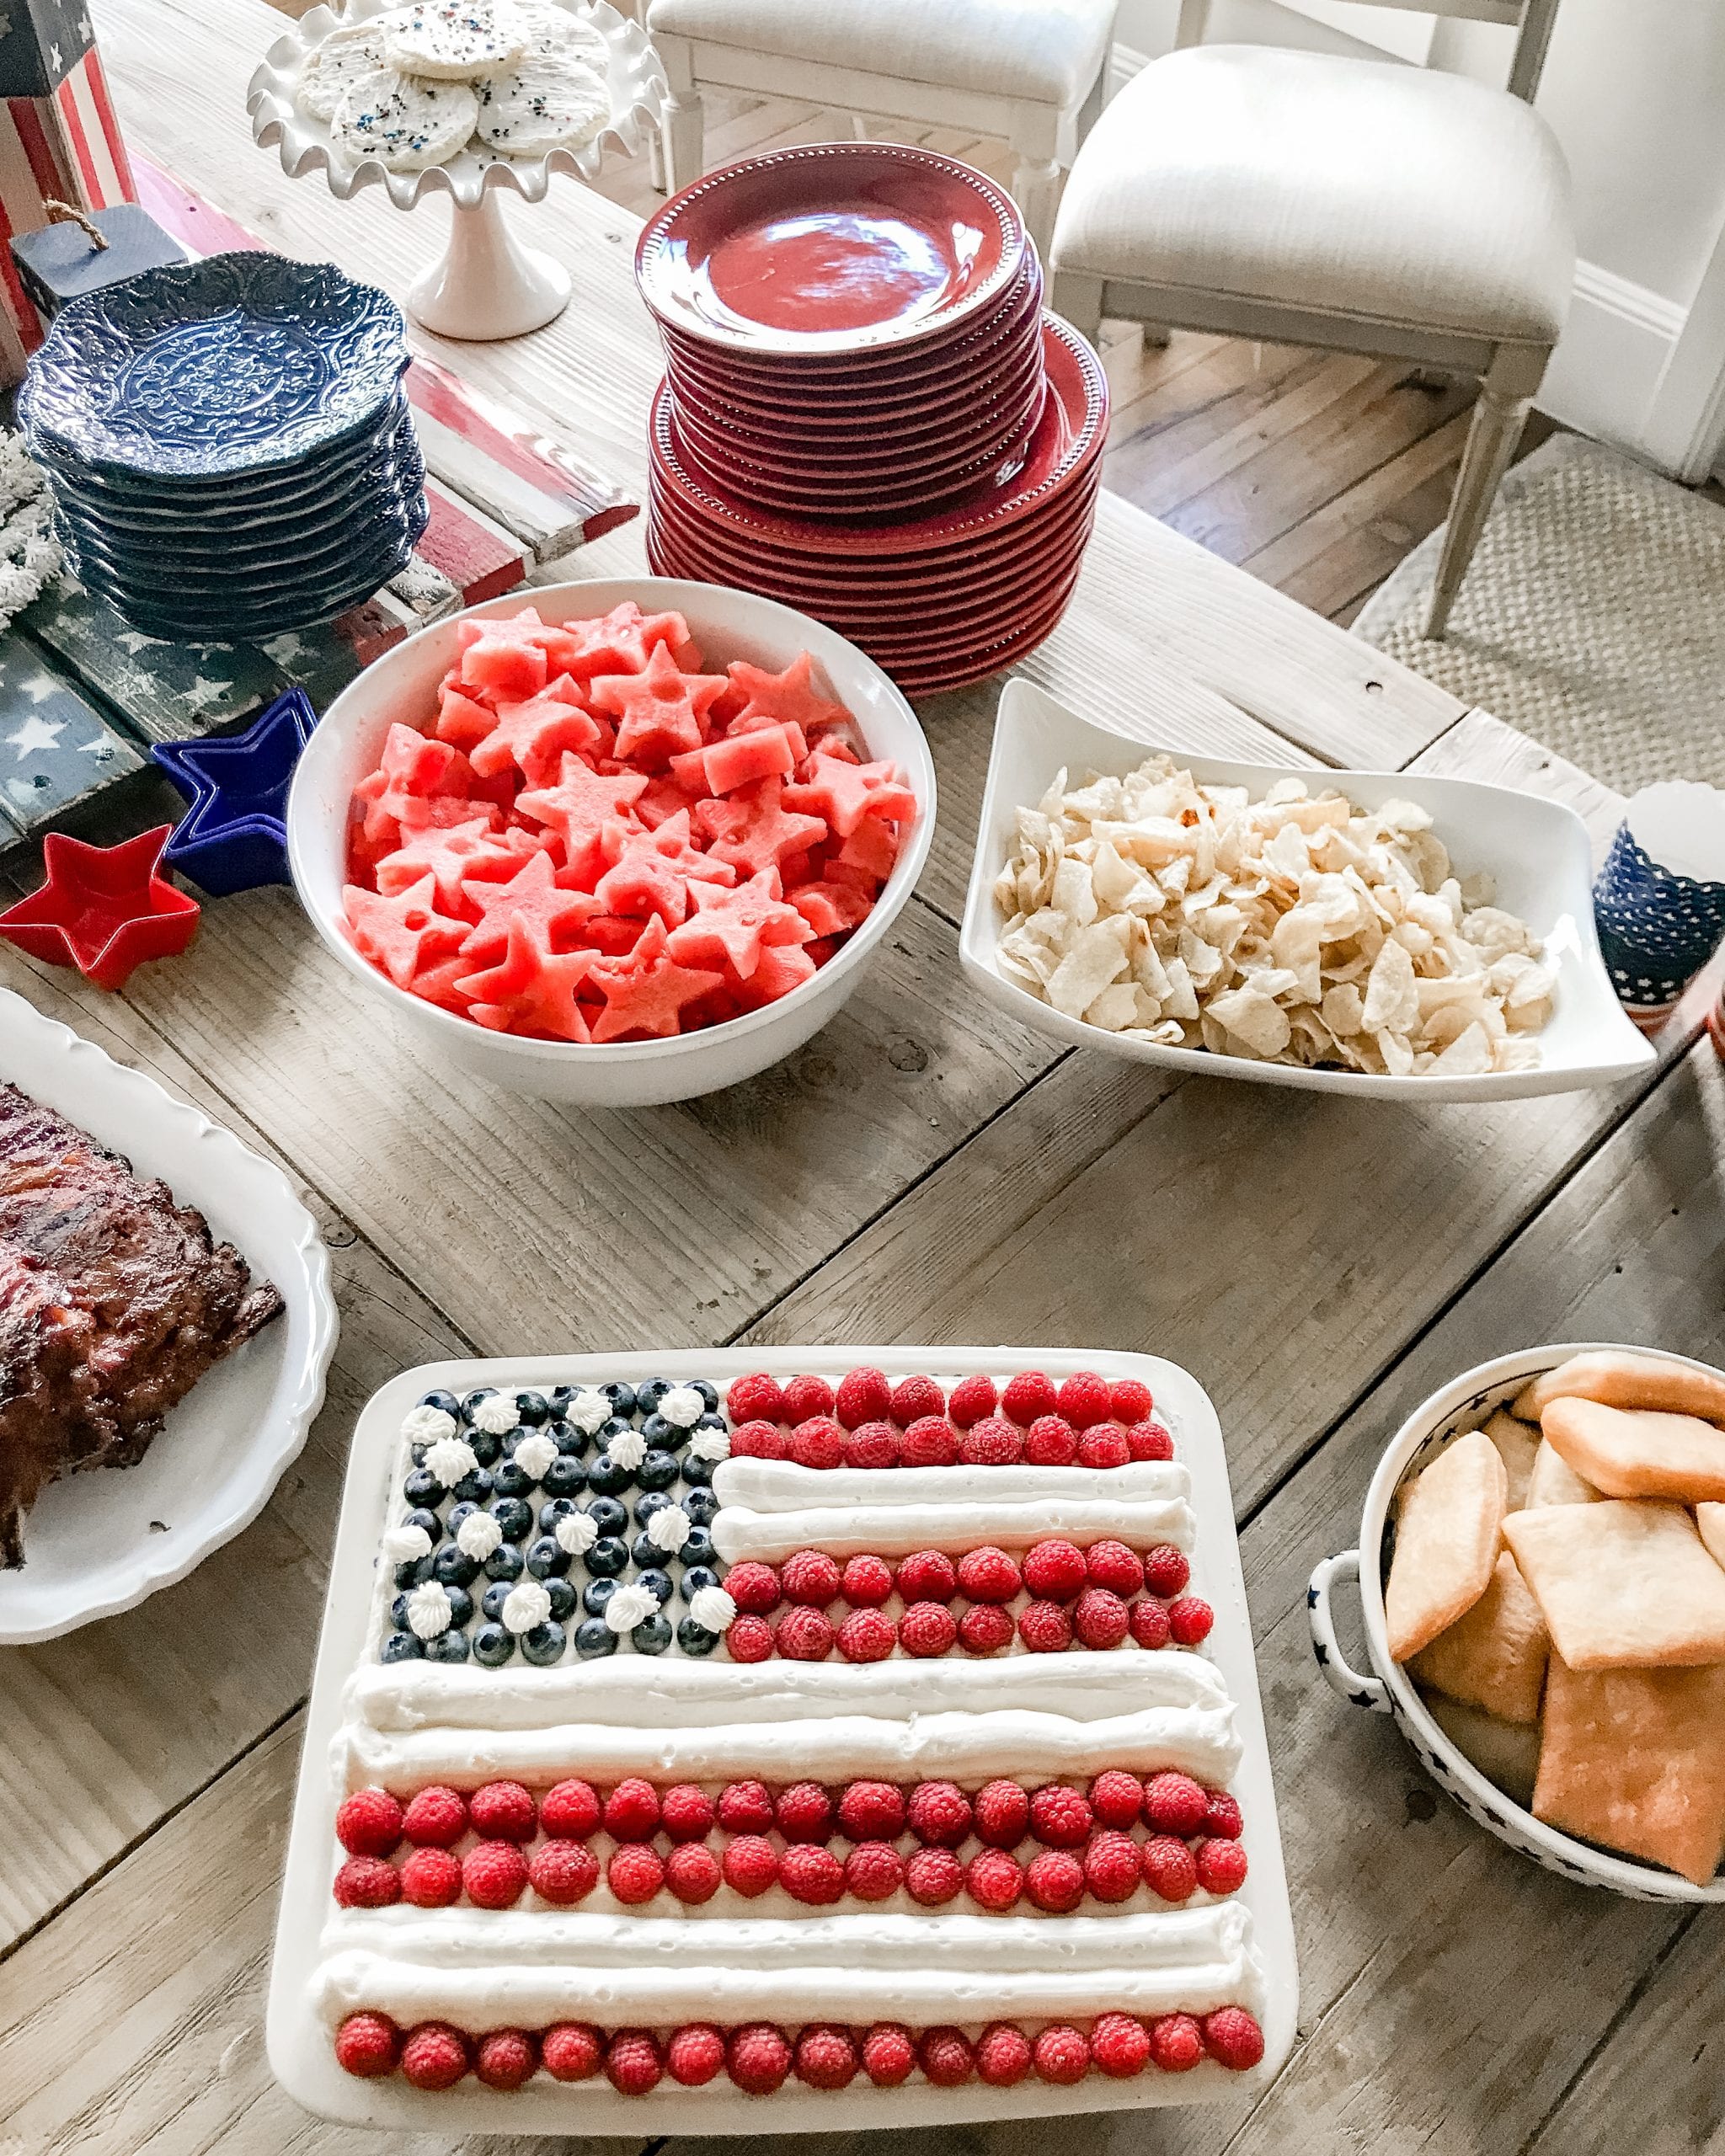
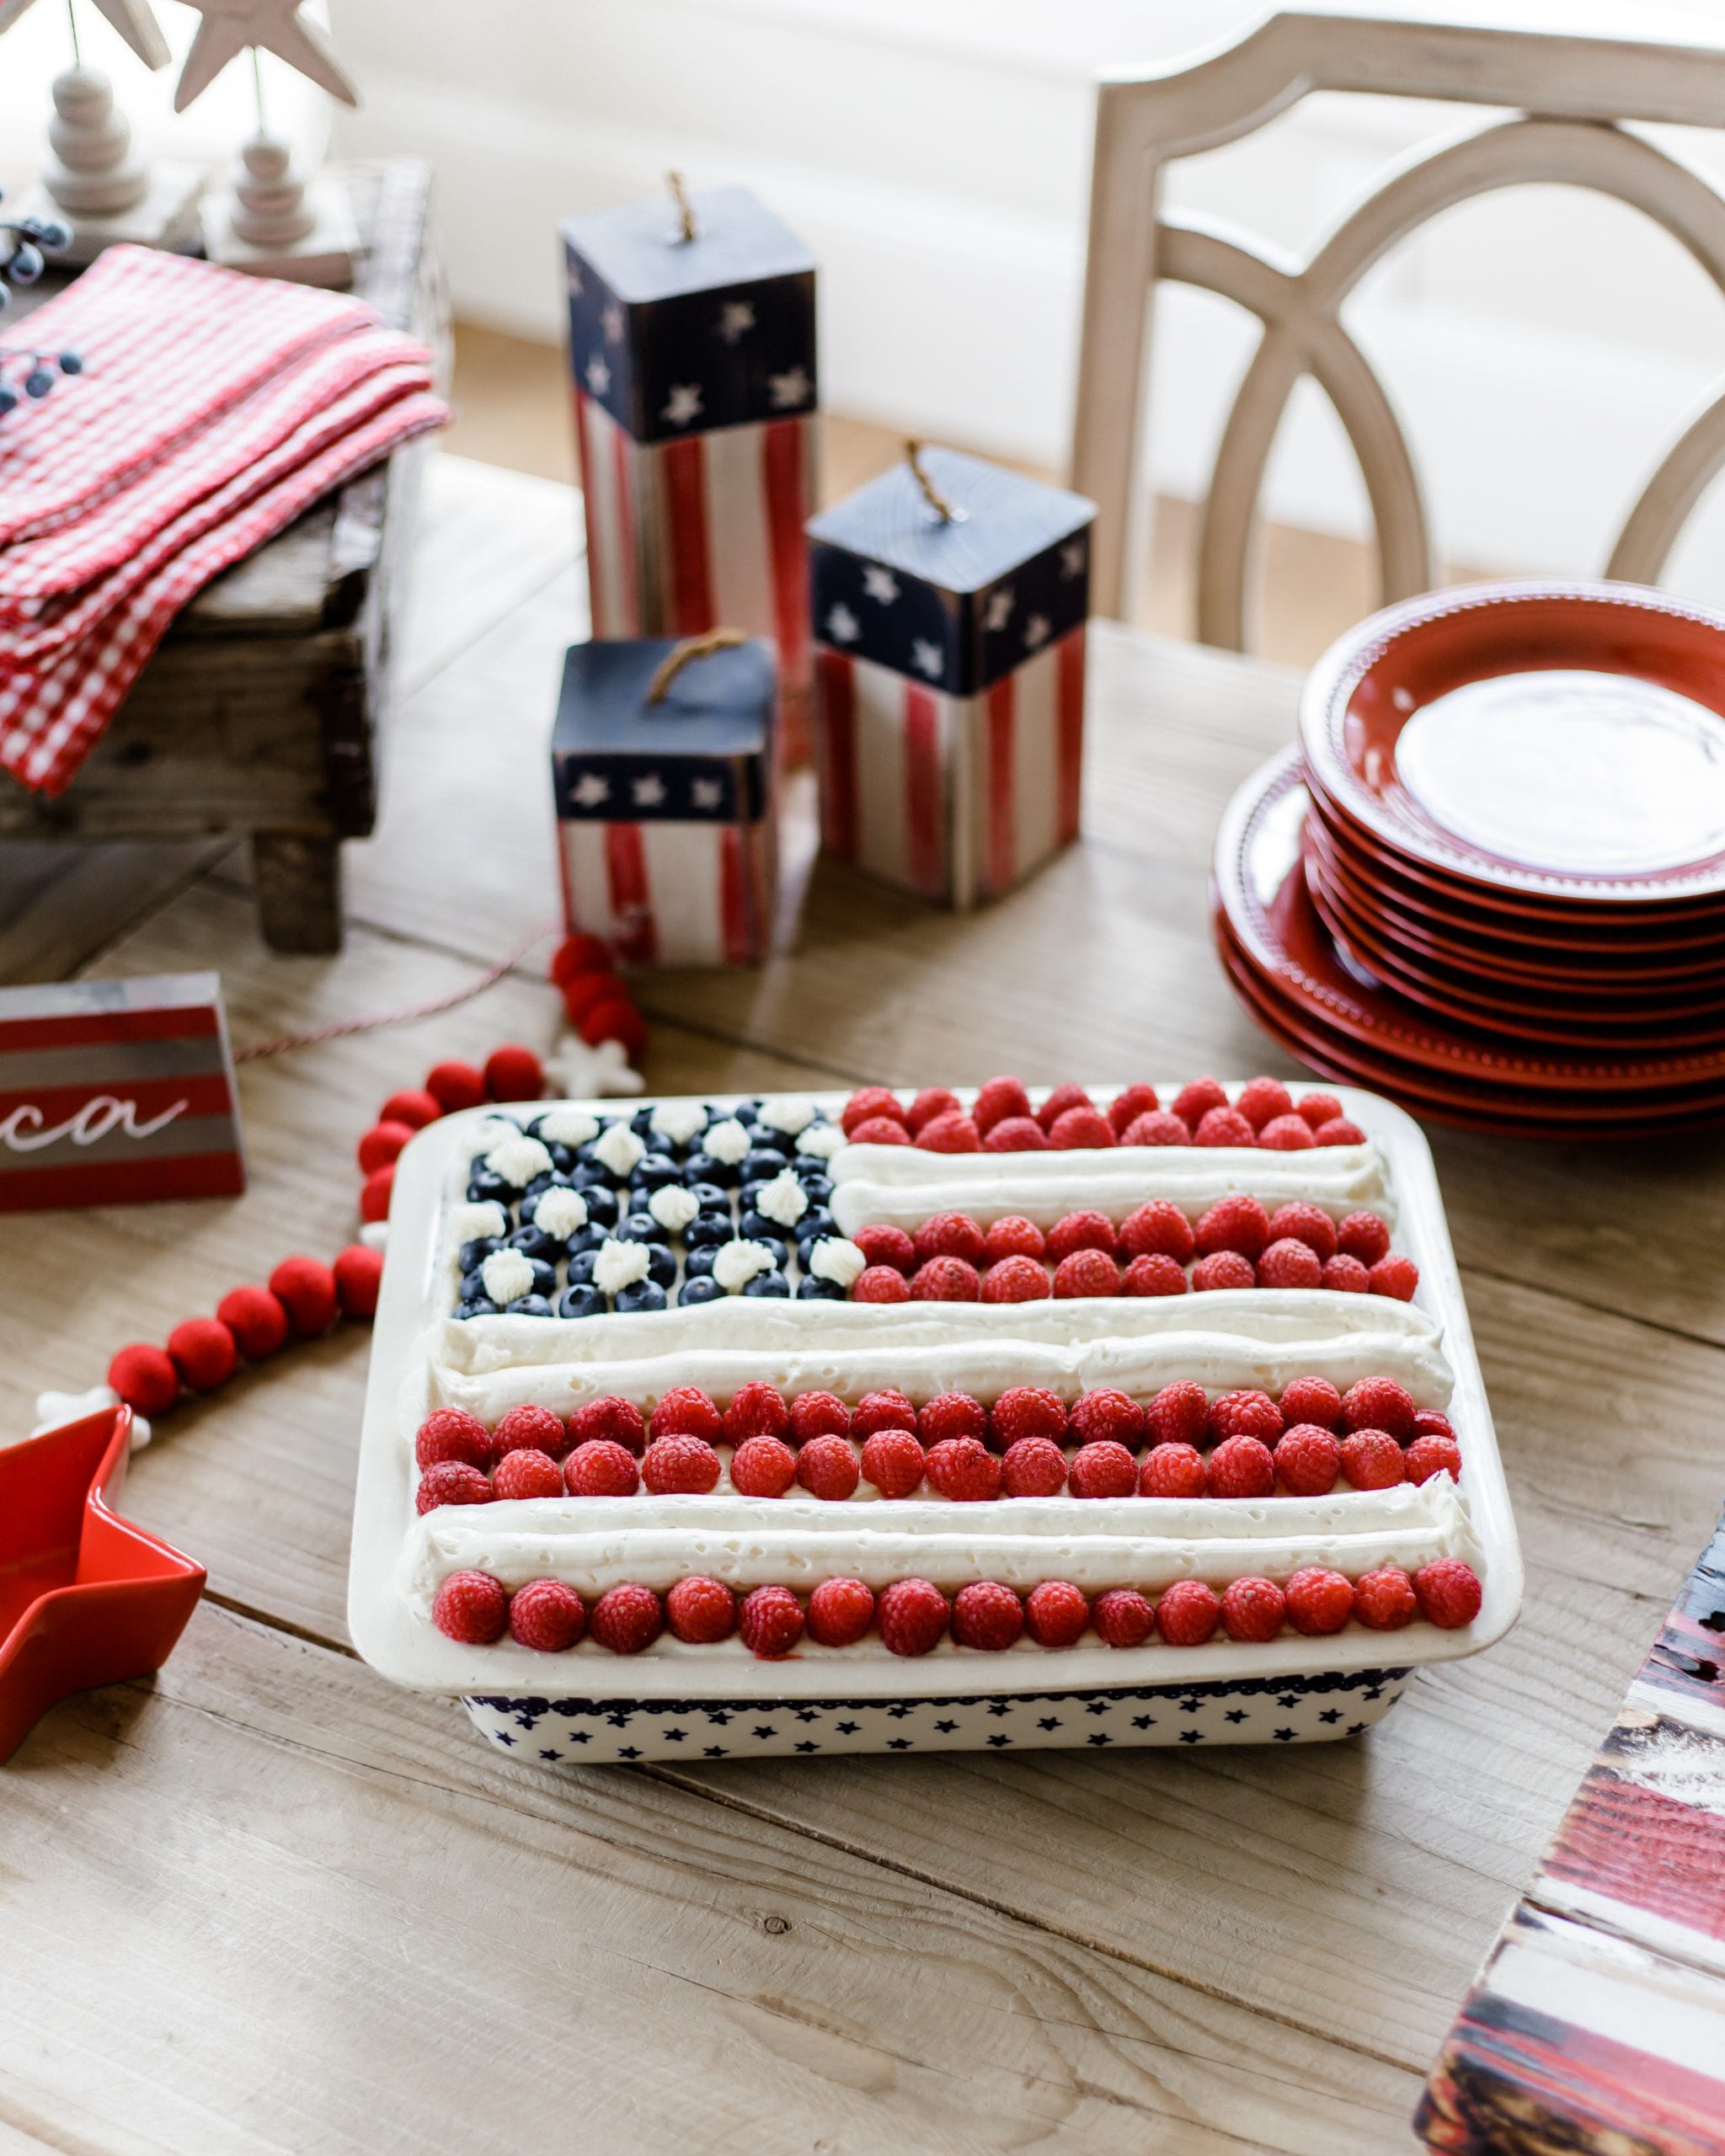
That’s it! Refrigerate until you’re ready to serve it! This red white and blue Easy American Flag Cake Recipe might even become a tradition for your family, too!
Some other ideas to use up the rest of the cake and frosting:
Use a 3″ circular cookie cutter and cut out the extra cake into circular shapes. Use three layers of cake and use the rest of the buttercream frosting and cream cheese filling if you have some leftovers to make mini naked cakes!
Another thing my mom used to do was make sugar cookie dough and make a cookie fruit flag. Roll out the sugar cookie dough into a thick rectangle and bake as directed. When cool, add a layer of the cream cheese filling and then pipe the buttercream frosting. Then, assemble the fruit to make the flag (same concept as the cake above)
Wishing you all a very happy Fourth of July and I hope you give this a try!
I’d love it if you subscribed to my blog and feel free to follow me on Instagram @homewithhollyj and on Pinterest – Home With Holly J. Thanks so much for stopping by!
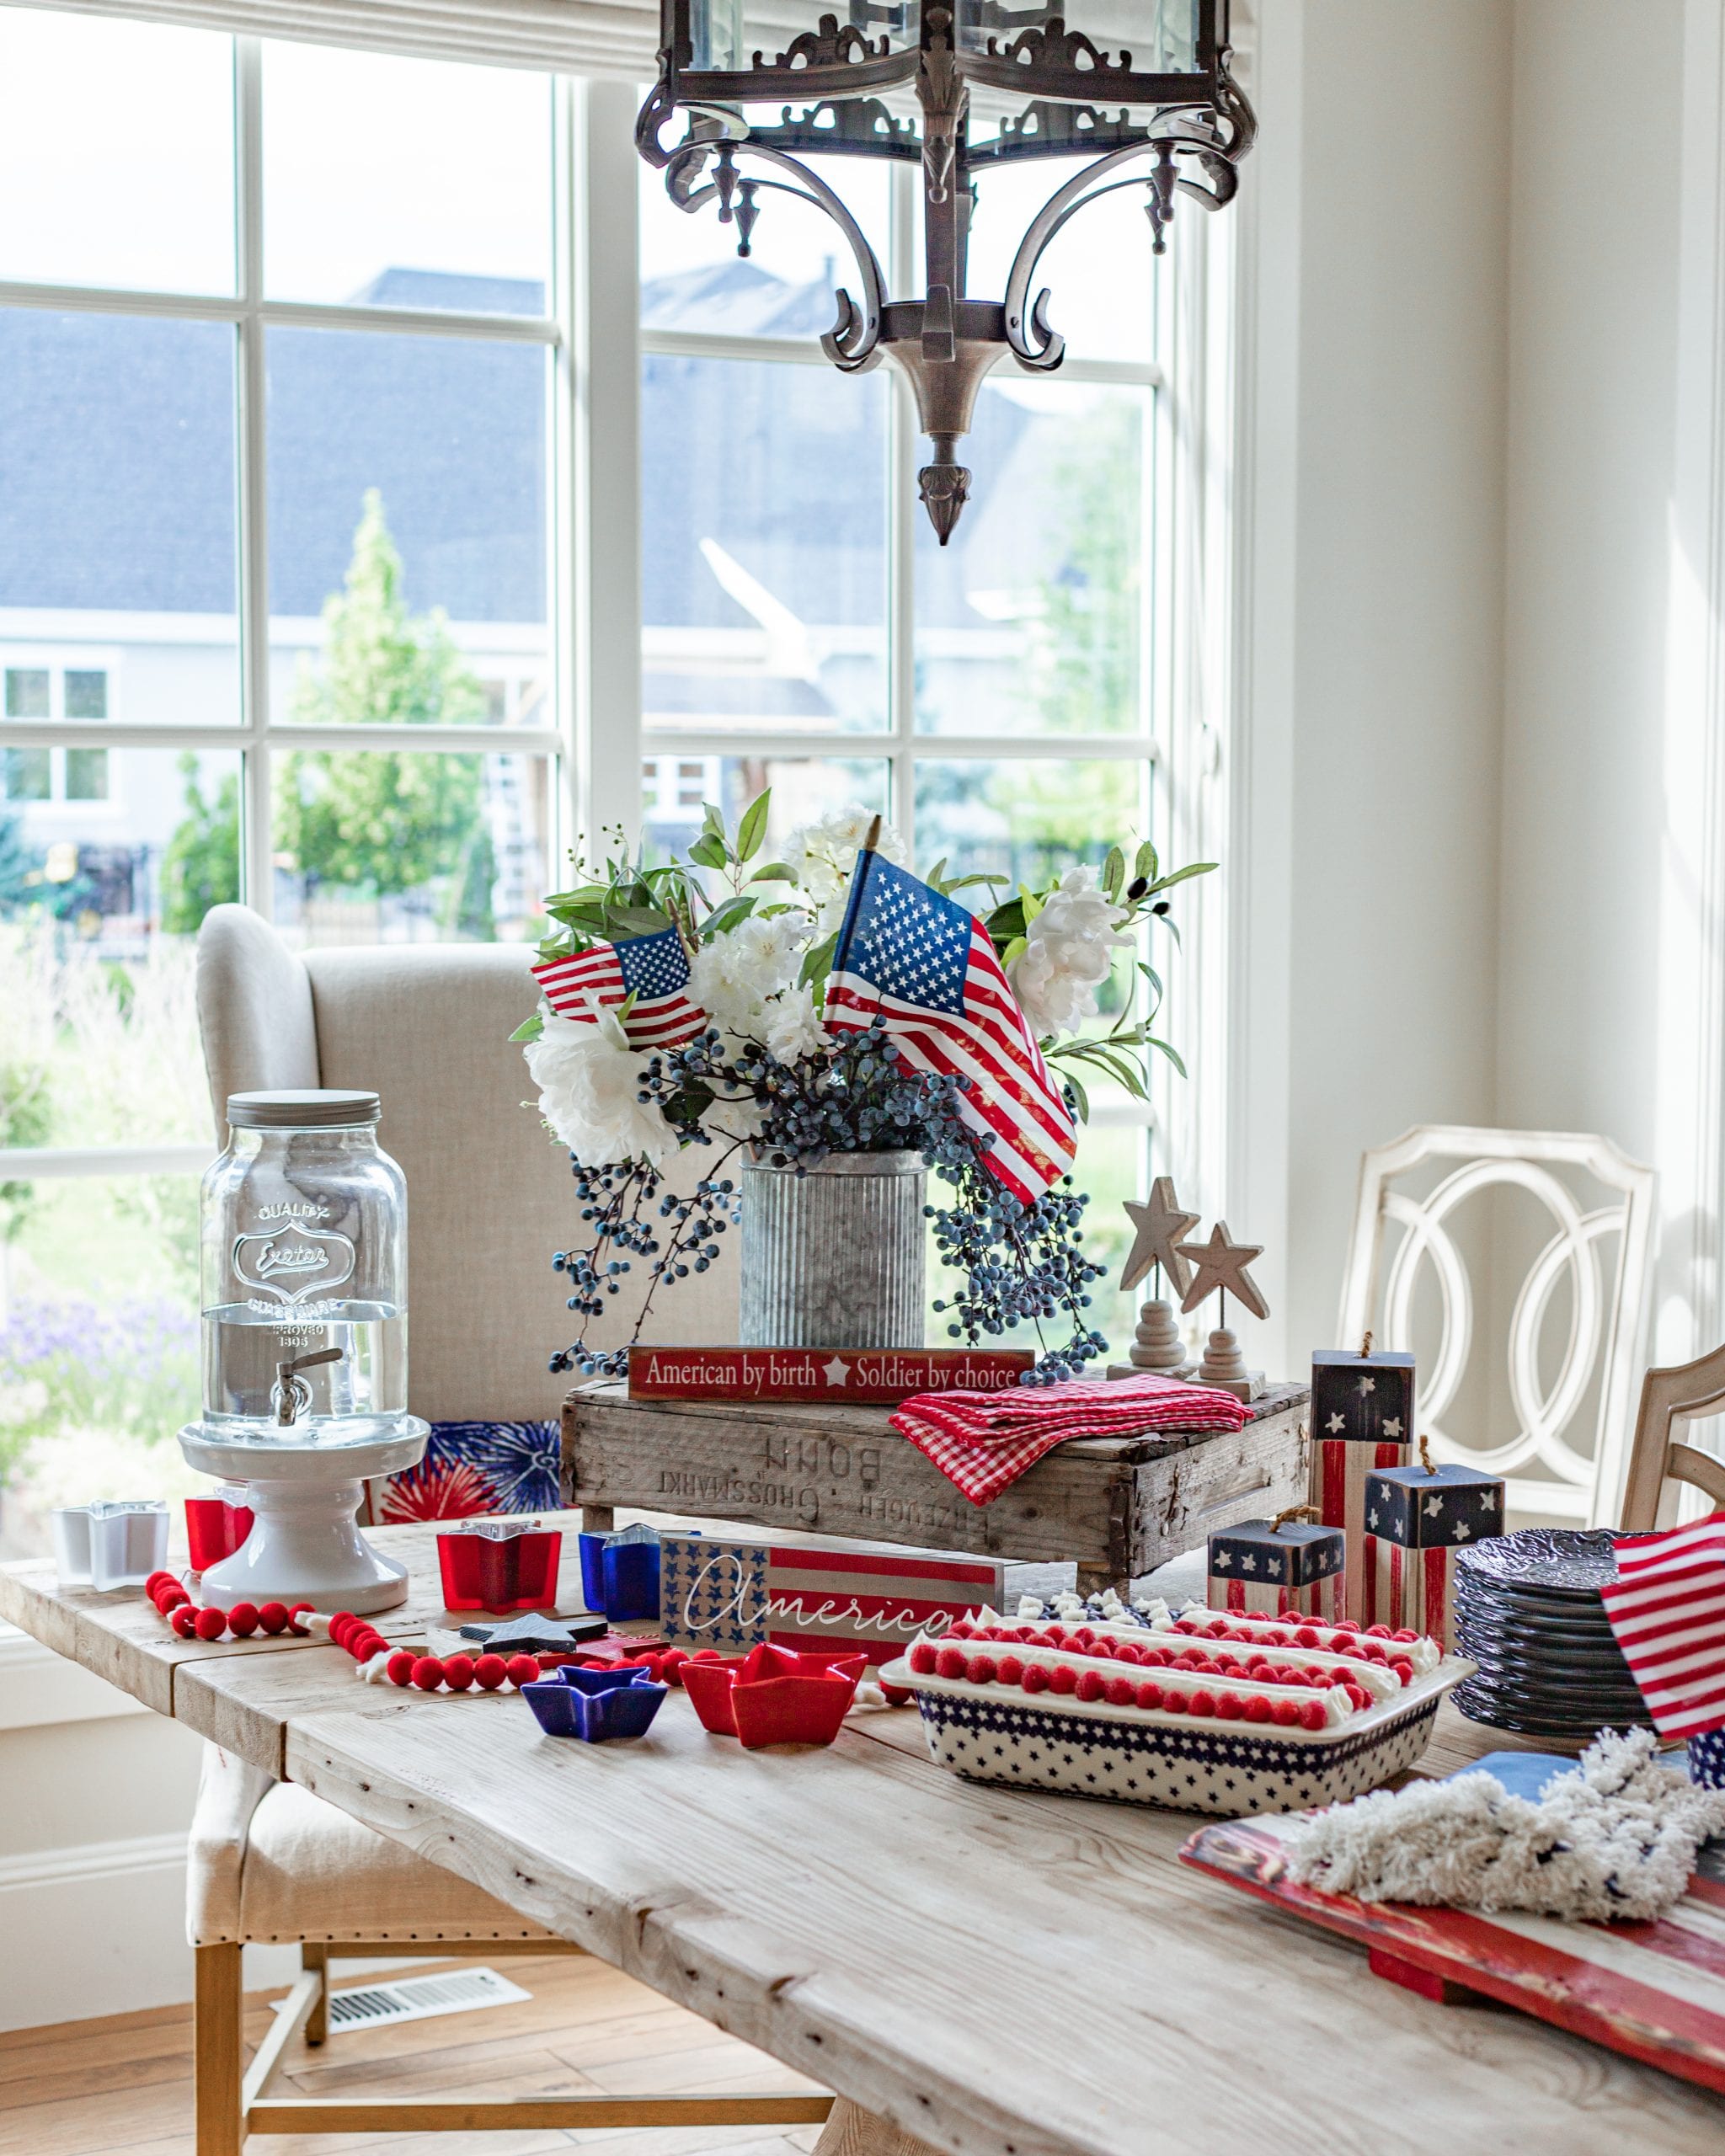
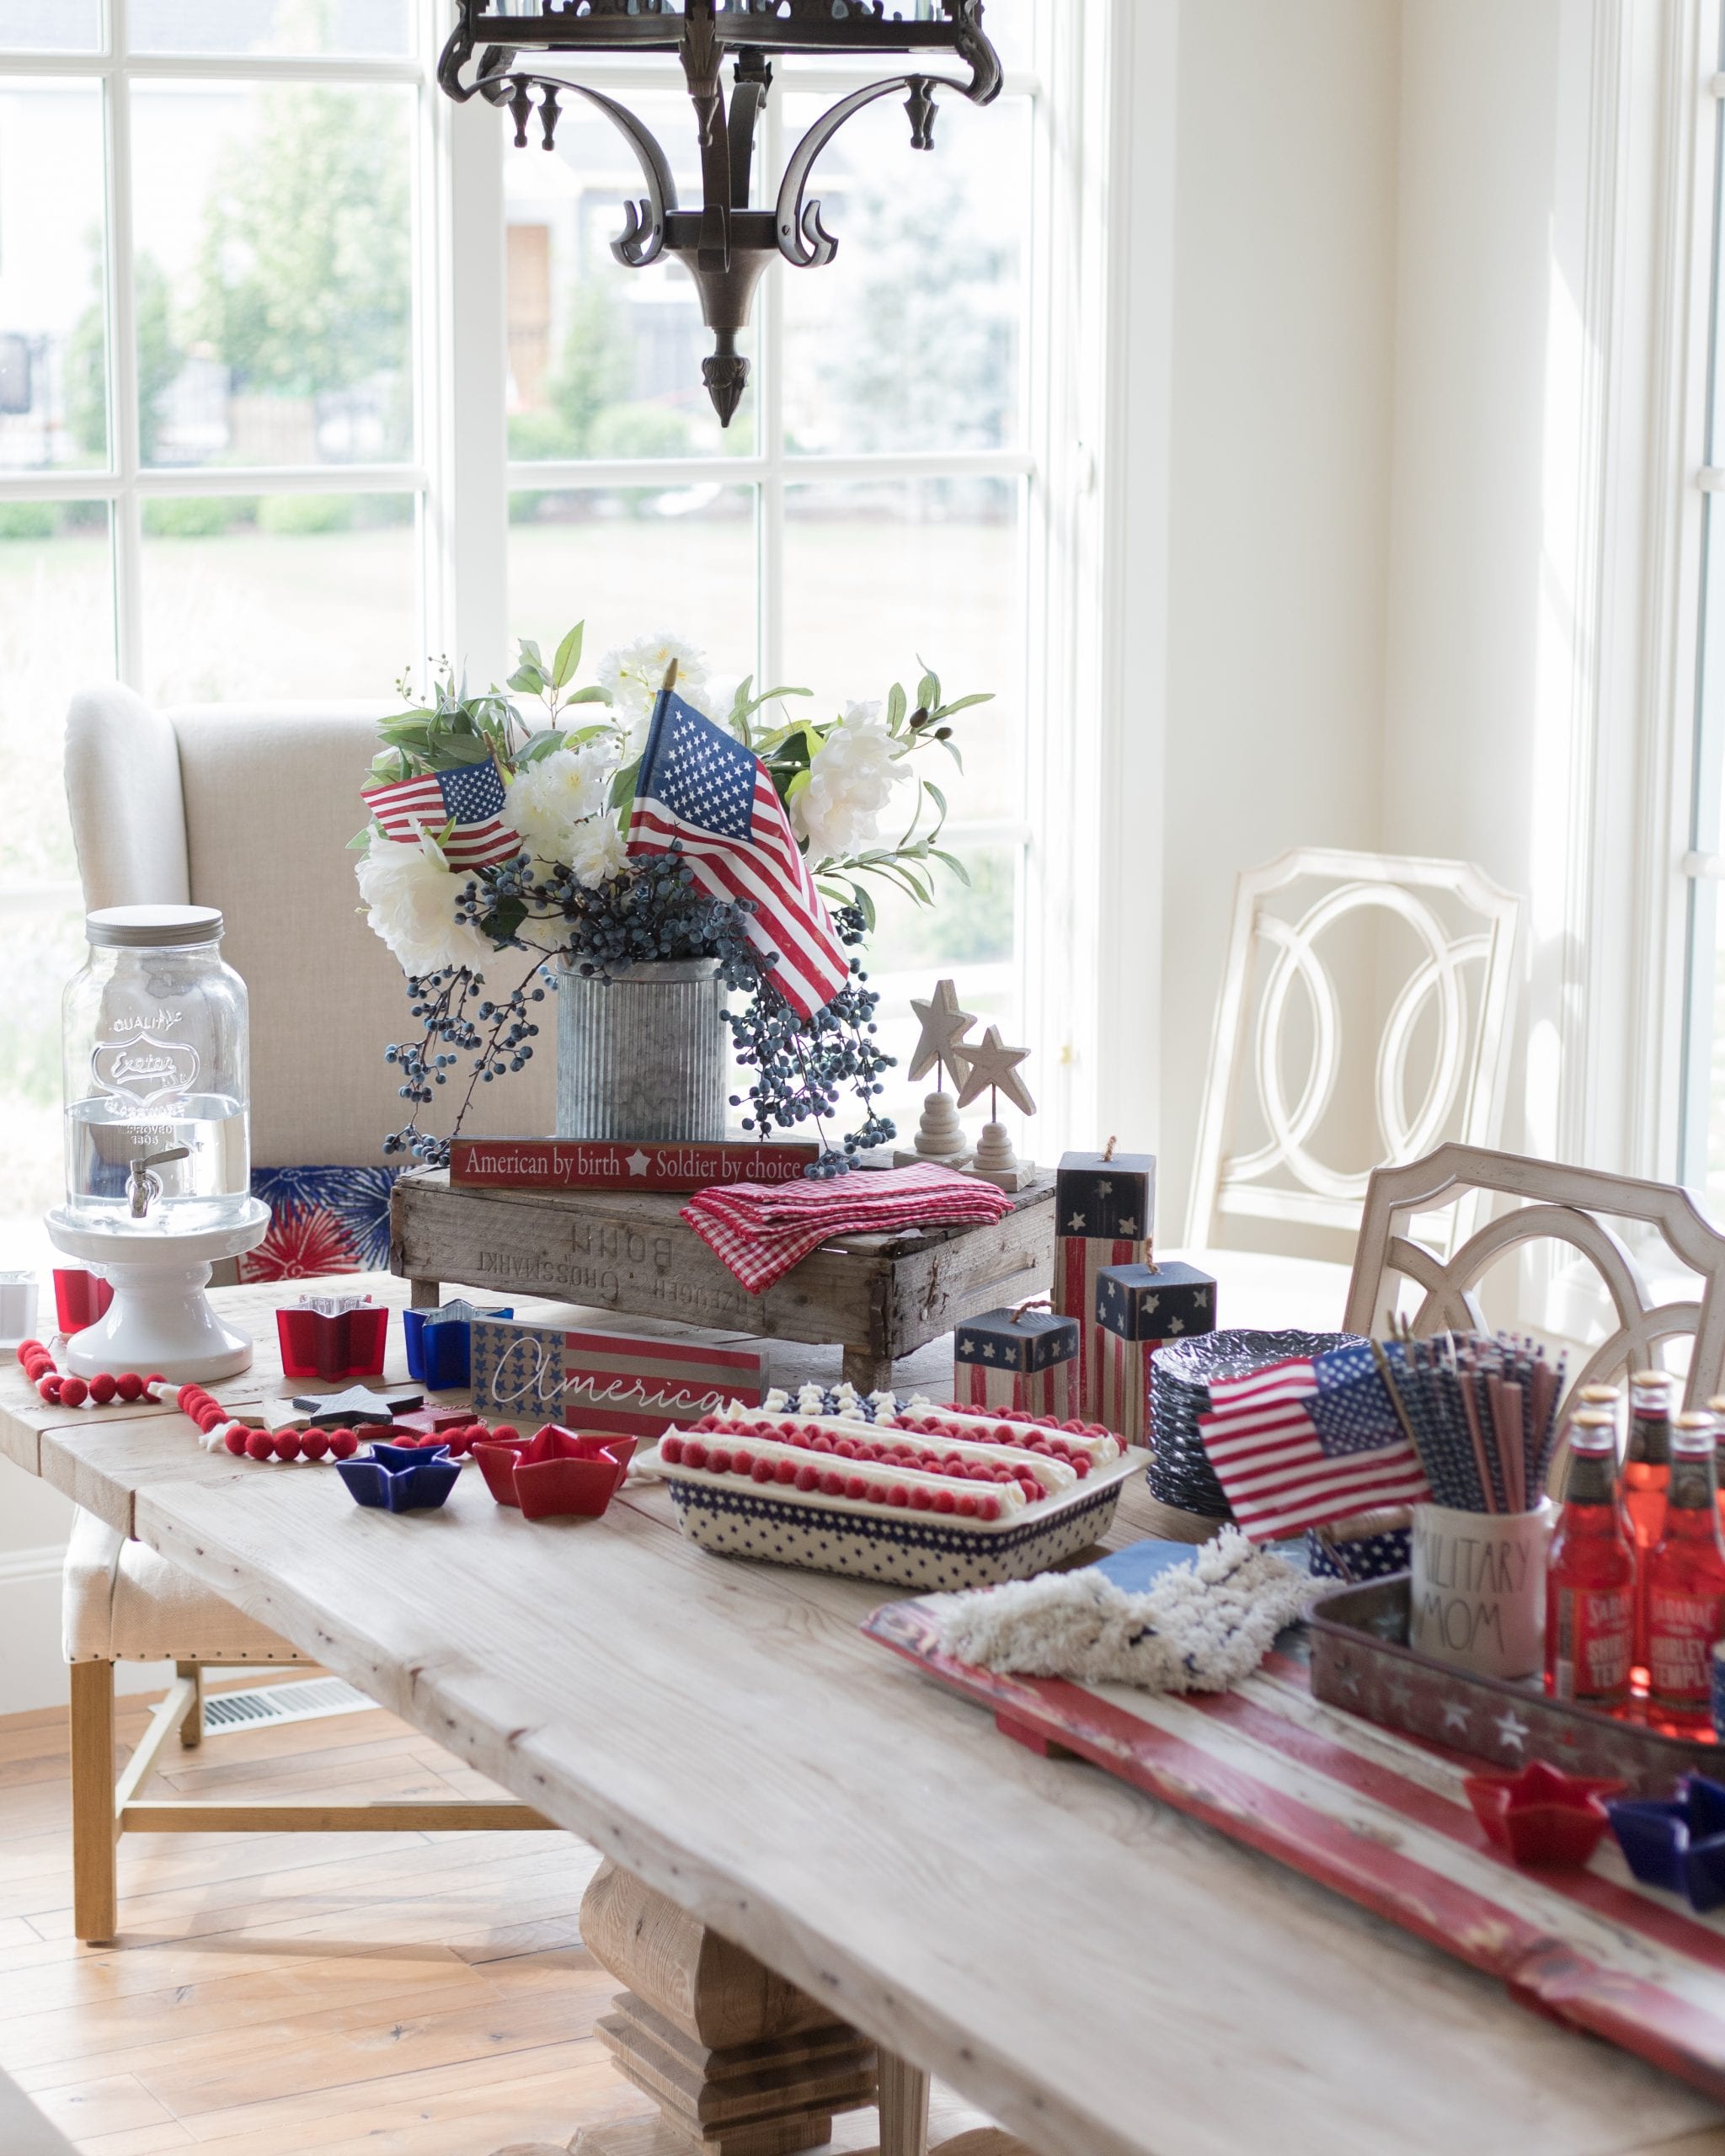
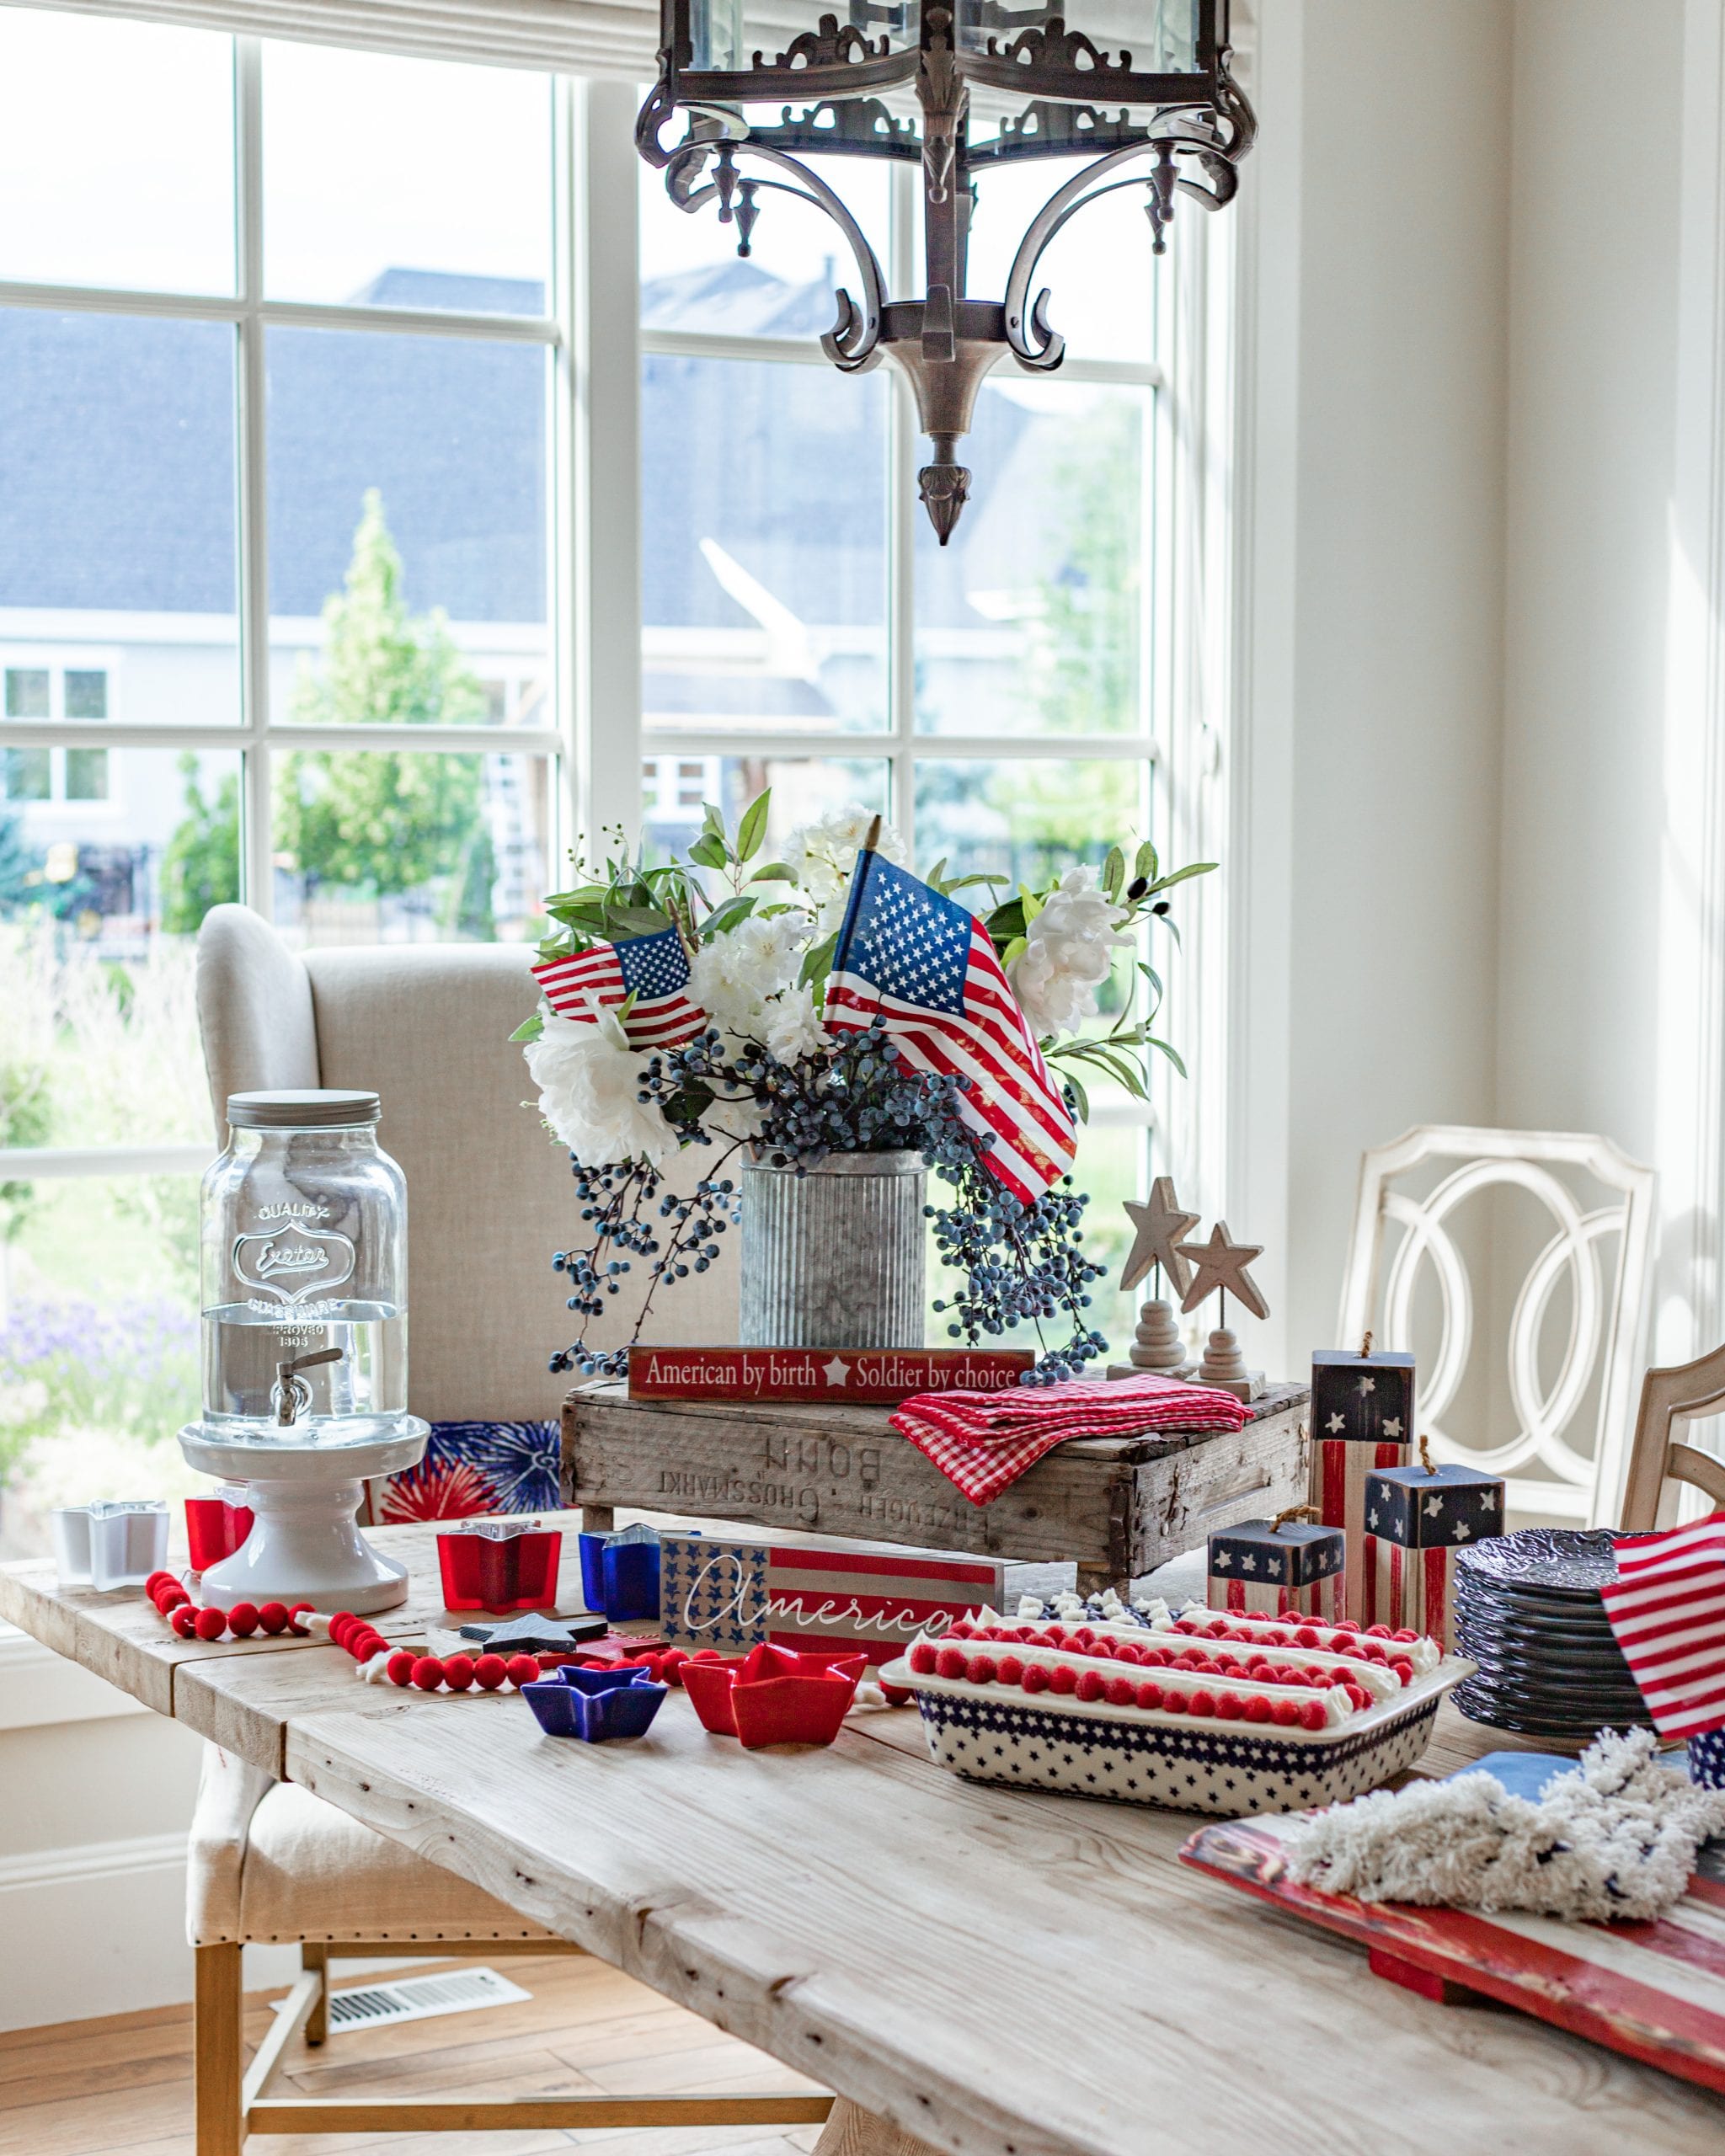
Check out this blog post Fourth of July Tablescape Ideas to see how I created two different tablescapes with this cake and other yummy desserts!
And this fun post Patriotic Home Decor Ideas!
Similar Faux Stems:
https://evolutionhomedecor.com/products/26-peony-spray-white?_pos=4&_sid=d41b9a229&_ss=r
https://evolutionhomedecor.com/products/28-lambs-ear-leaf-spray-green?_pos=3&_sid=519af7410&_ss=r
https://evolutionhomedecor.com/products/blueberry-pick?_pos=1&_sid=d012e0487&_ss=r
https://evolutionhomedecor.com/products/blueberry-spray?_pos=2&_sid=d012e0487&_ss=r
https://evolutionhomedecor.com/products/copy-of-blueberry-pick?_pos=3&_sid=d012e0487&_ss=r
Enjoy!
XOXO,

Pin this Post for Later:
Sources and Similar items are linked below.








[…] This stars and stripes cake […]