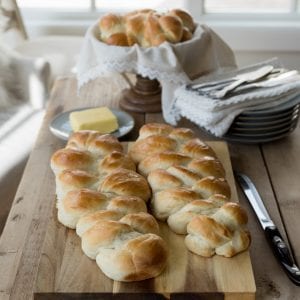
Debra's Braided French Bread
The most delicious braided French bread is the best recipe! You'll want to make this bread recipe often!
Equipment
- Stand Mixer with a dough hook or attachment (I use my bosch mixer for this recipe since I usually double it.) A kitchen aid mixer is what I use when I don't double it.
- Baking Sheet Pan
- Dough Scraper
- Flour sifter (optional)
- Flour sack towel or tea towel
- Squirt bottle filled with water
Ingredients
- 3 tbsp yeast
- 3 1/2 cups water
- 3/4 cup sugar
- 1/3 cup butter *can substitute oil if you don't have butter
- 4 tsp salt
- 8 cups flour
- non-stick cooking spray
- extra flour for rolling out the dough
Instructions
- In a large mixing bowl, stir 3 tbsp yeast into a warmed 3 1/2 cups water.
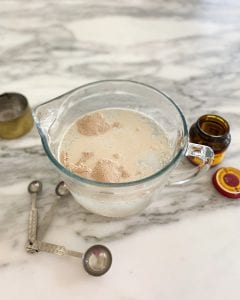
- Stir until yeast is dissolved. Let stand for a few minutes.

- When the yeast starts to froth on the top, dump it into a stand mixer. Then add 3/4 cup sugar, 1/3 cup butter (softened), and 4 tsp salt. Mix on low speed for about a minute or so.
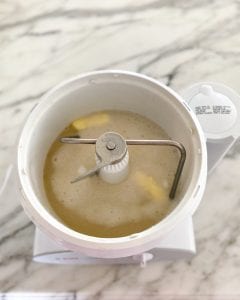
- Start adding flour to the mixture 2 cups at a time. Allow it to mix in for about 20-30 seconds before adding the next 2 cups.
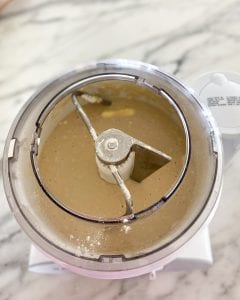
- After adding all 8 cups flour, you should have a soft, elastic dough. If the dough is super sticky, add another 1/2 cup-1 cup of flour. Let mix for a few minutes until all the flour is worked in.
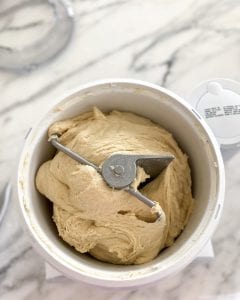
- Spray a large bowl with a non-stick cooking spray and place the dough in the bowl.
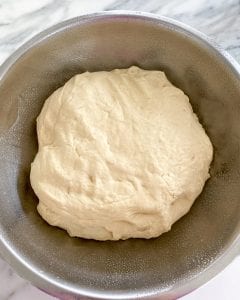
- Cover the bowl with a damp towel. I run hot water on a clean flour sack towel to get it wet. You can use any tea or dish towel, just make sure it's clean and not a heavy towel. You don't want the top of the dough to dry out.
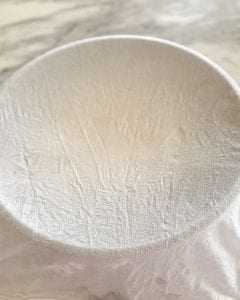
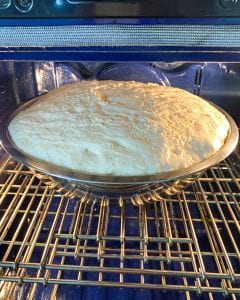
- Place the bowl of dough covered with the damp towel in a warm place. I use the proofing setting on my oven or the proofing mode on my bread warming drawer to speed it up. You can turn on your oven for a few minutes to get it warm, then turn it off and set it inside the oven. Be careful to not get it over 100 degrees or so. You want it warm, not hot.
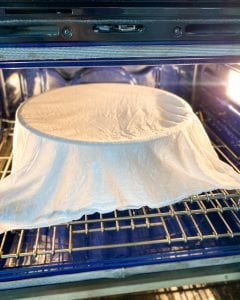
- Let the dough rise until double in size. If the towel sticks to the top of the dough, gently remove the towel. You can always remove the towel towards the end and use the squirt bottle with water to keep the top of the dough moist. You don't want it to dry out.
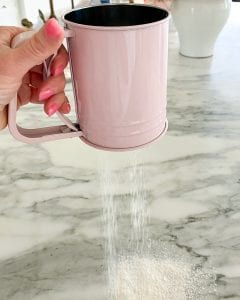
- Sprinkle some flour onto a clean surface. I use a flour sifter to sprinkle the flour out more evenly.
- Dump the dough onto the floured surface.
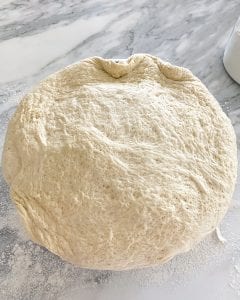
- Try to get the dough into somewhat of a misshapen rectangular shape.
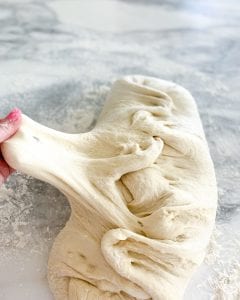
- Then start pulling and stretching sections from the side, and pull it over on top of the dough towards the middle, and press lightly down.
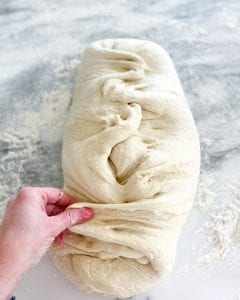
- This helps give the dough a more uniform look.
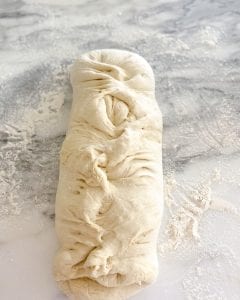
- When you've got it looking more uniform in shape, turn it over onto the flat, smooth side.
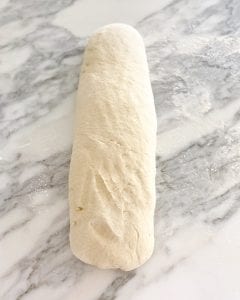
- Pat the ends to make it more flat and a long rectangle. This doesn't have to be perfect, just get it as close to this shape as you can.
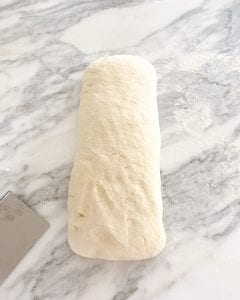
- I do this process to make it easier to cut equal amounts of dough for each of the sections you are going to braid. I make little lines on the top of the dough with my dough scraper to section it into 9 or 12 sections. If you want 4 smaller loaves, do 12 sections. If you want 3 larger loaves, do 9 sections.
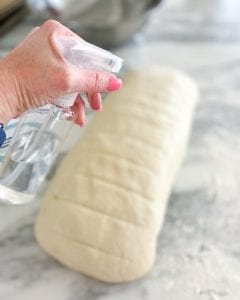
- Use the squirt bottle with water to lightly mist the top of the dough every so often so that it doesn't dry out while you're sectioning and braiding. I also keep the dough covered with a damp tea towel to keep it from drying out.
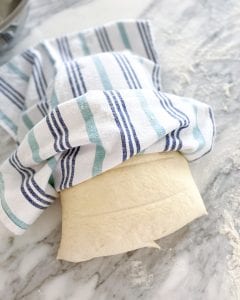
- Cut 3 sections at a time, then cover up the dough while you braid each loaf. Use your hands to stretch and roll each piece into about a 10"-12" piece.
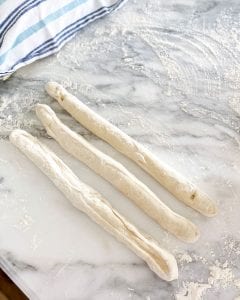
- Pinch the three pieces together with the middle piece on top.
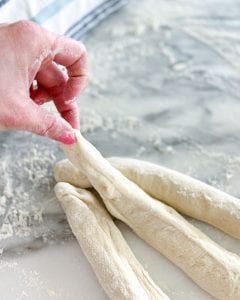
- Tuck the three pieces under themselves. You may need to hold them down with one hand while you start the braid with the other.
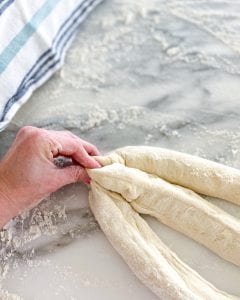
- You can tuck the end under more once the whole loaf has been braided so don't worry if it's not perfect.
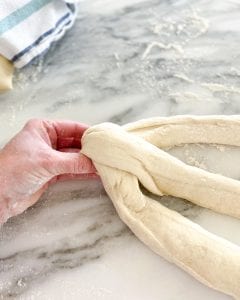
- Take the right section over the middle section to start the braid.
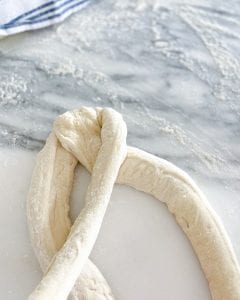
- Then take the left section and continue the braid.
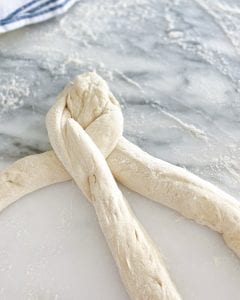
- The dough will keep stretching and getting longer as you braid.
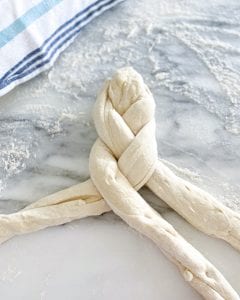
- Keep the braid going and don't worry if it's not perfect. The dough will rise and hide all your imperfections.
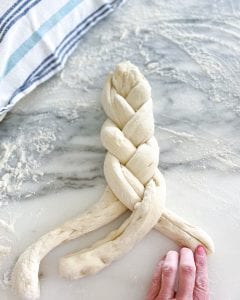
- When you get to the end, pinch the 3 pieces of dough together and tuck under. Check the end you began with and make sure it's tucked under too. Get your baking sheets out (you'll need two) and spray with non-stick cooking spray. Preheat your oven to 400 degrees.
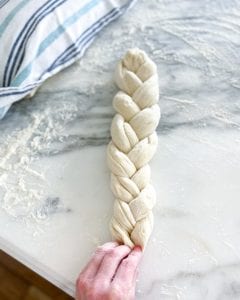
- Now that the braid is done, use your dough scraper and your hand and gently lift the dough and set it on the baking sheet.
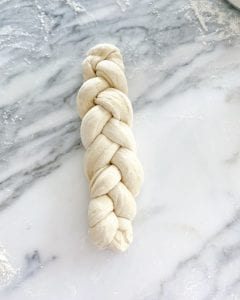
- You can get two braids on a standard baking sheet pan. I alternate the braided loaves so that they are opposite to each other. Cover with the damp towel again and let rise another 20-30 minutes.
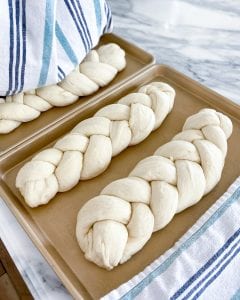
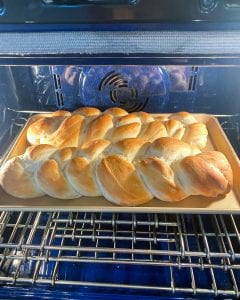
- Bake for 15-20 minutes depending on your oven. When the top is dark golden brown, it's done.
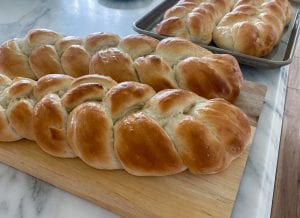
- Remove from the oven and brush the tops with butter.
- Variations: Brush the dough with an egg wash or milk and sprinkle with sesame seeds or poppy seeds before baking. You can make it into individual French rolls, small braided rolls, or just round-shaped rolls.